Lets Encrypt is a free and open certificate authority by the non-profit Internet Security Research Group (ISRG). Its provides free ssl certificates for the domains valid for 90 days. You can easily renew certificates before expiration manually or schedule it to renew automatically. This tutorial will describe you to setup Let’s Encrypt SSL certificate with Webmin hostname.
Change Webmin Hostname
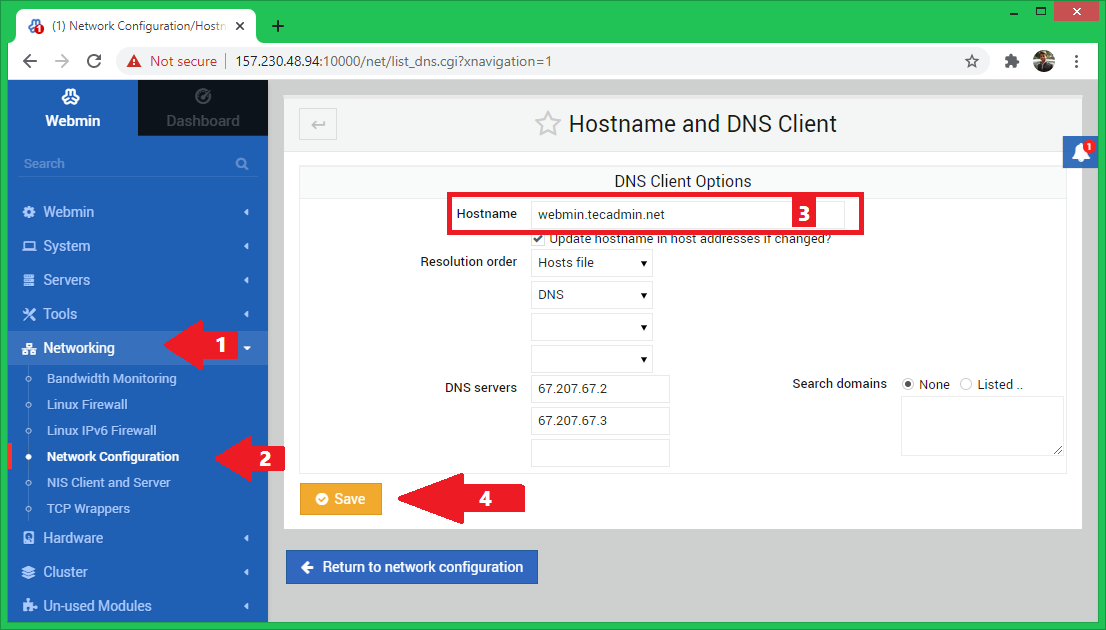
First, make sure you have a valid domain name configured with Webmin. Choose a domain name (subdomain) for Webmin and update dns entry to point domain to Webmin server. Change the system hostname from webmin dashboard. Login to webmin using admin account access:
This will change the hostname of the system, Also make an entry in /etc/hosts file to bind hostname with localhost ip address.
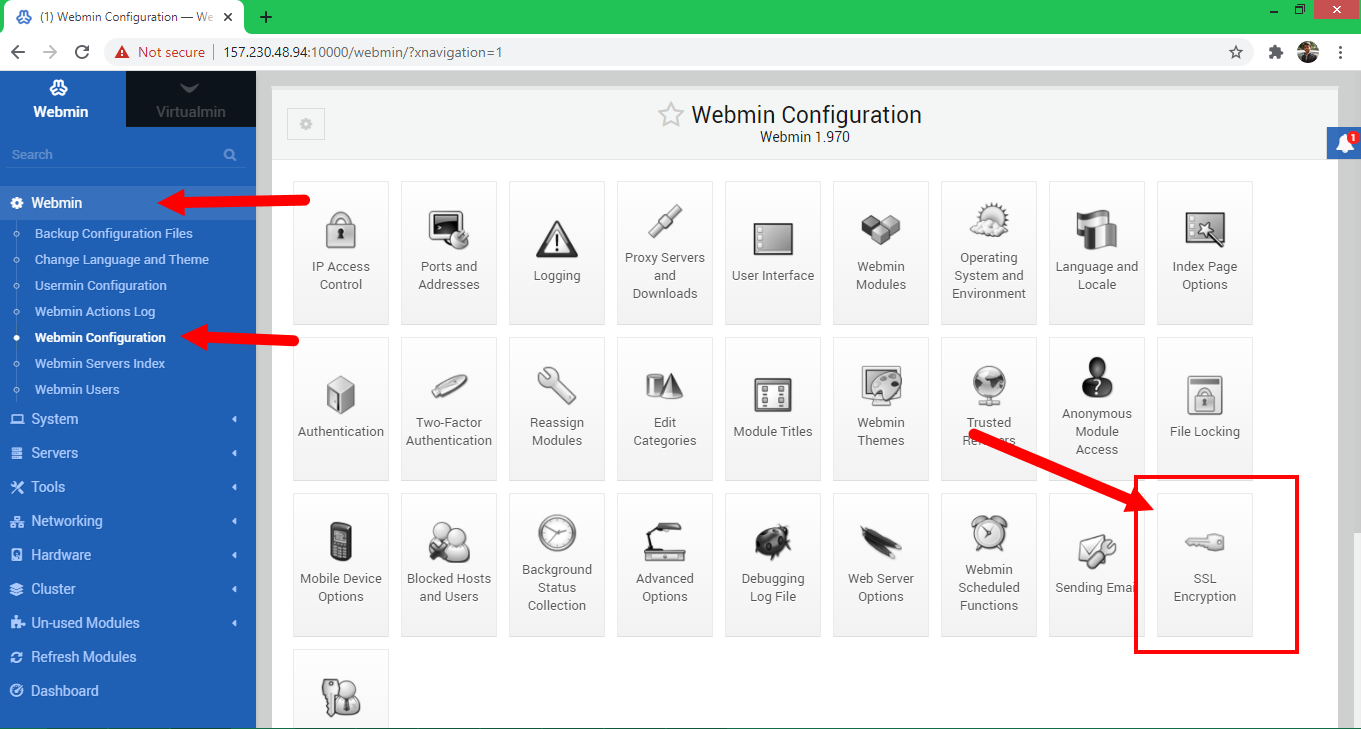
Configure Let’s Encrypt Certificate in Webmin
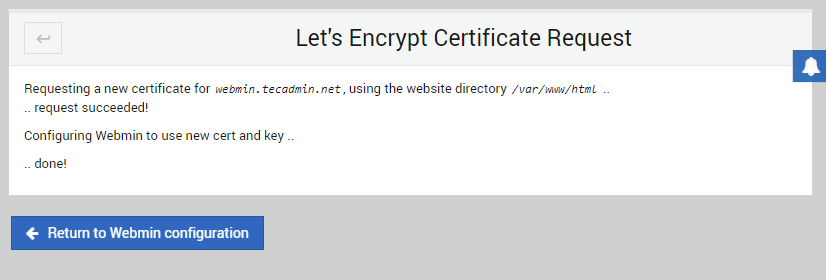
Now, you have configured a fully qualified domain as system hostname. Again make sure the domain is properly pointed to your Webmin server ip address. You can use online tool to verify dns records. Let’s configure Let’s Encrypt SSL for Webmin: Let’s Encrypt SSL certificate is successfully configured for the Webmin hostname.
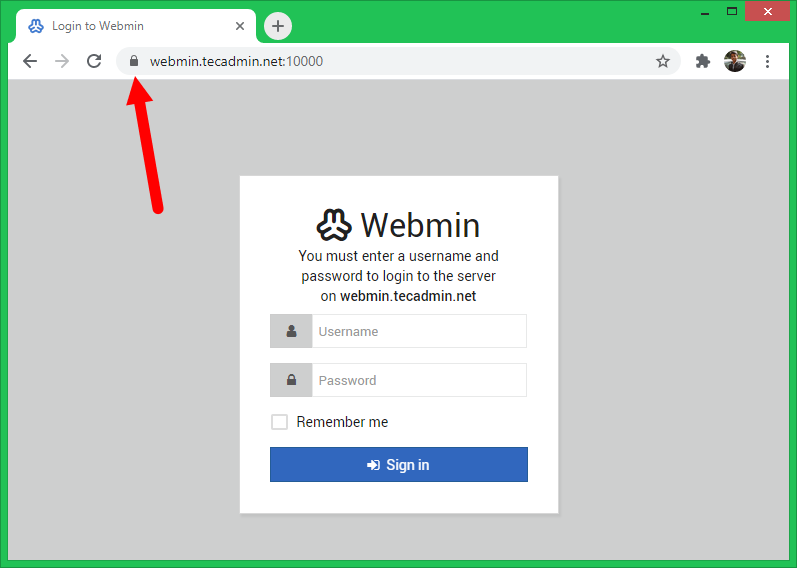
Test SSL Certificate
Access the Webmin interface with https protocol using the system hostname on port 10000. You will see a valid ssl certificate in your browser. For example: https://webmin.tecadmin.net:10000
Conclusion
This tutorial described you to configure Let’s Encrypt SSL certificate with Webmin hostname. You can also verify the SSL certificate using online ssl checker tool. Make sure to enter full url with port.