Create a New Document
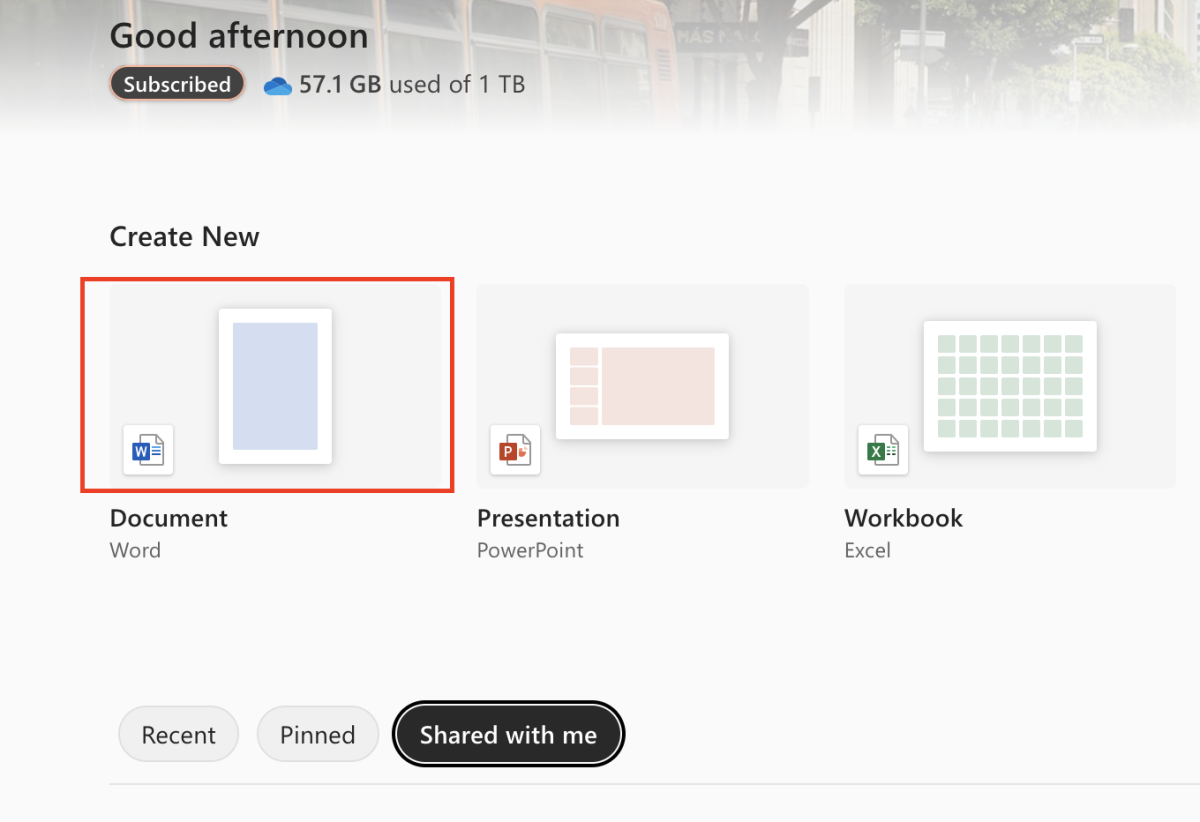
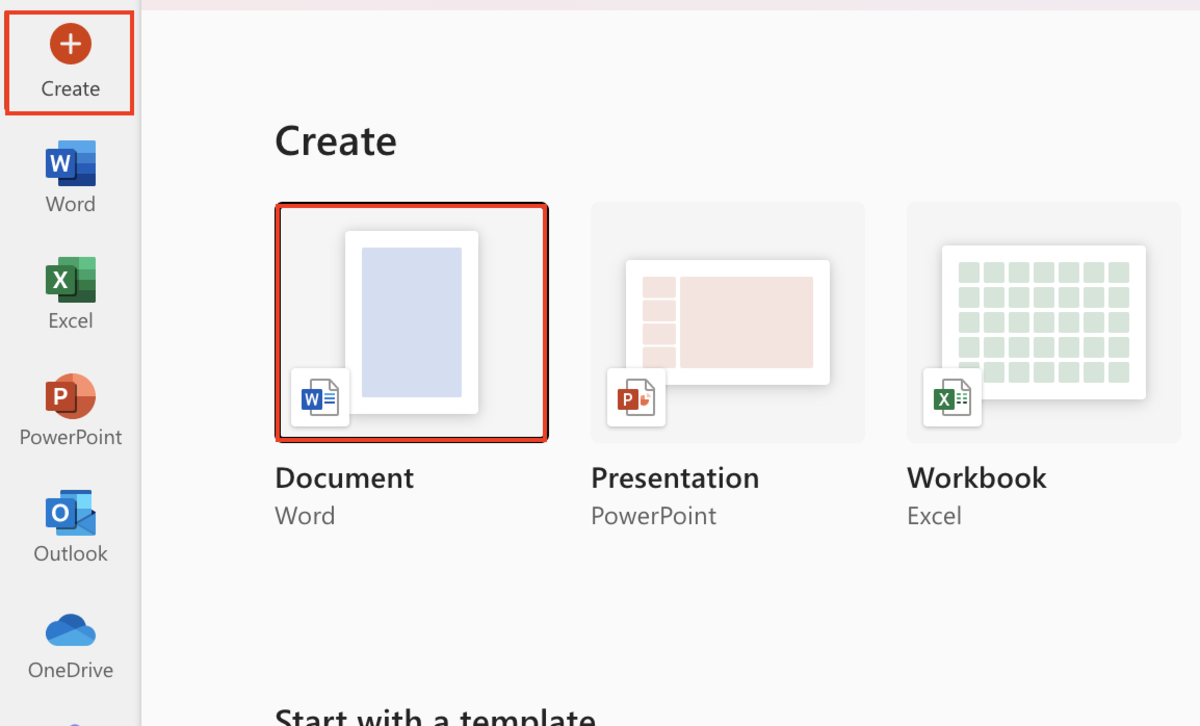
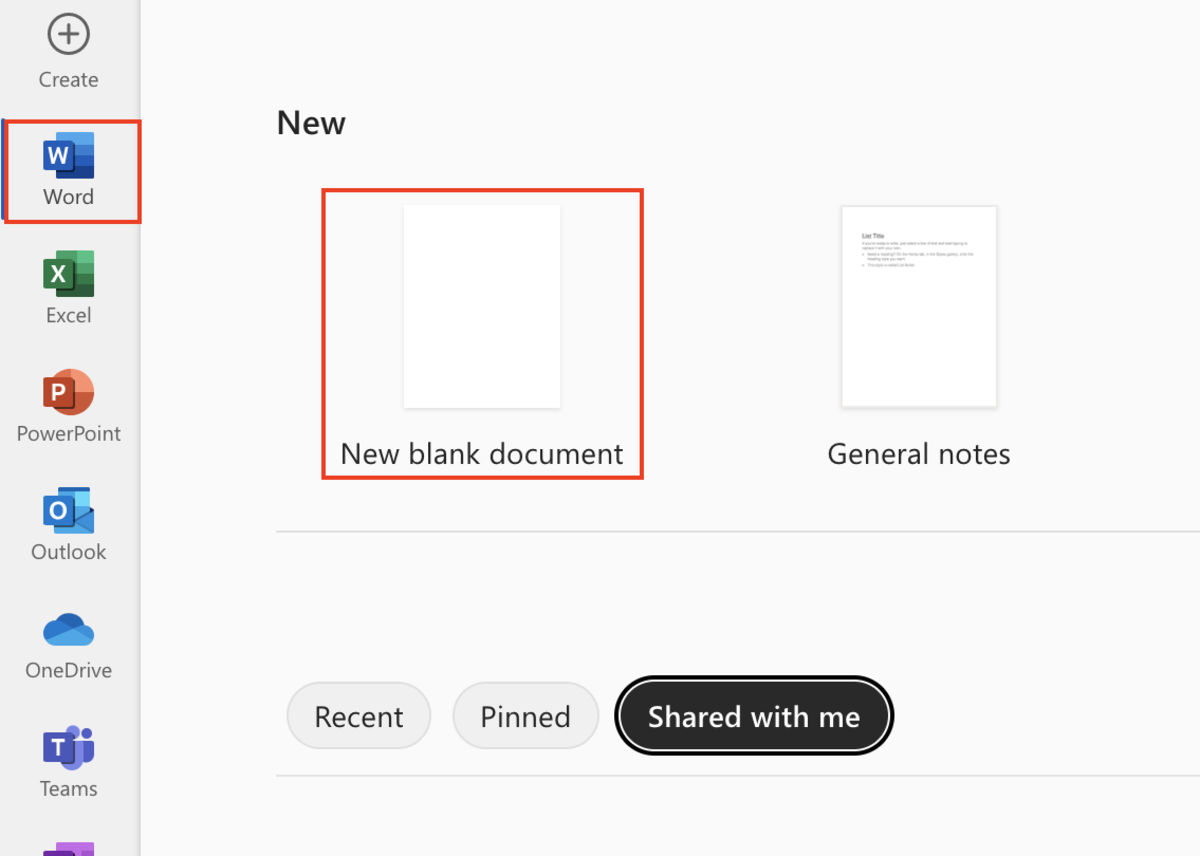
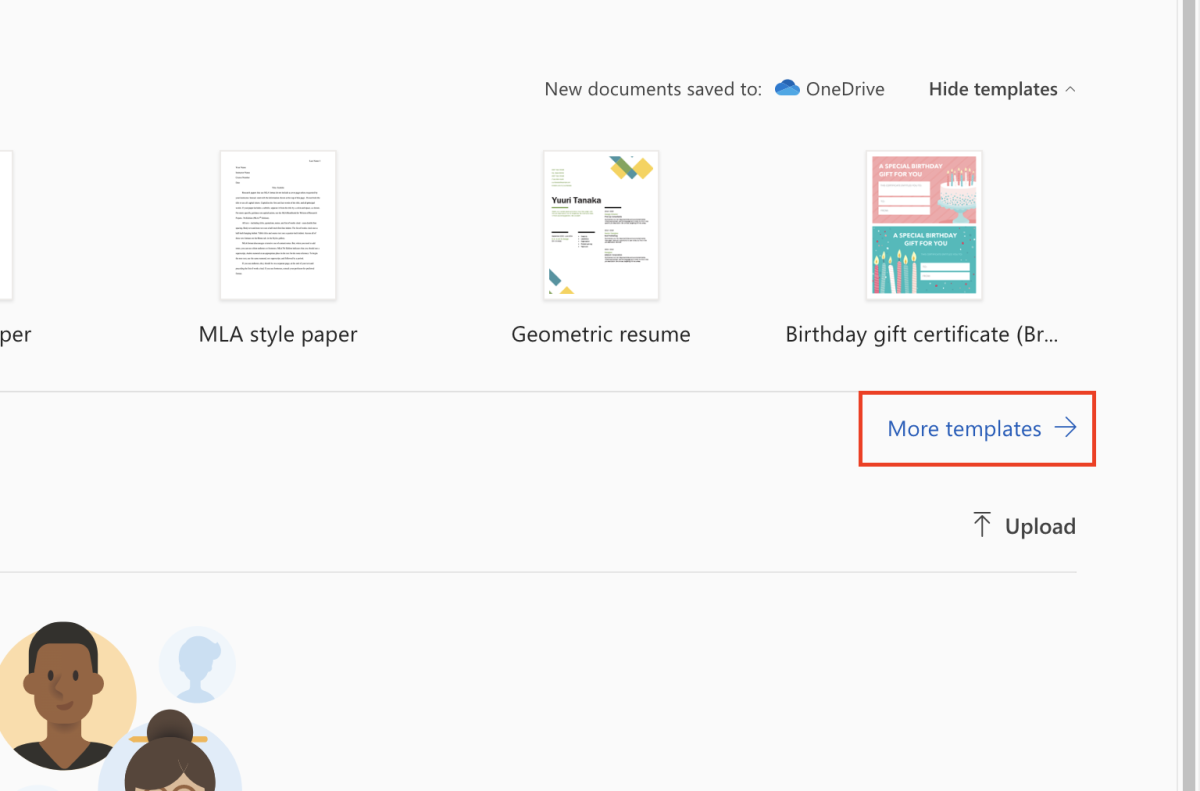
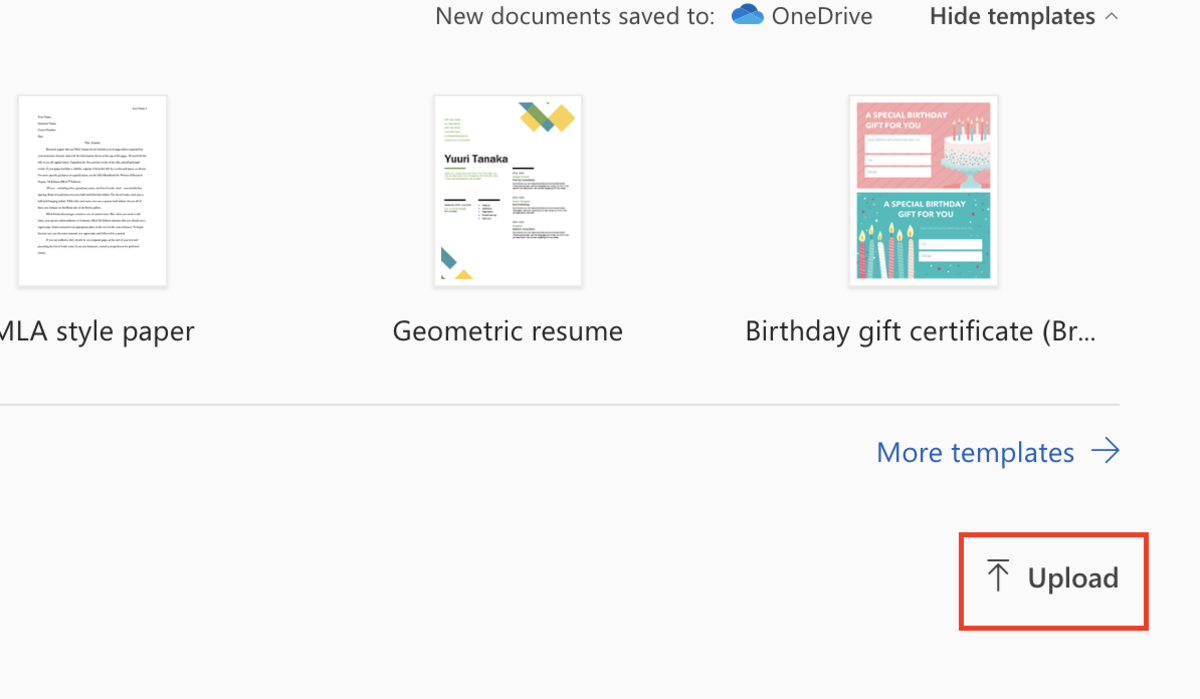
There are several ways to start a new document from the Microsoft 365 site. After login, you have the opportunity start a new Word document at the welcome screen seen below. If you clicked off of that screen, you can always click create to bring that option back. An alternate way to open a new document is to select the Word icon followed by selecting a new blank document. More times than not, there are templates built into Word to make starting your task easier. To search for an applicable Word document template click more templates.
Open a Document
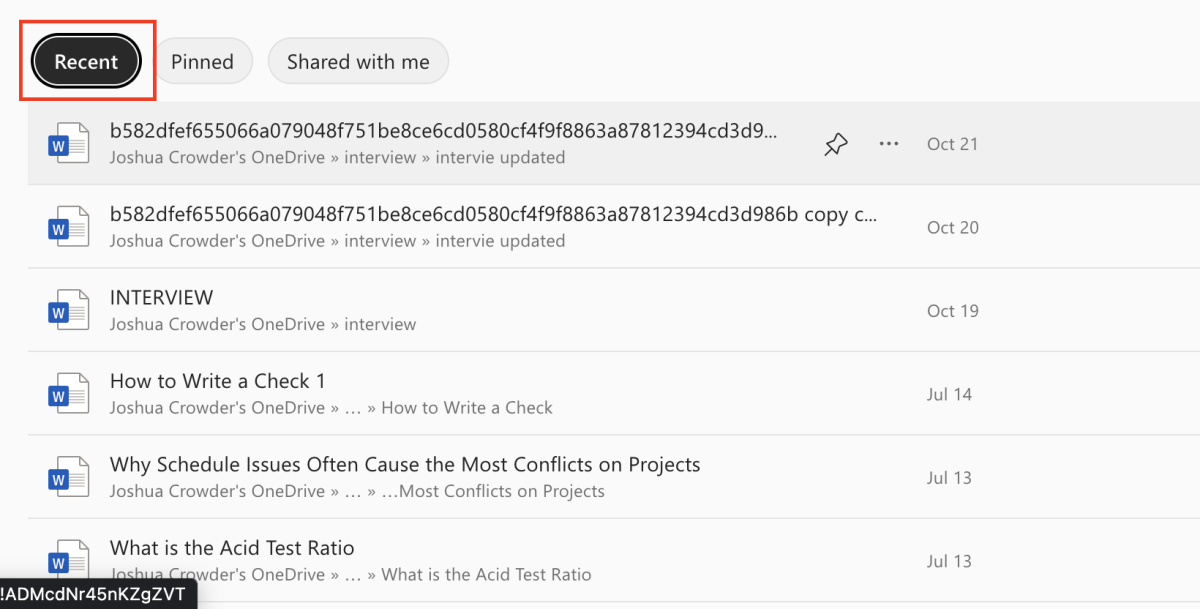
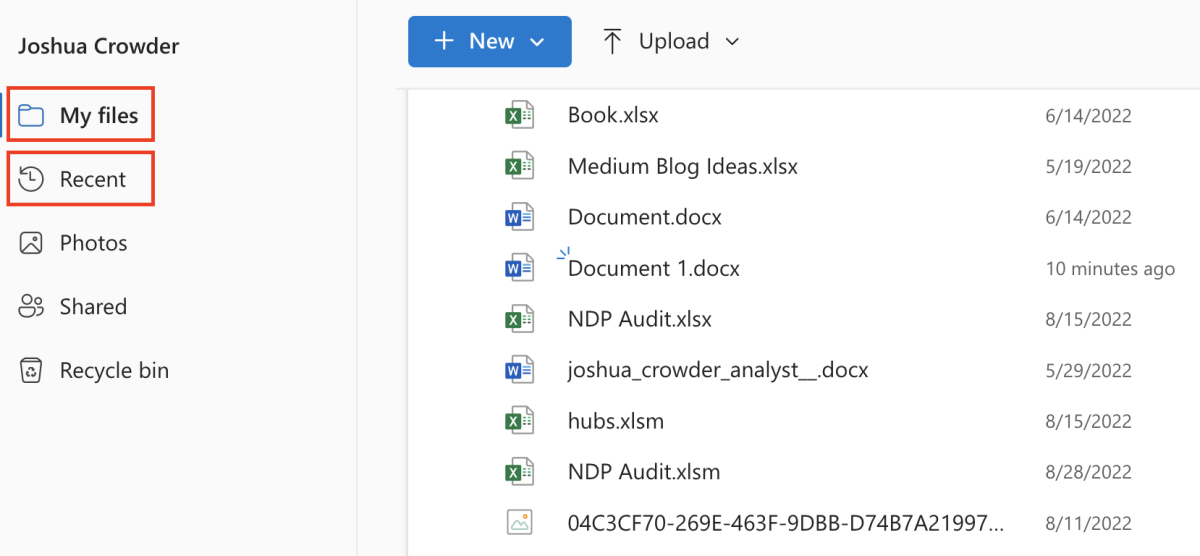
Each time Windows 365 is started you will see your most recent documents near the button on the screen. The recent button is selected by default. If documents were pinned (see the thumb tac below), they show up under the pinned button. Additionally, other people’s documents that you are collaborating on will show up if the “shared with me” button is clicked. You may also click on the One Drive icon and select files from that drive under My Files or the recent category. If you need to upload a file from your computer work on in Widows 365, click on the upload option.
Save Document
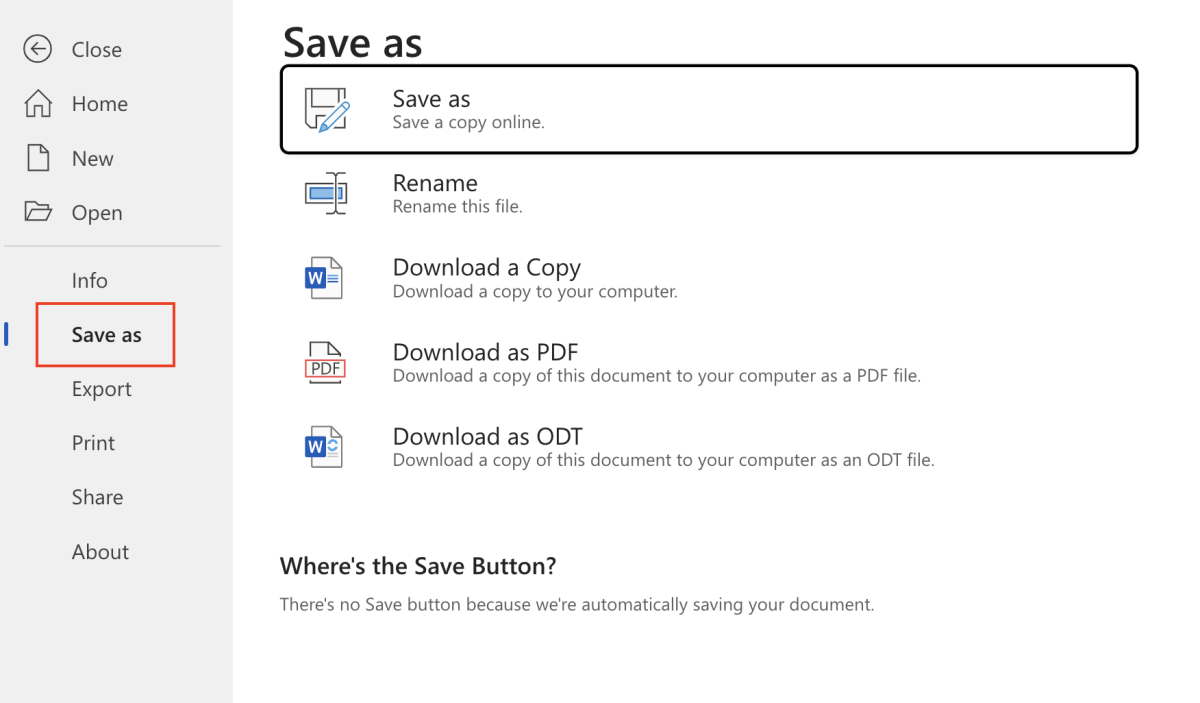
You don’t need to worry about saving documents while working on this cloud service because as you are typing everything is being saved automatically. The are some save options if you click on the file tab followed by save as. The following options are available:
Save As - Save under another file name Rename - Rename the document Download a copy to your computer Download to your computer as a PDF Download as an ODT file to your computer (Open Document Text)
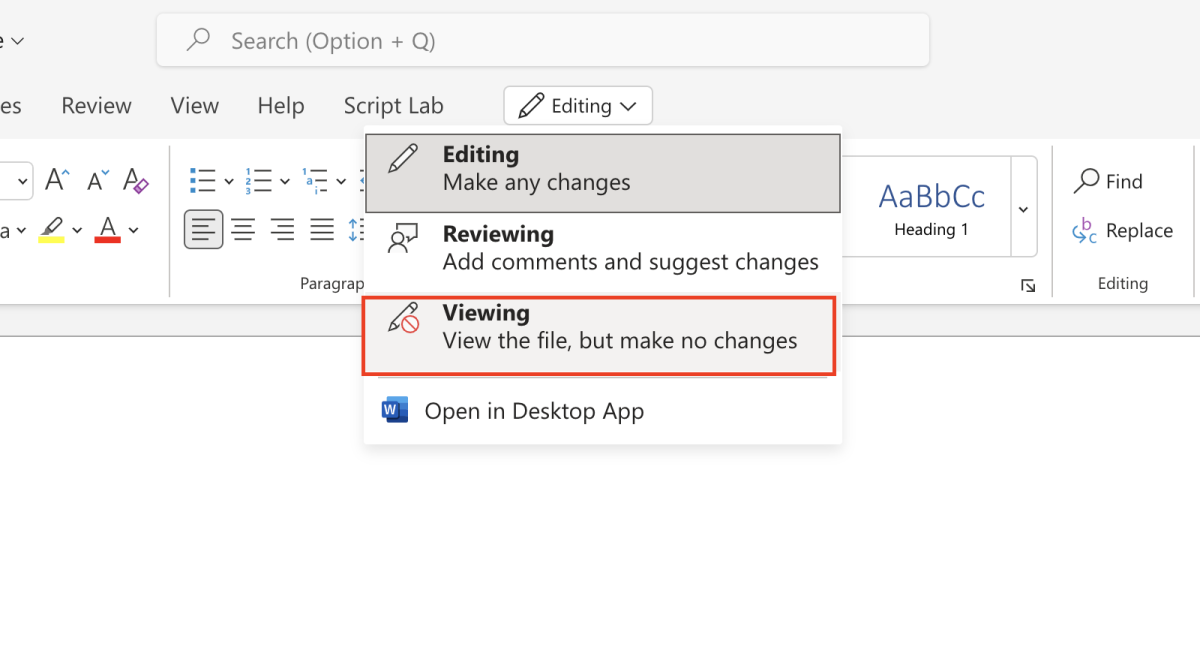
Reading Options
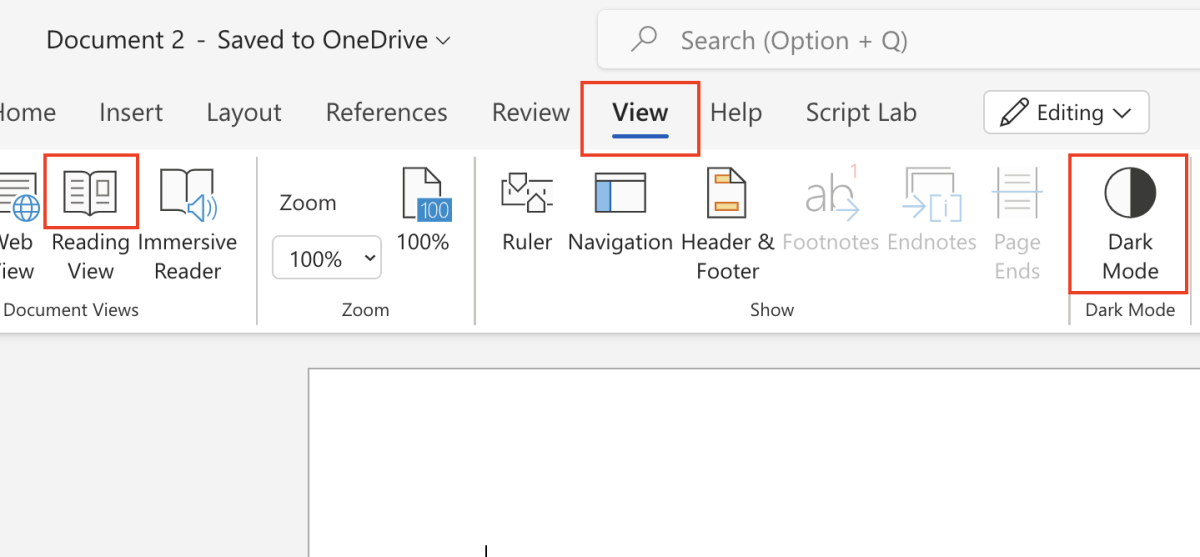
If you are ready to read a Word document, you can select read mode to be sure that you do not make any accidental changes to your final documents. Another method to get to the viewing mode is to select the view tab followed by selecting the reading view. If you feel like there is a lot of glare on your screen the dark mode option can also be found under this tab.
Track Document Changes
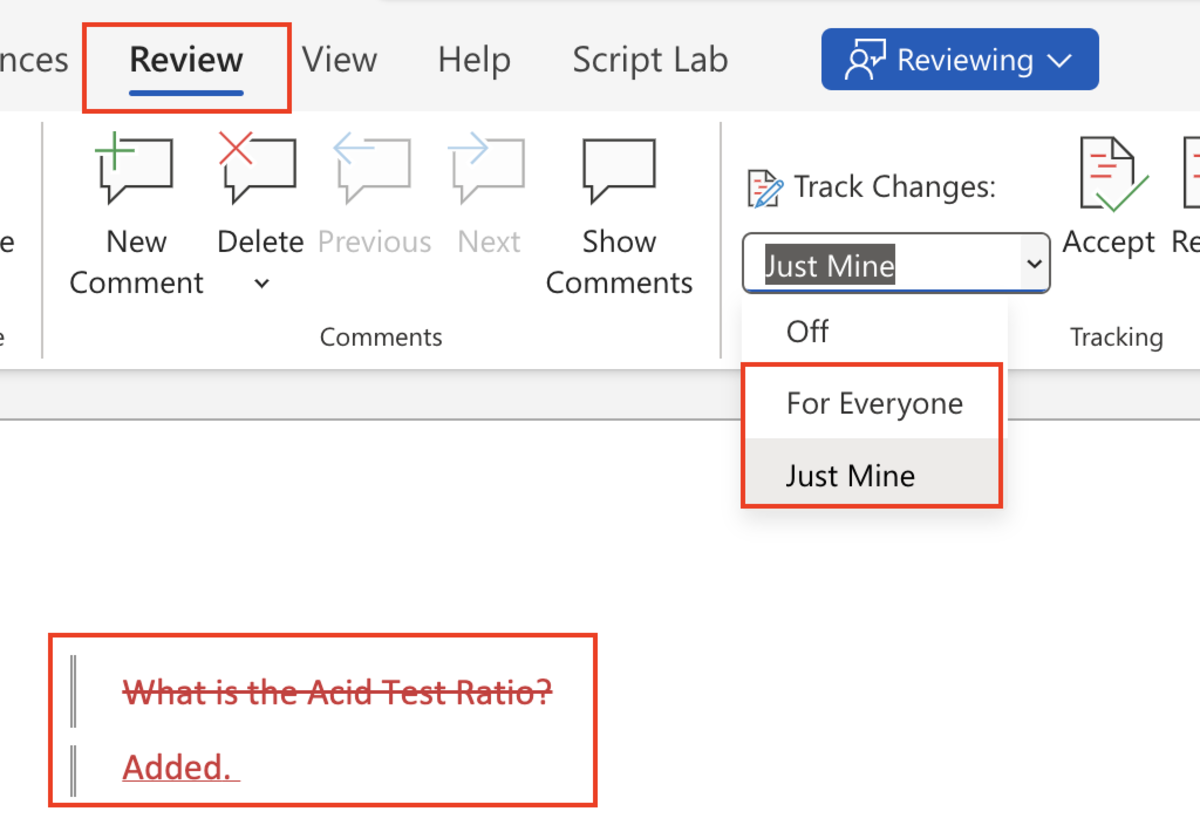
When collaborating it’s a good idea to track document changes. This is especially true if the completed work must be submitted soon. All changes to a document can be shown if the track changes option is selected. Enable track changes by selecting the review tab followed by selecting the track changes drop-down menu. Select the option to track your own changes or that of a group. Notice below that added changes appear in red and anything that is removed is shown as crossed out.
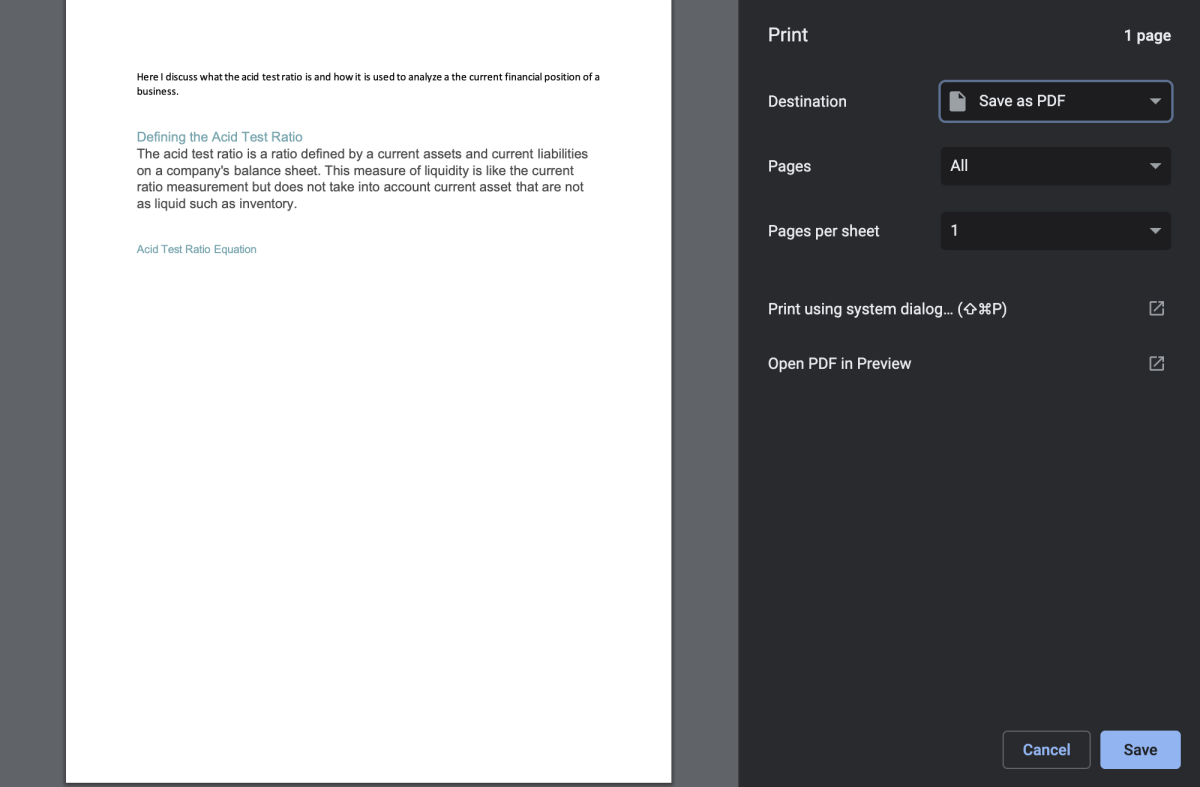
Print a Document
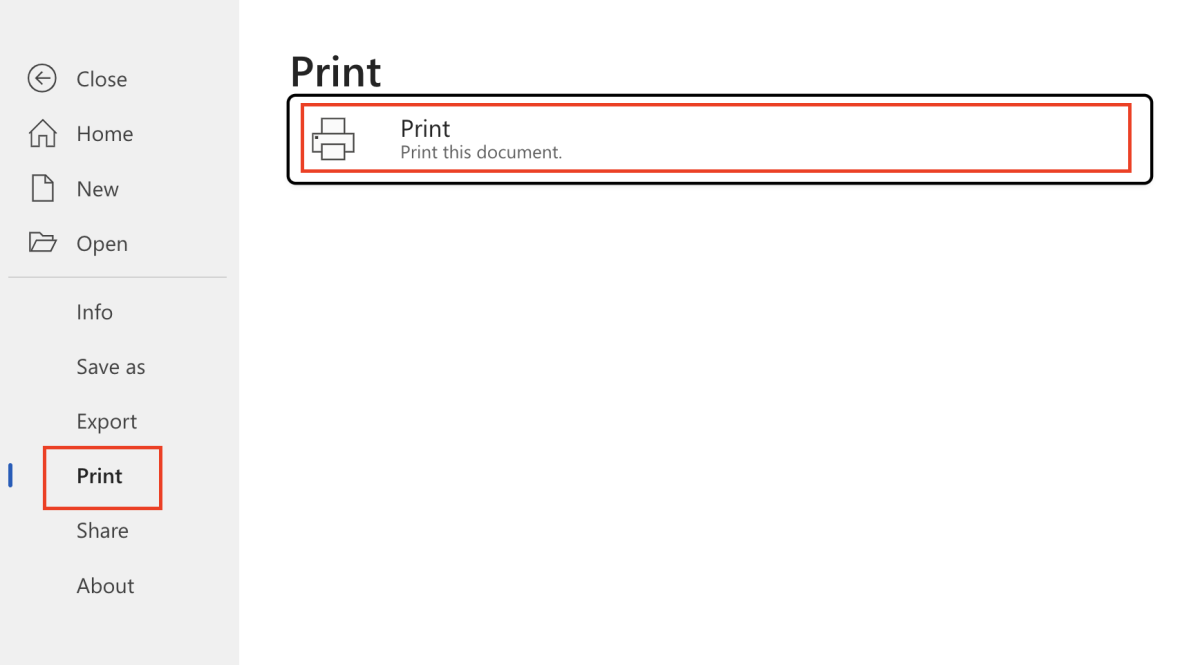
Just like the desktop version of Word you can print documents. To print, choose the file tab followed by the print option. Click the “Print this document” button that appears. A print previewer will appear with limited options. By default, you will be set to print to PDF. Your printer will need to be added to send documents to your printer. This content is accurate and true to the best of the author’s knowledge and is not meant to substitute for formal and individualized advice from a qualified professional. © 2022 Joshua Crowder