Cable and Connector Needed
Step 1
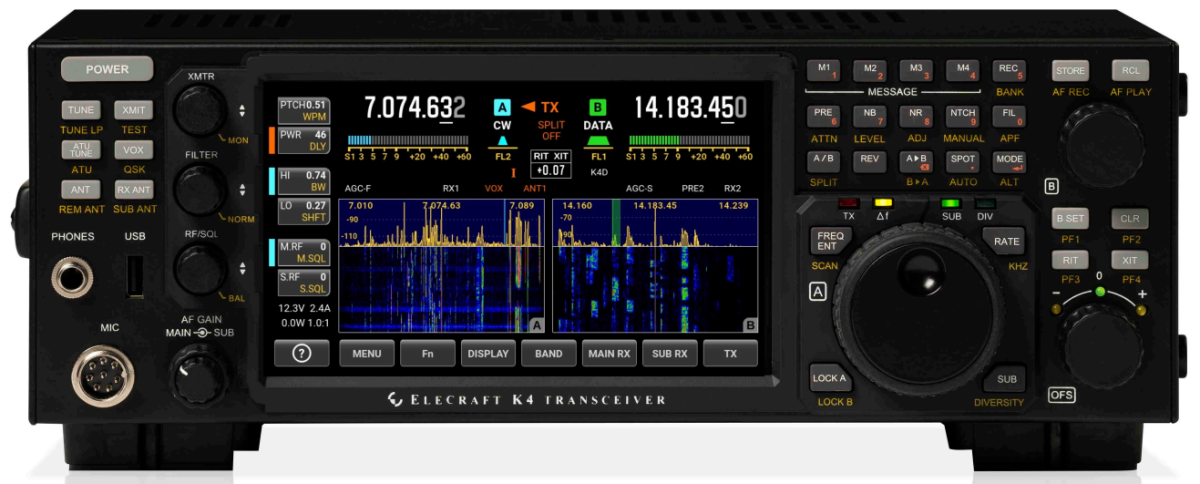
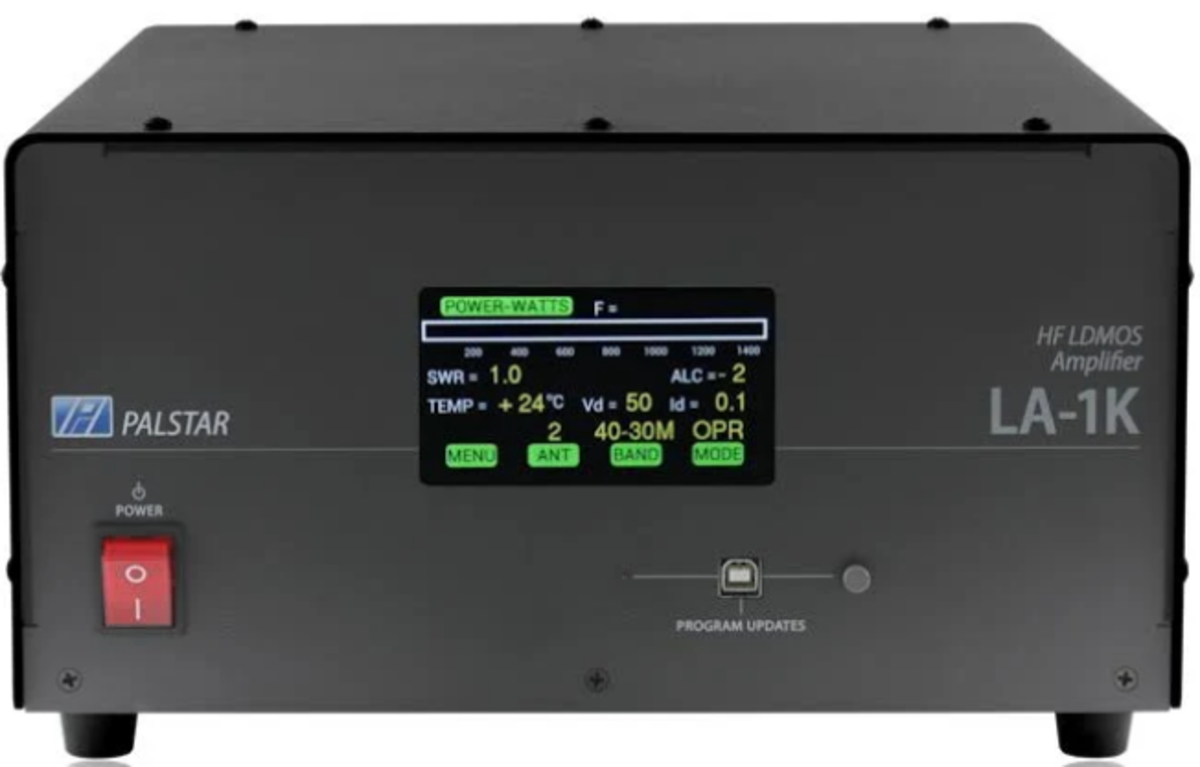
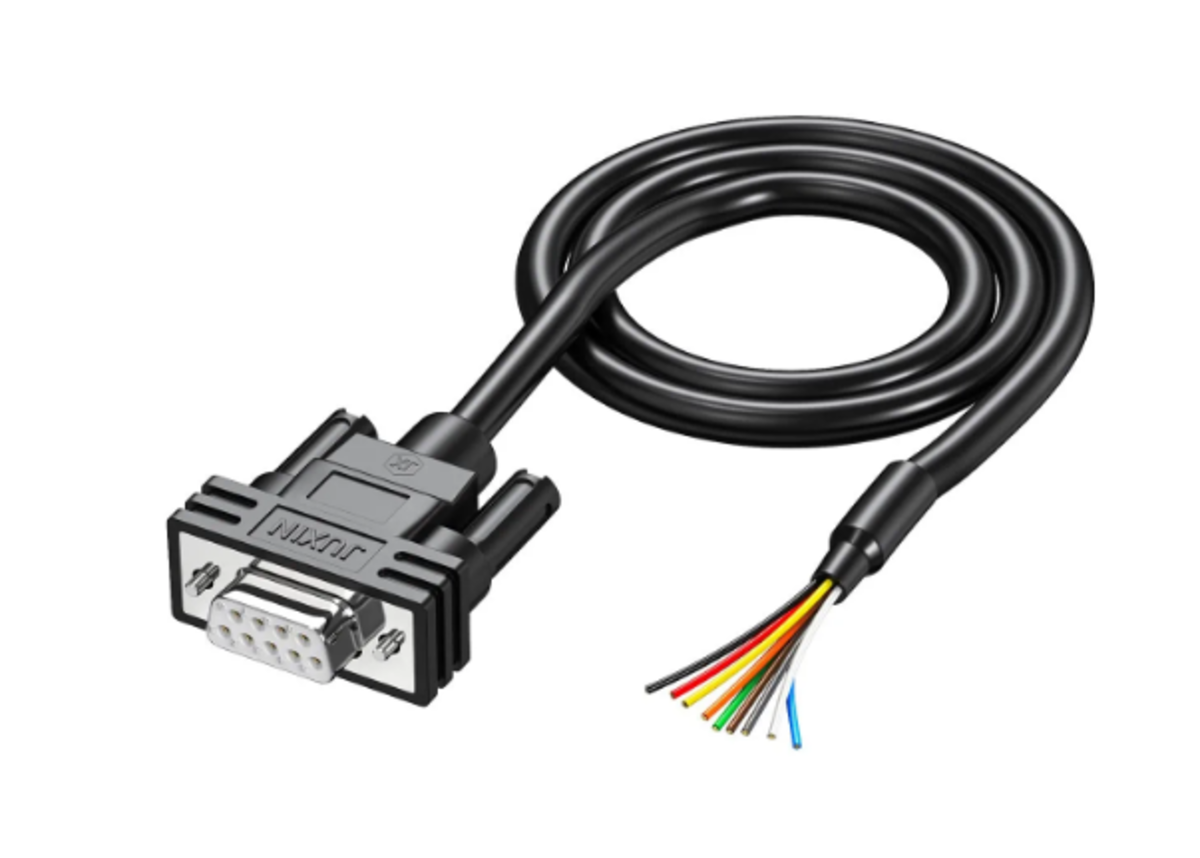
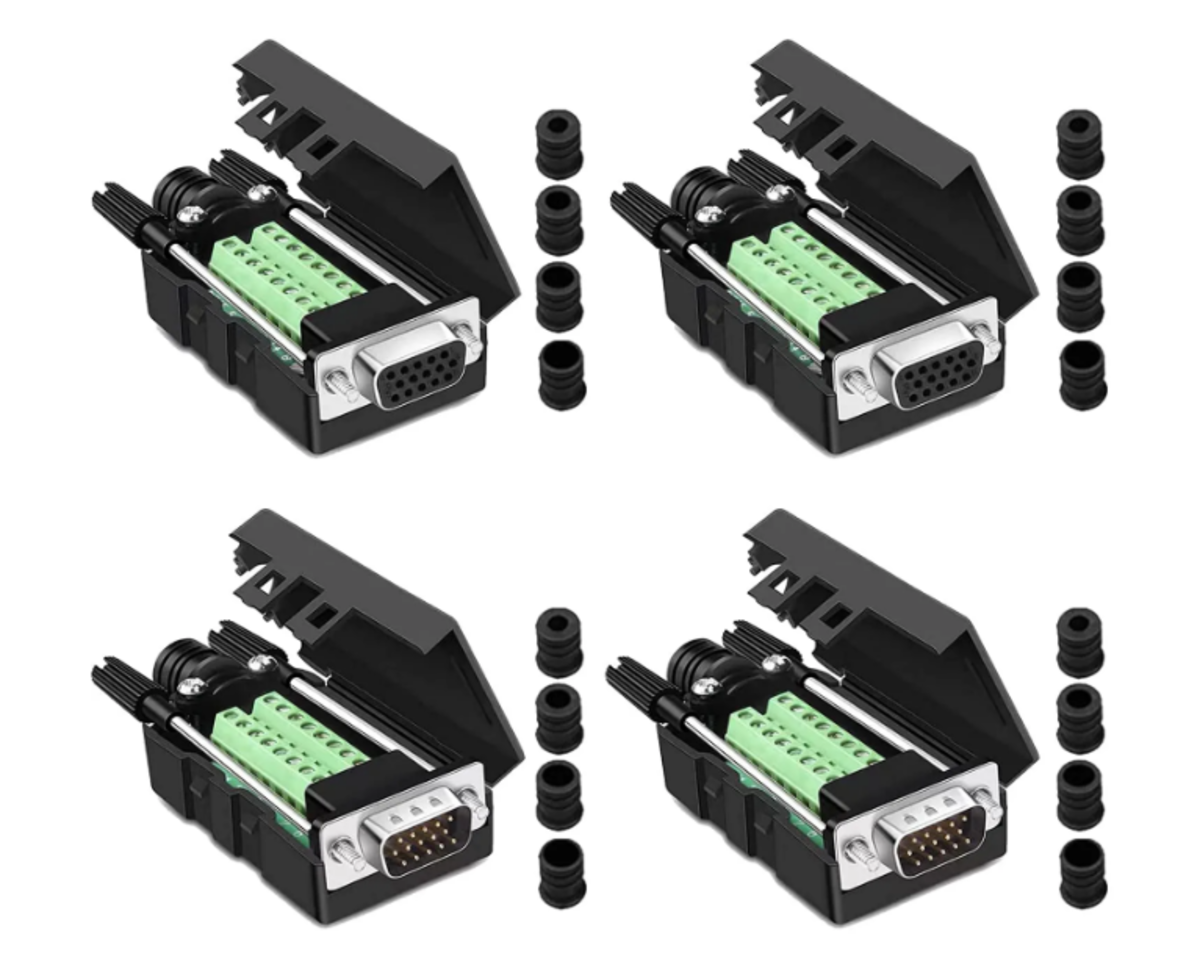
The first thing you will need to do is order the necessary connectors for this build. You will need a DB9 female connector with cable for the LA1K using the Yaesu jack. This radio can also be wired using the Kenwood jack but a DB9 male connector with cable will be needed. A DB15/DE15 male will be needed for the radio side of the cable. I use the type that has screws and does not need soldering. This makes changing or reusing the connector possible and easy. I purchased a 4 pack of DB15 connectors which gave me two males and two females. I have plans for using these for another project so you do not need to get the 4 pack. Make sure you order a long enough cable. We will be using the Yaesu jack in this article. Both the K4 and LA1K are also compatible with Kenwood’s interface connections but a male DB9 with wire would be needed for those connections.
Step 2
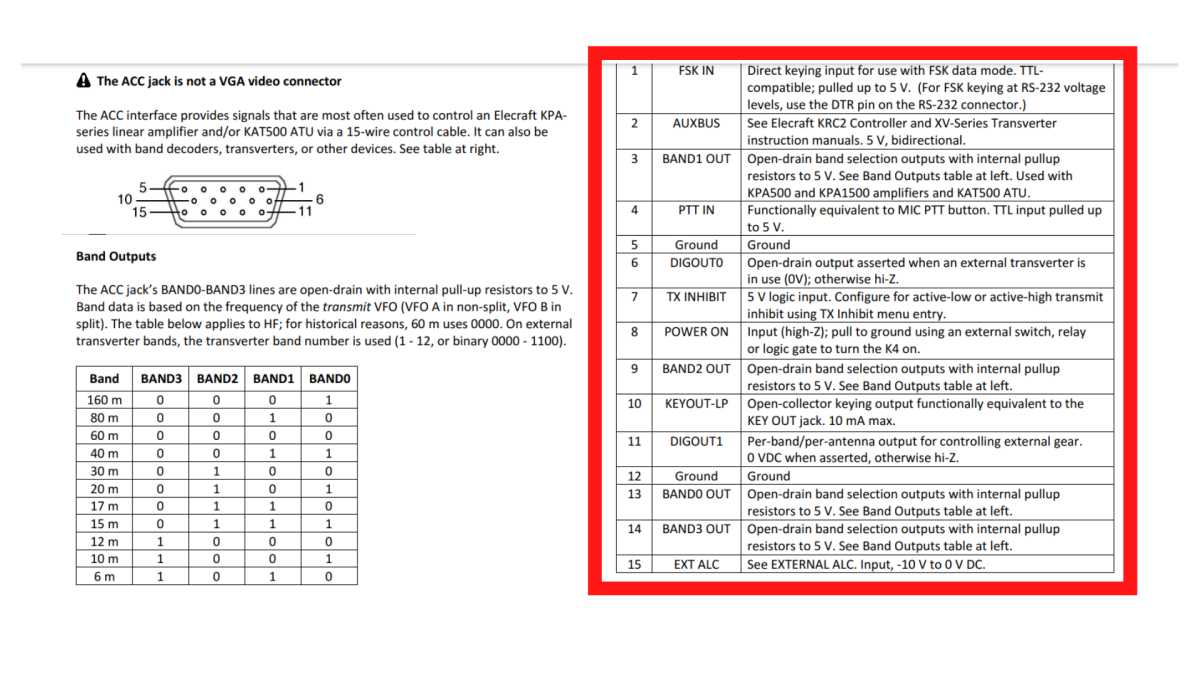
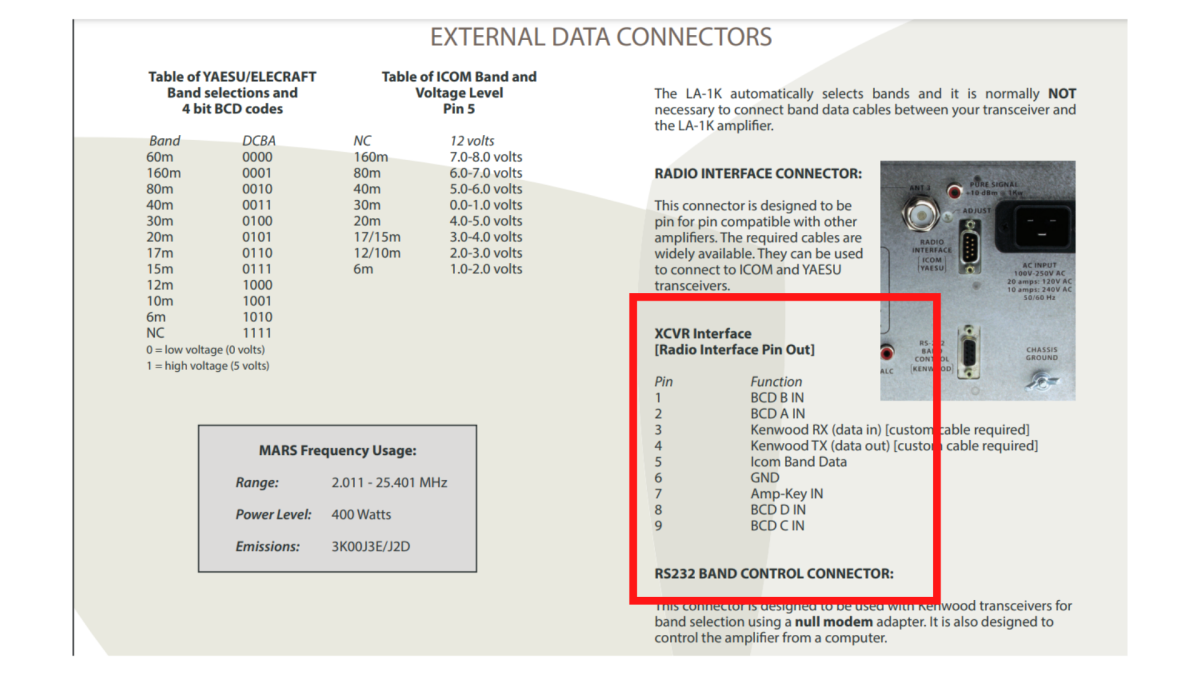
The next step is to get the pin outs for both the radio and amplifier. These can be found in the manuals. Open both of them and have them in tabs so you can switch to them when needed. This step seems confusing because the Elecraft K4 uses the codes 0-3 and the Palstar LA1K uses the codes ABCD. A quick email to Elecraft to verify the correct connections confirmed I was correct. Always check when dealing with equipment as expensive as this.
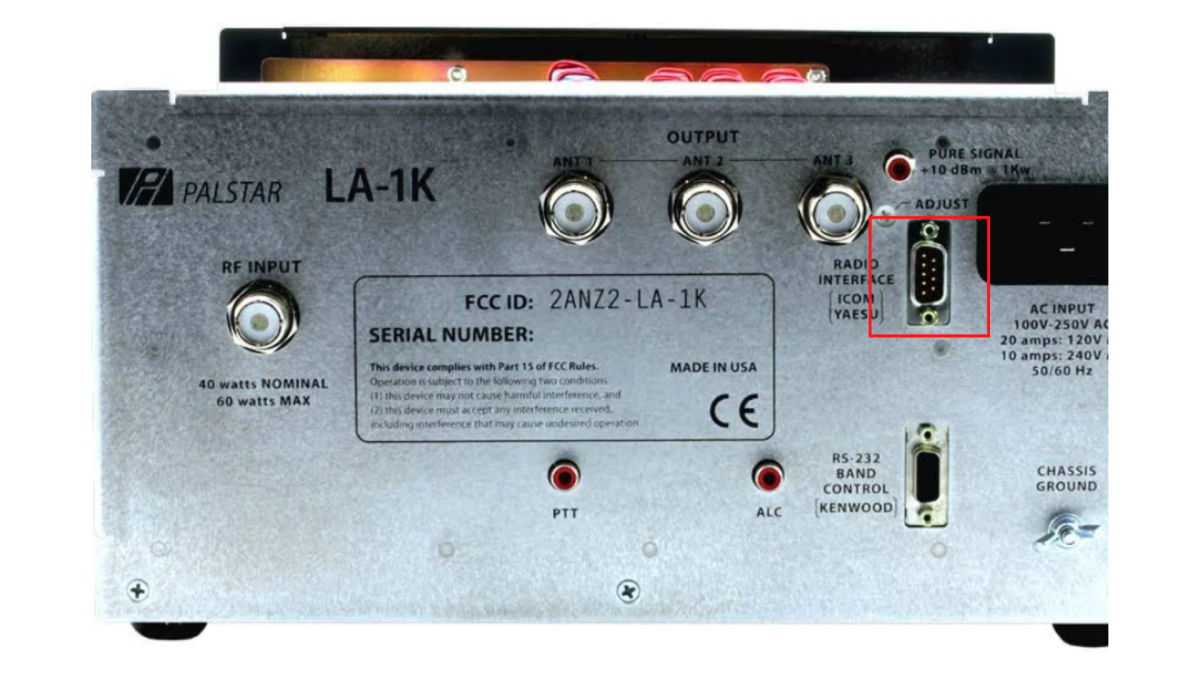
Step 3
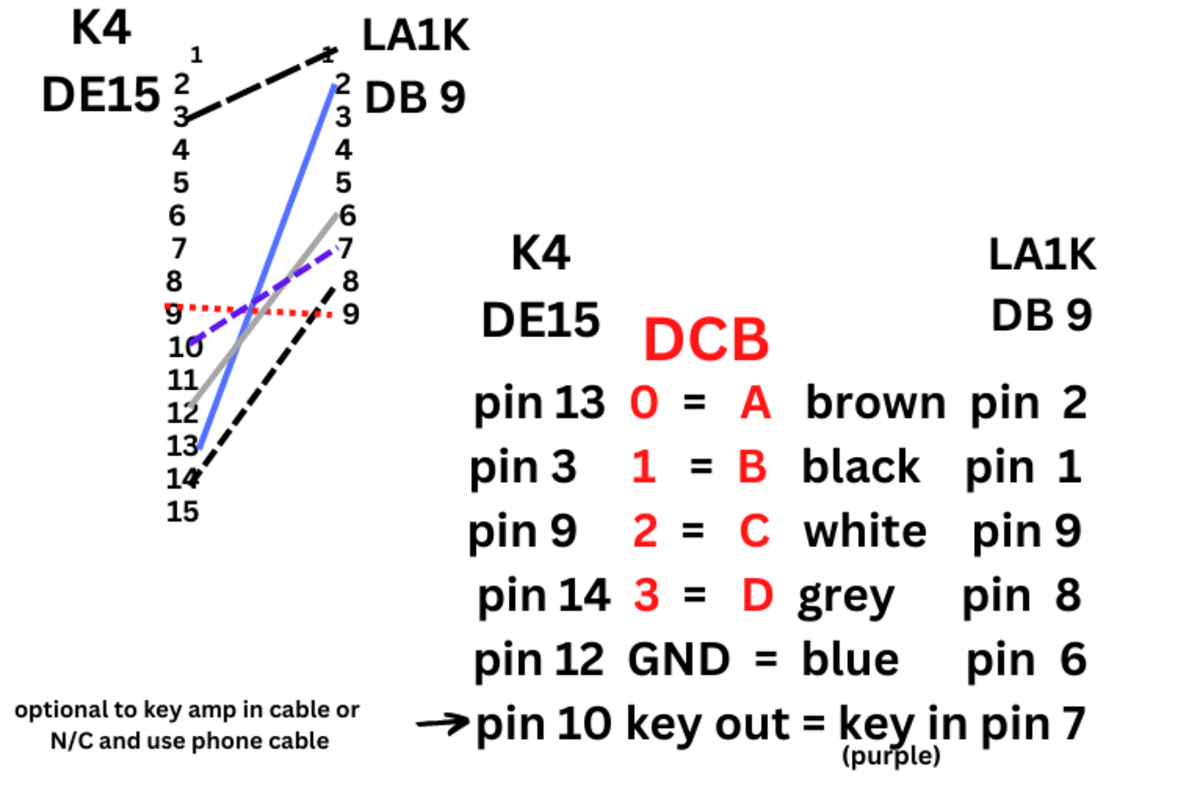
The diagram on the top left shows the wiring connections. We are going to go over the text information lower and to the right. In the red shows the data we pulled from the two manuals. These are the DCBA codes needed to make the band data interface cable switch the amplifier. You will need to connect the 4 band data wires in this manner.
Pin 13 to Pin 2 Pin 3 to Pin 1 Pin 9 to Pin 9 Pin 14 to Pin 8
The colors shown are dependent on the brand of cable purchased. You will need to use an Ohm meter to trace them if they are not marked on the end of the cable that connects to the DB 15.
Ground and Keying
You will need to connect a ground wire. The DB15 has two of them on Pin 5 and Pin 12. I used pin 12 simply because of the ease in making the connection.
Pin 12 to Pin 6
You will also need a way to key the amplifier and you have two choices depending on your set up. If you use an automatic antenna tuner that needs to tune before keying the amplifier, you will want to use the RCA phono jacks. This lets the tuner have control over when to key the amplifier. If you use a manual antenna tuner like I do, you can have the keying connection included in the amplifier interface cable. Make this connection next.
Pin 10 to Pin 7
This will finish the connections in the cable so you can close up the DB15 connector and give it a try.
Step 4
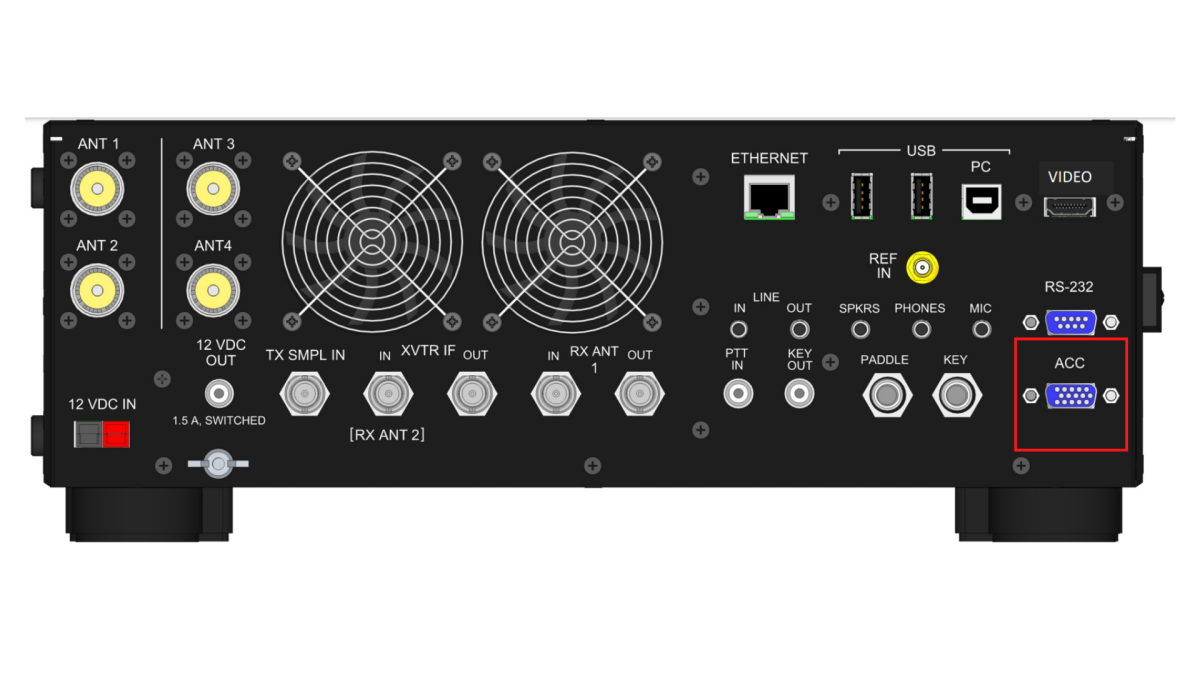
Once the cable is together you will want to connect the DB 15 to the accessory jack on the back of the Elecraft K4. The DB 9 will connect the the Yaesu jack on the back of the Palstar LA1K. If you used the RCA phono jacks for keying you will want to connect them at this time as well because they will be needed to key the amplifier. When testing it for the first time, leave the amplifier in stand by mode and change the bands of the radio. The amplifier should follow the radio by switching to the same band as the radio. Once you confirm all the bands switch correctly. The 60 meter band actually stays on 80 meters on the amplifier but this is correct. They are next to each other. Then you can put the amplifier in operate mode and see if it keys the amp correctly. Do this step with low drive power at first to be on the safe side. If all goes well you will be done with this project.
ALC Connections
If you chose to use the ALC to keep the amp from being over driven by accident. You can follow the manuals on how to connect and set it up. Get on the air and make some contacts. This content is accurate and true to the best of the author’s knowledge and is not meant to substitute for formal and individualized advice from a qualified professional. © 2022 Vince Alvino