There is a preview of each step in this tutorial below starting with how to add the developer tab to the Excel Ribbon.
Step 1. Display the Developer Tab
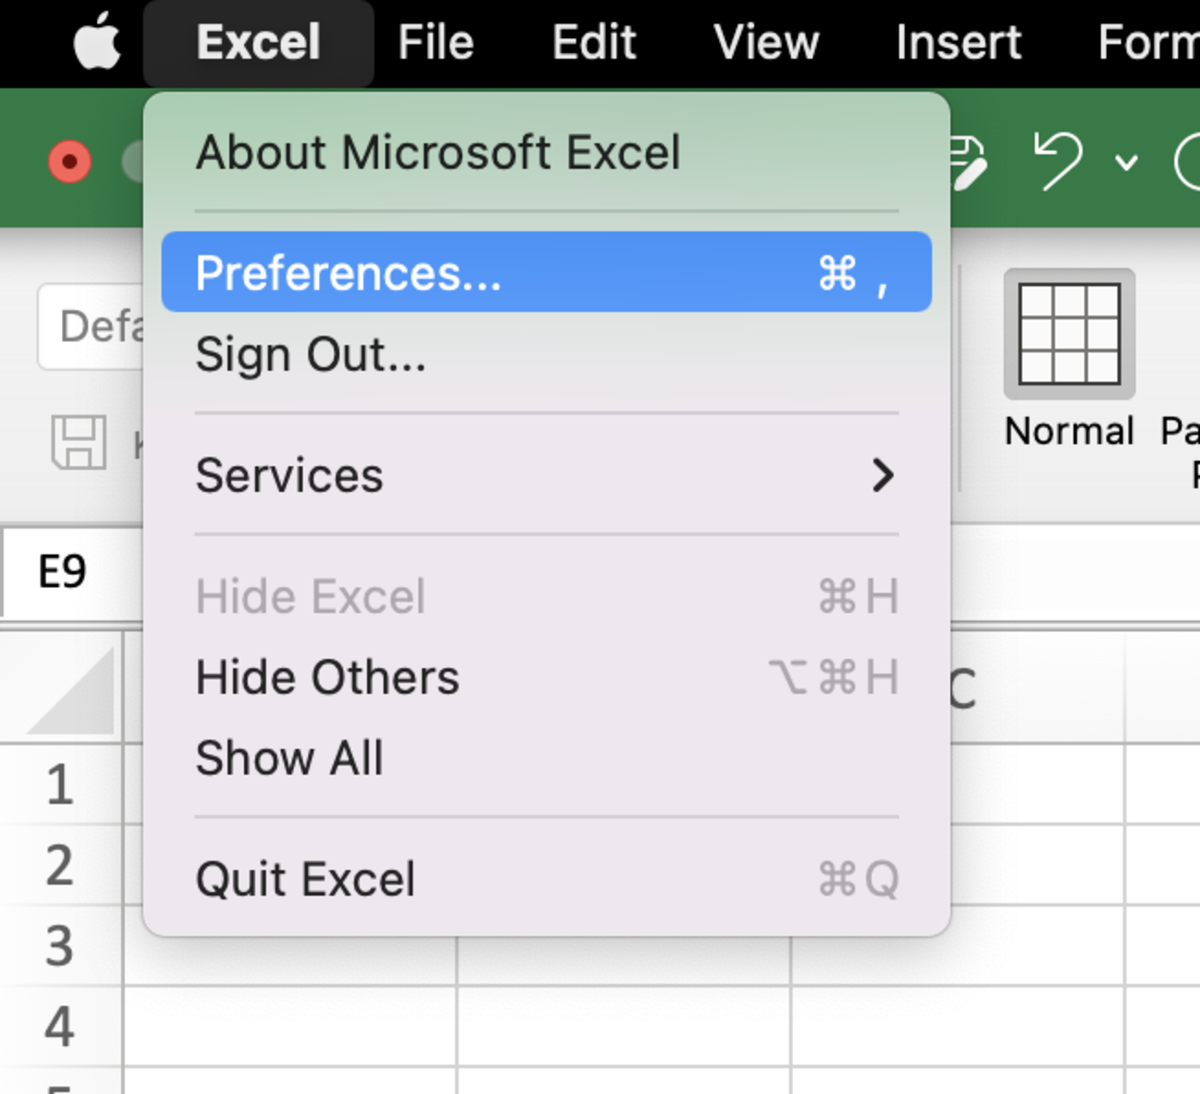
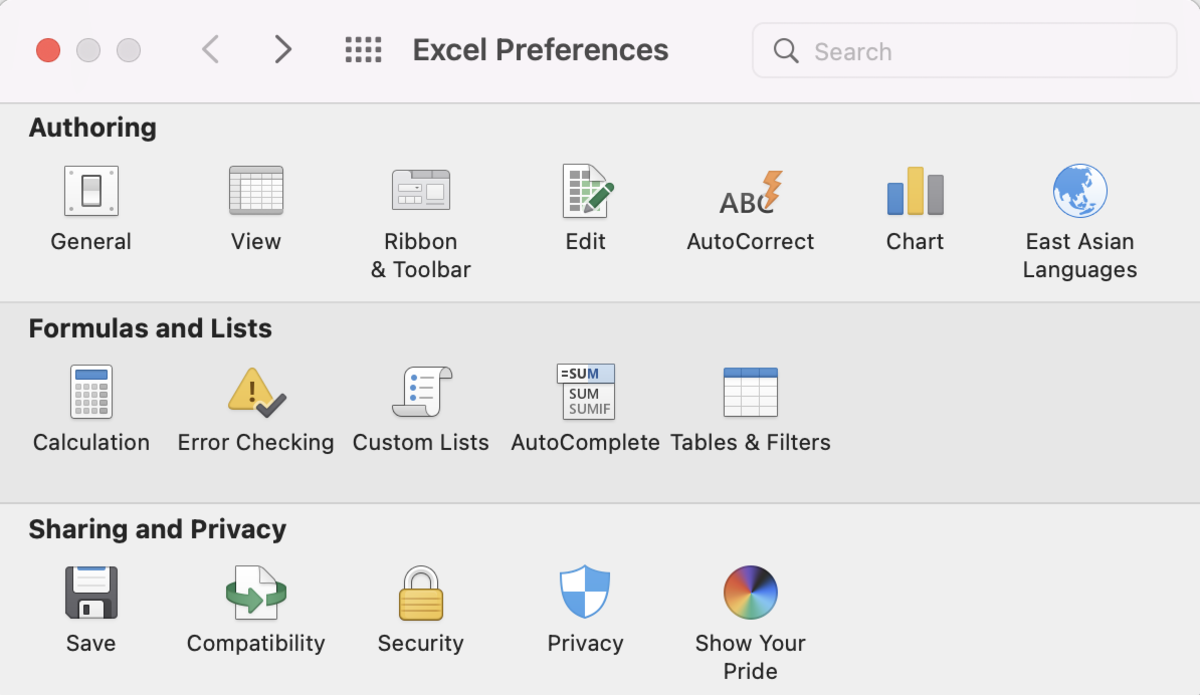
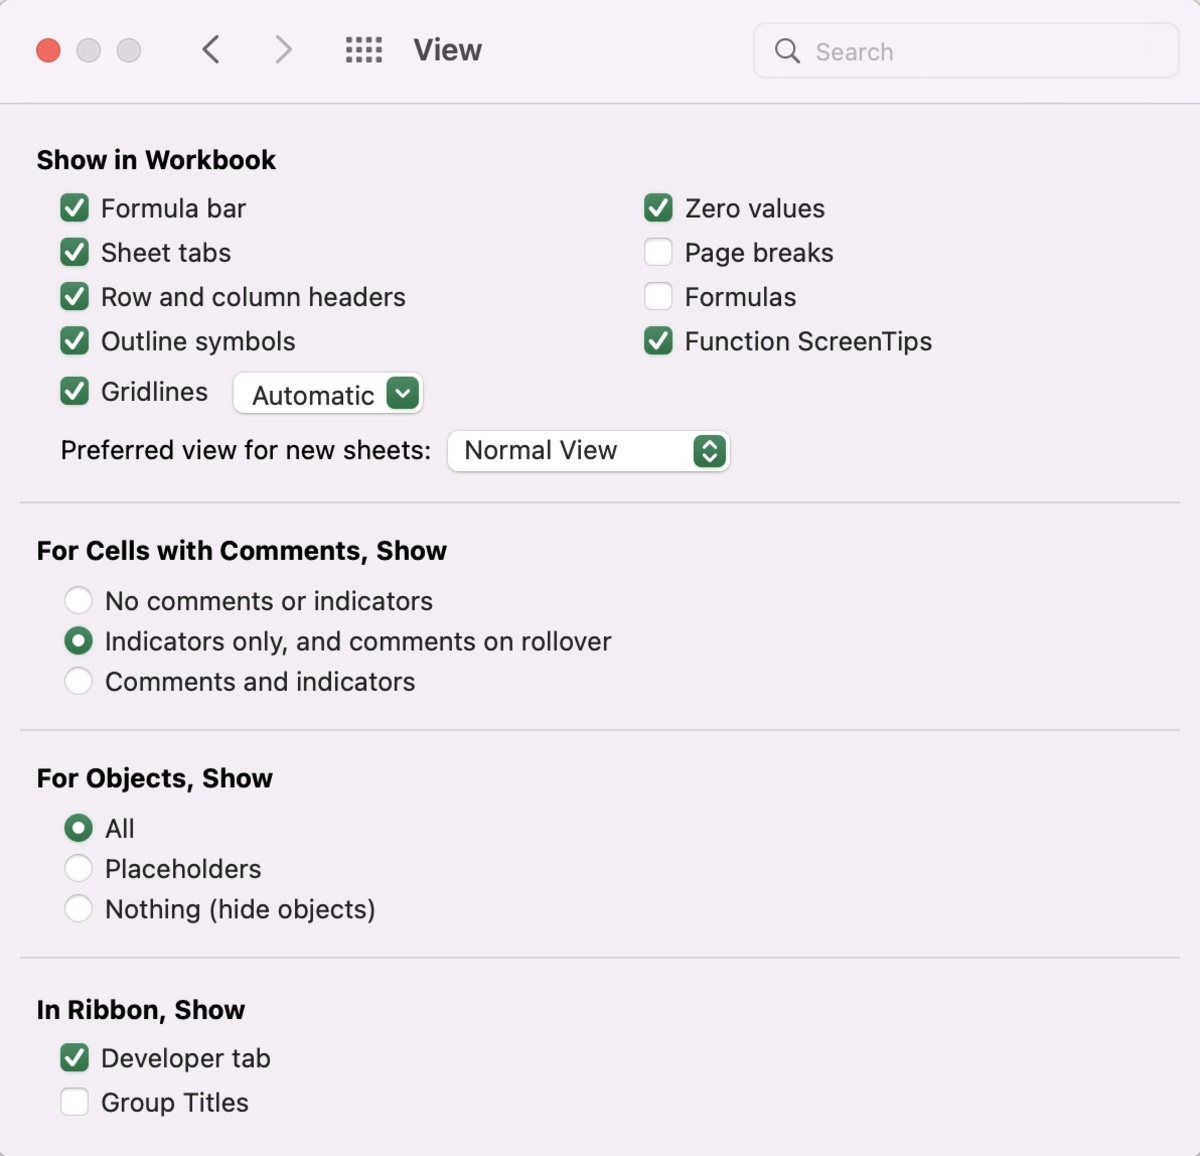
For folks using Windows, you can learn how to display the developer tab with the following link here. To display the developer tab on a Mac, click the Excel tab on the menu. Then, click on preferences. Step 1. Display the Developer Tab Step 2. Add a Command Button Step 3. Run the Macro Step 4. Display a Message Box of Copied Values Next, click on the view button. Click the check box beside the developer tab in the ribbon section at the bottom.
Step 2. Add a Command Button
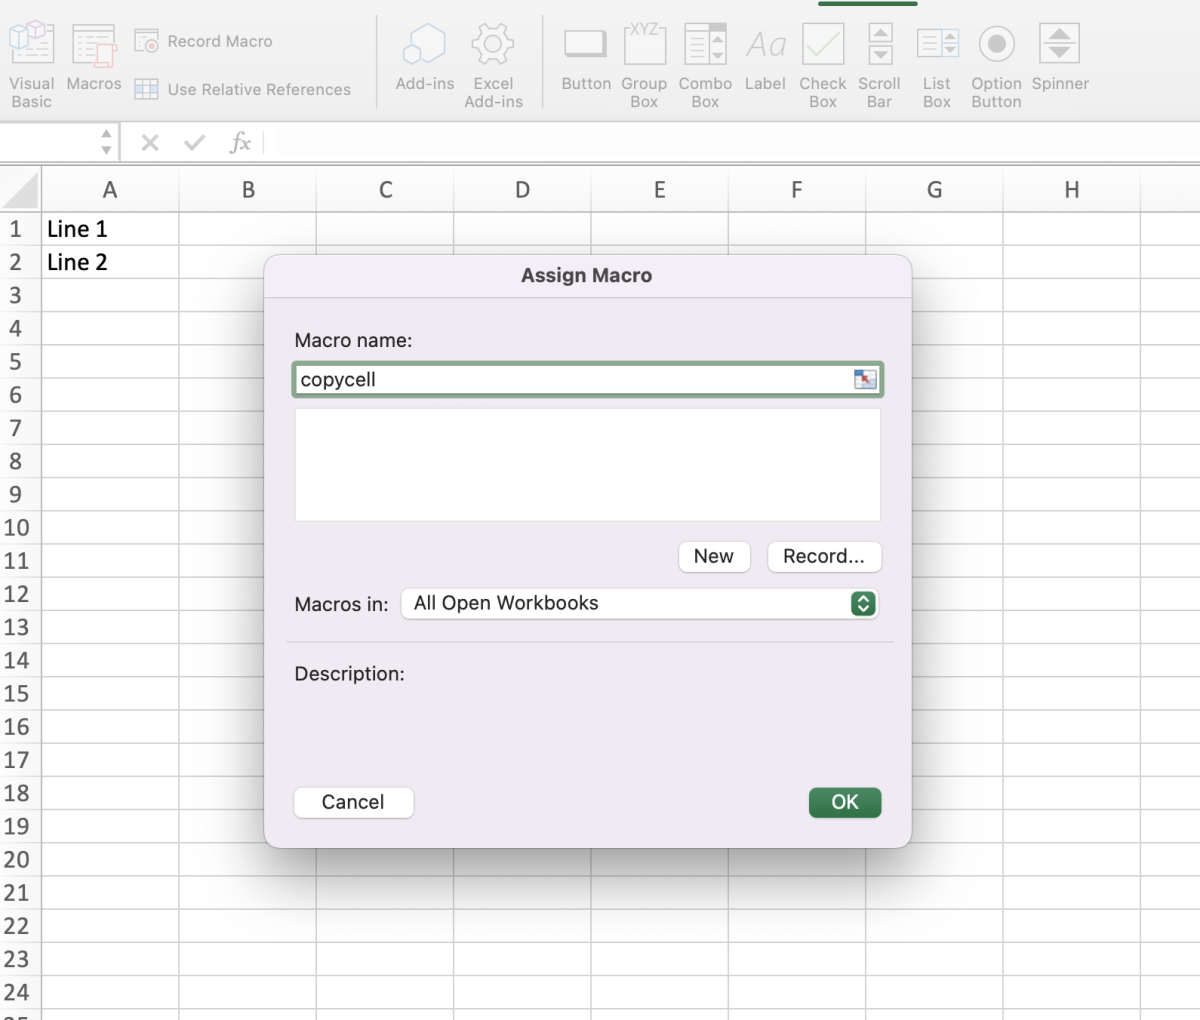
For Windows machines, go to the developer table and click on the insert option. Click on the command button then trace the size of the button you want on the worksheet. For a Mac, go to the developer tab and click on the button icon. Next, click on any cell in the spreadsheet. Name the macro with no space and select the new button.
Step 3. Run the Macro
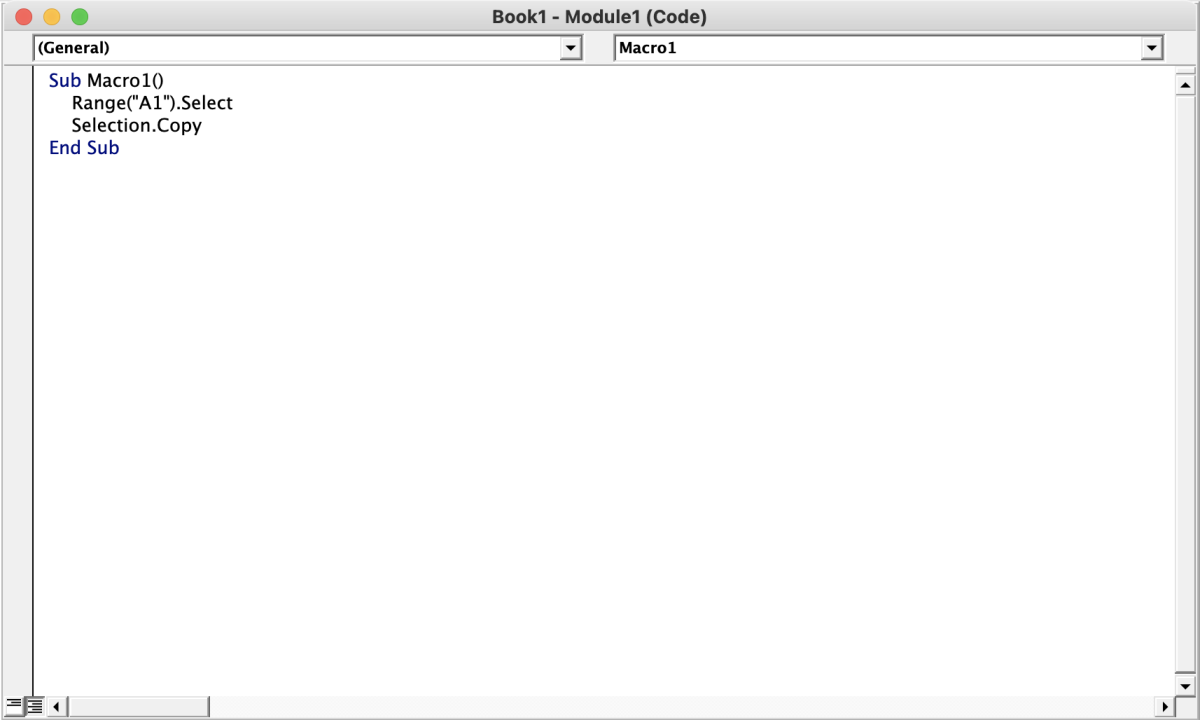
A module will appear in a new window. Copy the below code and paste it into that module and replace the name after sub with the name created before clicking new in the assign macro window.
Sub copycell() Range(“A1”).Select Selection.Copy End Sub You can now copy the cell stated in the macro that is assigned to the button by clicking on the button. If you have a range or more than one cell to copy, simply replace the cell reference with a range reference like the one in the code below.
Sub copycell() Range(“A1:A2”).Select Selection.Copy End Sub
The button name can be edited in Windows by right-clicking on it or by holding control + click on a Mac followed by clicking on the button text.
Step 4. Display a Message Box of Copied Values (Optional)
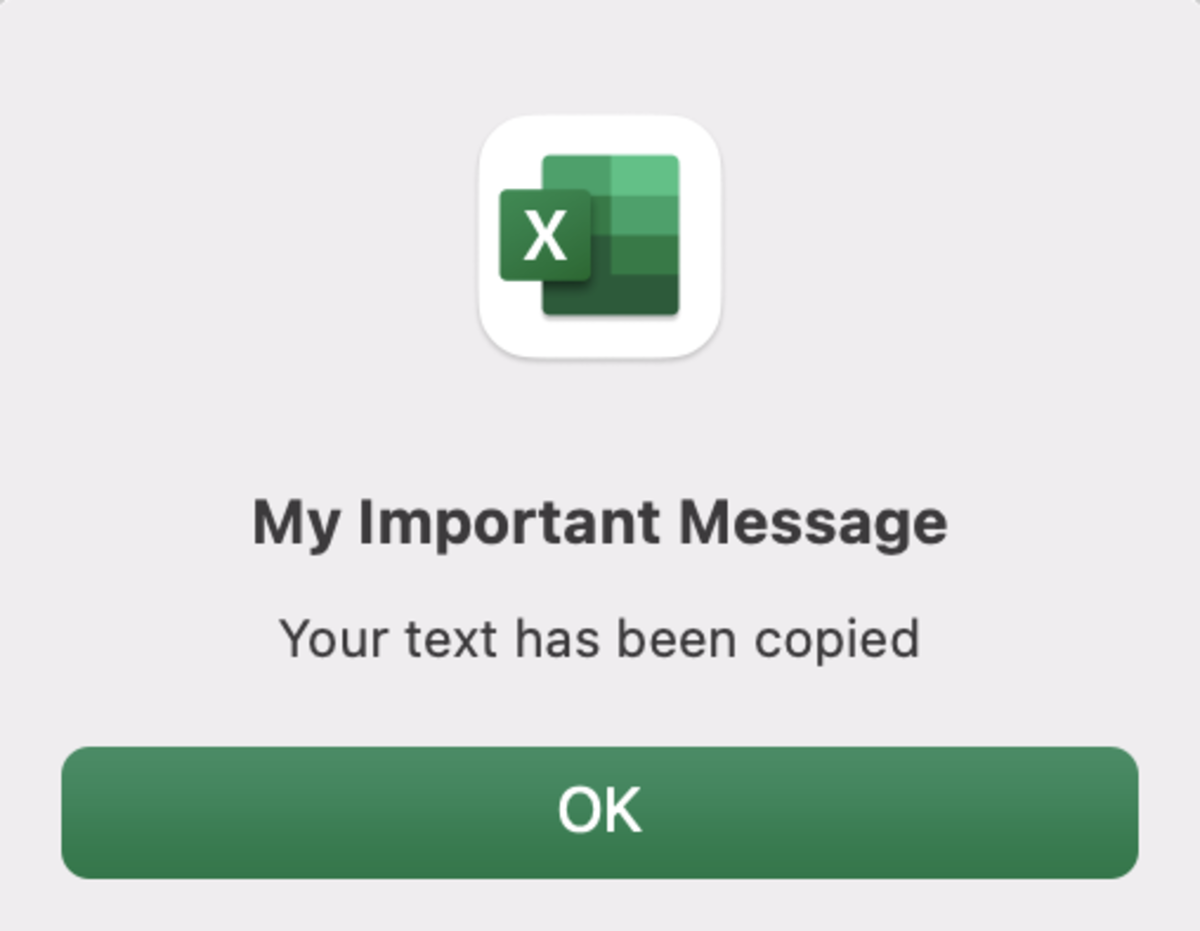
If you would like a message box to appear with the copied cell value(s) another line of code is required. Usually when I use a copy button the contents of the cell is created with a dynamic formula and hidden. In this situation, I would like to review what has been copied to the clipboard with a message box. The new line of line code is shown in the macro below that that will display a message box. Replace the sheet name and the range that you would like to appear in your own message box. Additionally, at the end of the code, you can give the message box a custom title.
Sub copycell() Range(“A1:A2”).Select Selection.Copy MsgBox Worksheets(“sheet1”).Range(“A1”), ,“Copied” End Sub
Message Box Tips
Instead of using a cell reference for the message box body, you may use a text string. MsgBox “Content was copied”, , “Copied”
A cell reference can also be used in the title of the text box. MsgBox “This Box”, , Worksheets(“sheet1”).Range(“A1”)
The ampersand symbol can be used to add spaces and join additional strings. This also works with cell references. MsgBox “This Box” & " " & " and That Box", , “Title”
To execute multiple lines of text use vbNewLine with ampersands before and after between your cell references and text strings. & vbNewLine &
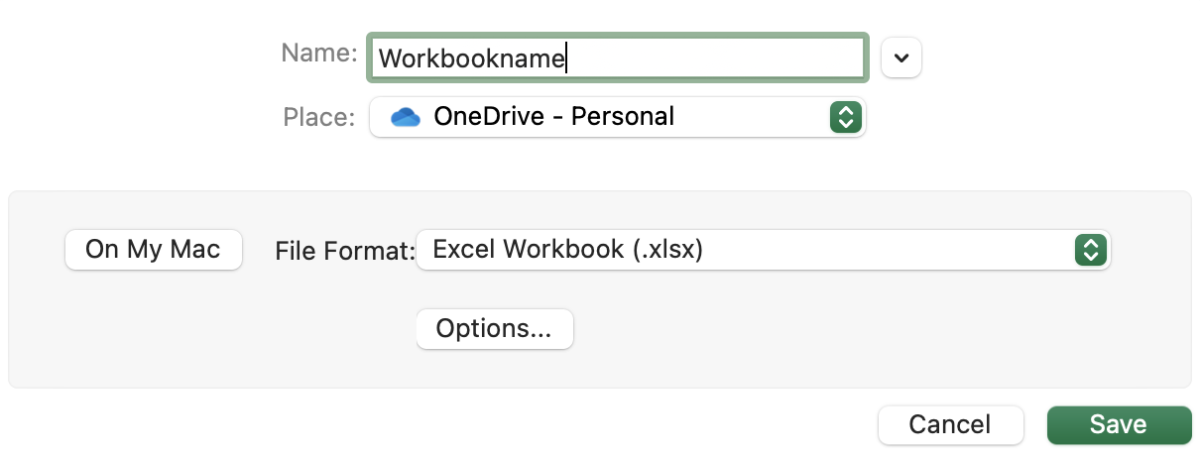
Step 5. Save As Macro-Enabled Workbook
After creating your macros, be sure to save the workbook as a macro-enabled workbook or .xlsm file. If this is not completed the macro buttons will not work the next time the workbook is open. This content is accurate and true to the best of the author’s knowledge and is not meant to substitute for formal and individualized advice from a qualified professional. © 2022 Joshua Crowder