It’s no secret that the iPhone has a built-in video editing function. With it, you can already do basic video editing tasks such as trimming and cropping a video. You can also apply basic video effects and even adjust the video’s contrast and brightness. However, it cannot do advanced video editing such as applying custom effects like the old film effect. If you want to create a video with this type of effect, you will need to install a third-party video editing app that has blending modes and allows you to edit in layers. A few good examples of these apps would be VLLO and KineMaster. Here’s an example of how applying an old film effect on a video would look like after you’re done:
Part 1: Find and Download Old Film Stock Footage
The first thing that you will need is old film stock footage. You can also use a GIF or convert the old film stock footage into a GIF. There’s a lot of free old film stock footage that you can search for and download online. Just make sure to use stock footage that is free to use or that you have properly obtained permission to use it for your own videos. You can search for these types of stock footage on sites like Pexels, Vecteezy, and even on Pinterest.
Part 2: Set Resolution and Import Video
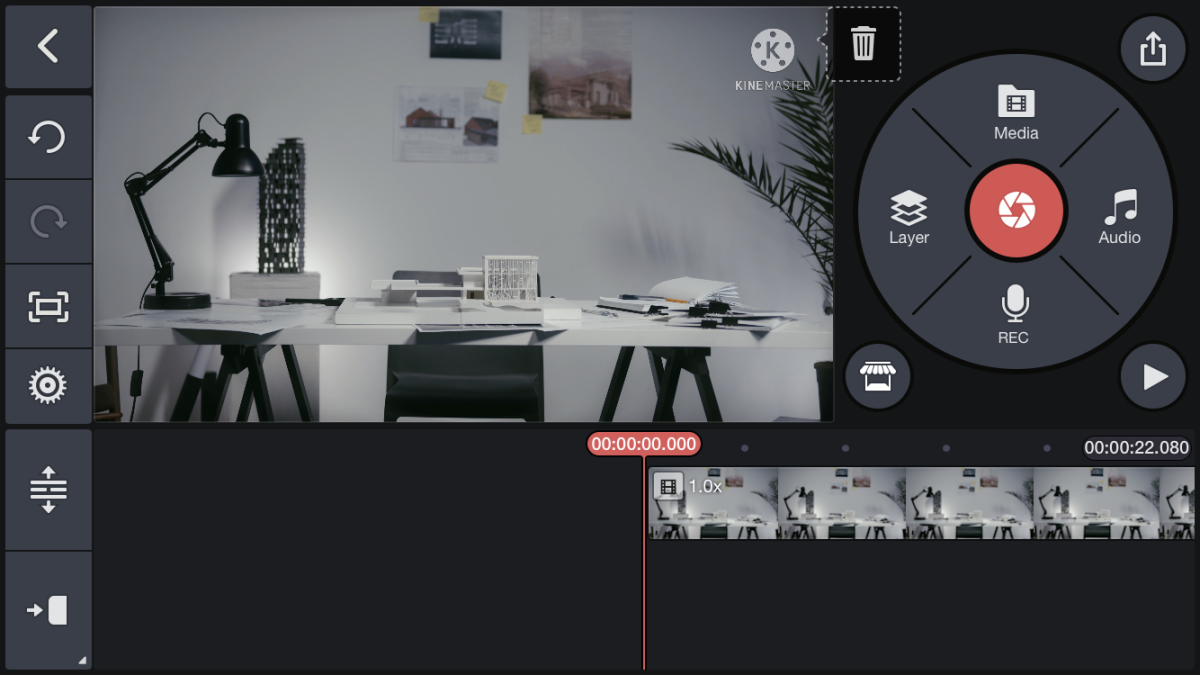
Now that you have your old film stock footage ready, open your video editing app on your iPhone. Set your desired video resolution (ex. 16:9) and photo display mode. By now, you should be seeing your editing workspace. Start off by importing the video that you wish to apply the old film effect to.
Part 3: Trim, Cut, and Filter
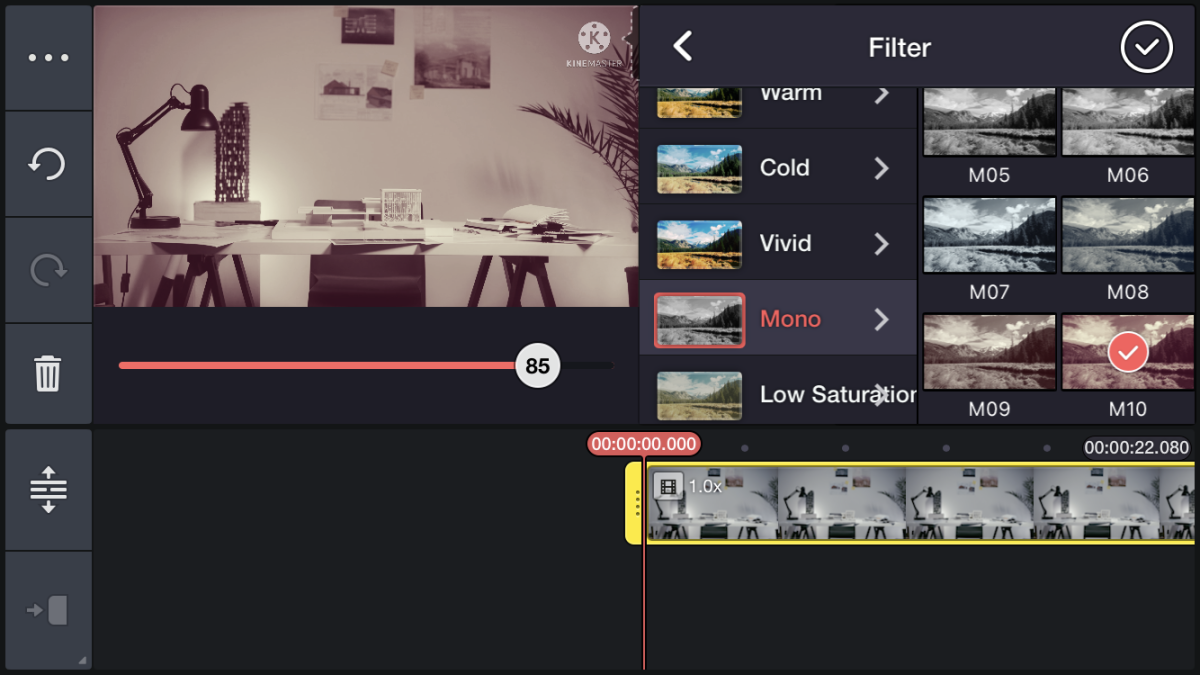
Once you’ve added the video, you can trim or cut it as you like. You can also apply a filter to your video to make it retro or vintage-looking. For example, in KineMaster, there are the Mono M09 or M10 filters. Choose and apply the filter that would best suit your preference for a vintage-looking video.
Step 4: Add the Old Film Effect Overlay
Now that you are done preparing your video, you are ready to add the old film effect overlay. What you need to do here is simply import your old film stock footage or GIF and put it on a new layer. Make sure that the old film effect overlay is completely covering up the video in the main layer or it is at the position where you want it to. Once it’s on a position or duration that you desire, go ahead and tap on the old film effect then select “Overlay” as the blending mode. You should immediately see the overlay effect being applied to your main video. Now, go ahead and adjust the blending opacity to 50% or to an opacity level that you think would blend well with your main video. Do not forget to tap the confirmation button to apply the said changes.
Step 5: Preview Your Results
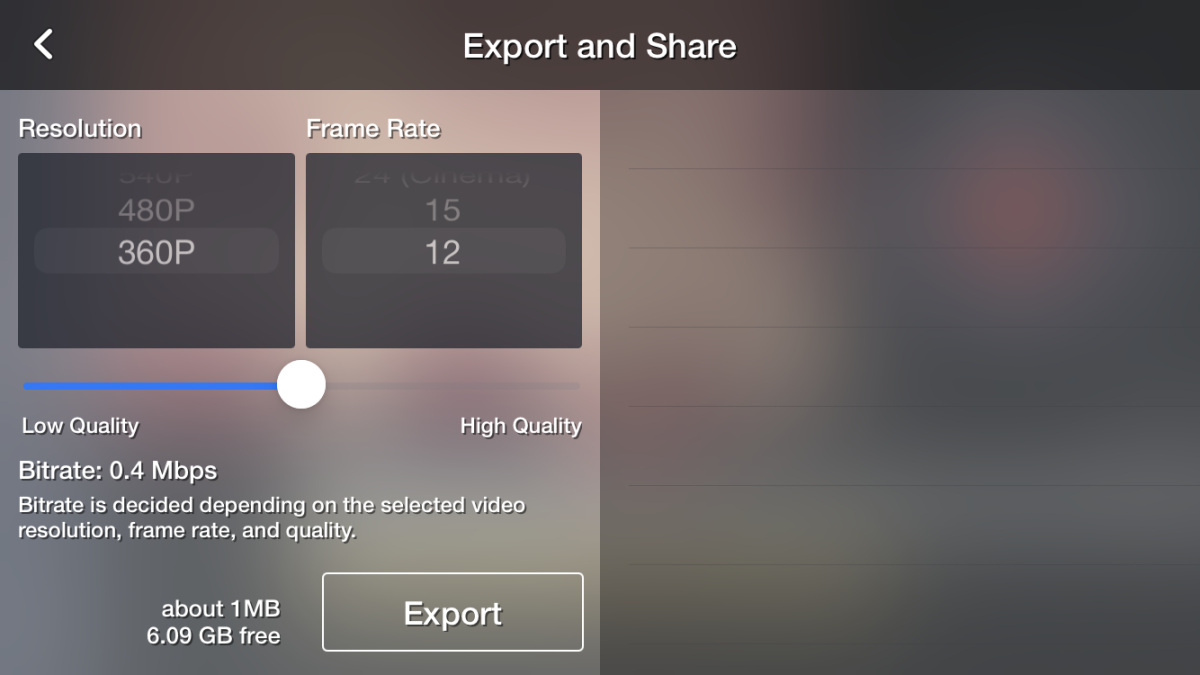
Play your video and see if you are already satisfied with the changes that you made. If not, go ahead and tweak the settings a bit more until you are fully satisfied. Do not be afraid to experiment on the effects, filters, etc. By now, your video should be looking all retro or as if it’s being recorded by an 8mm film camera. So with that, you simply export and save your video according to your desired settings. You can even save it at 360p resolution at 12 frames per second to make it look even more retro!
Congratulations on Your Old Film Effect!
That’s about it! You don’t really need to use a premium app or a special recording device just to create a retro-looking video. All you need is your iPhone, a reliable but free video editing app and some basic editing skills to achieve the said outcome! So go ahead and try it out! This content is accurate and true to the best of the author’s knowledge and is not meant to substitute for formal and individualized advice from a qualified professional. © 2021 Kent Peligrino