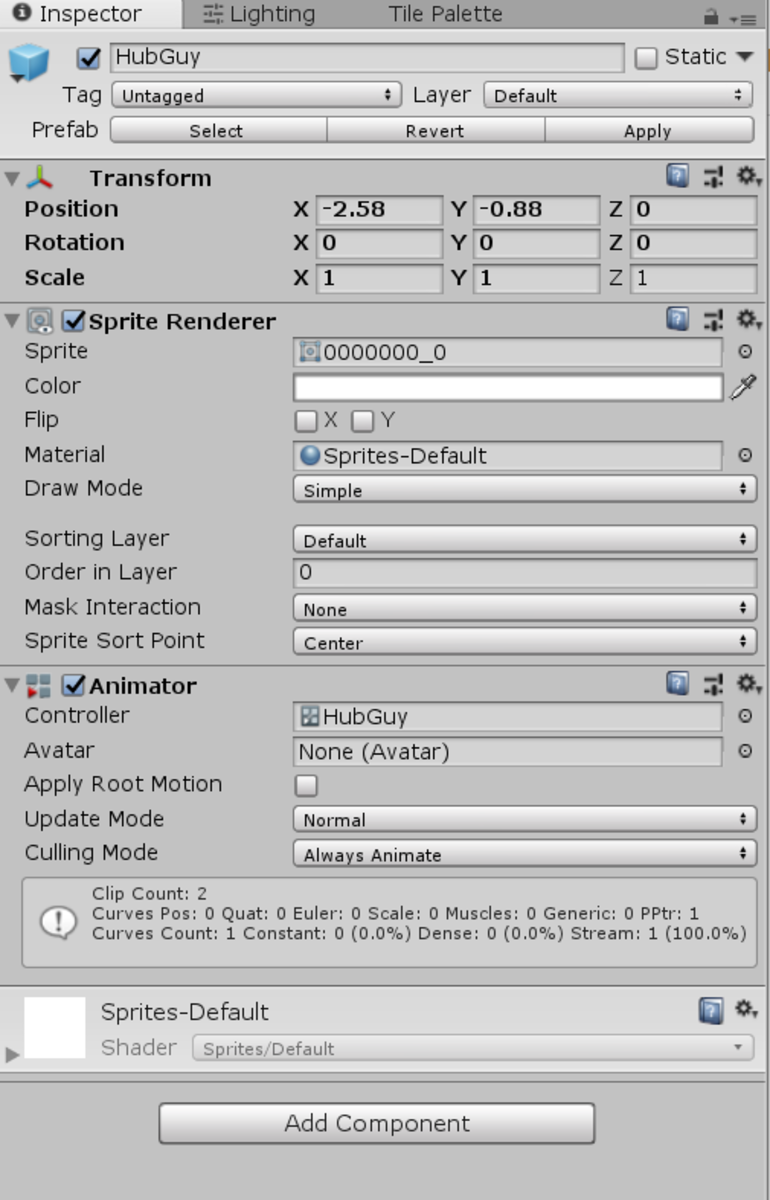
Adding and Removing Components in the Inspector
The easy way to both add or remove components from a GameObject is via the Inspector. Create a new GameObject and have a look at the Inspector on the right side of the screen. You’ll see something like this: Sprite Renderer and Animator are both components of this GameObject, and if you wished you could enable or disable them by clicking the check marks in the top-left corner of the component. You can add more components by clicking the ‘Add Component’ button at the bottom of this window. This will open up a branching list of components you can explore and Search at your leisure. Note that custom scripts also count as components, and will appear in this listing. It’s usually a good idea to disable components you no longer want to use by clicking the check mark. This will preserve any values you’ve entered in case you change your mind later. If you know you won’t be using that component again, however, you can either right-click on the name of the component or click the cog icon at the top-right corner of the component to open a menu. Click Remove Component.
Adding and Removing Components During Runtime
Using the Inspector is easy street for components. Adding or removing them during runtime is a little bit trickier, but it’s still not that difficult, and only requires a few snippets of code. We’ll start with adding a component. Let’s say you have a GameObject that goes from intangible to requiring a collider. You would use the following piece of script to give it a collider: componentObject is the GameObject, and BoxCollider2D is the type of component you want to add. This code will instantly add a BoxCollider2D to the componentObject when the U key is pressed, and if componentObject is near another object with a collider they would immediately interact. It’s worth noting that you can also manipulate the values of the new Collider right off the bat. Simply set it to a variable, like so: Here the new BoxCollider2D is identified as exampleCollider, and after it’s created, the component is set to be a Trigger. You can similarly change its Offset, Size, Edge Radius, and so forth. Any attribute of a component that can be set via the Inspector can also be set in code. It is important to note that you can add multiple iterations of some components. Colliders are a prime example of this. Other components, such as Animators, cannot be duplicated. If you need to add multiple of the same component, it’s wise to store their values in a List or Array, or at the very least assign them to variables. Adding a component is simple enough. How about removing a component? It’s even easier. There is no ‘RemoveComponent’ code; however, you just Destroy the component, like so: ‘GetComponent’ is the command typically used for manipulating the component’s values, and in this case, we use it to verify that the GameObject does, indeed, have that component attached. If it does, the component is discarded when the user hits the V key. This content is accurate and true to the best of the author’s knowledge and is not meant to substitute for formal and individualized advice from a qualified professional.