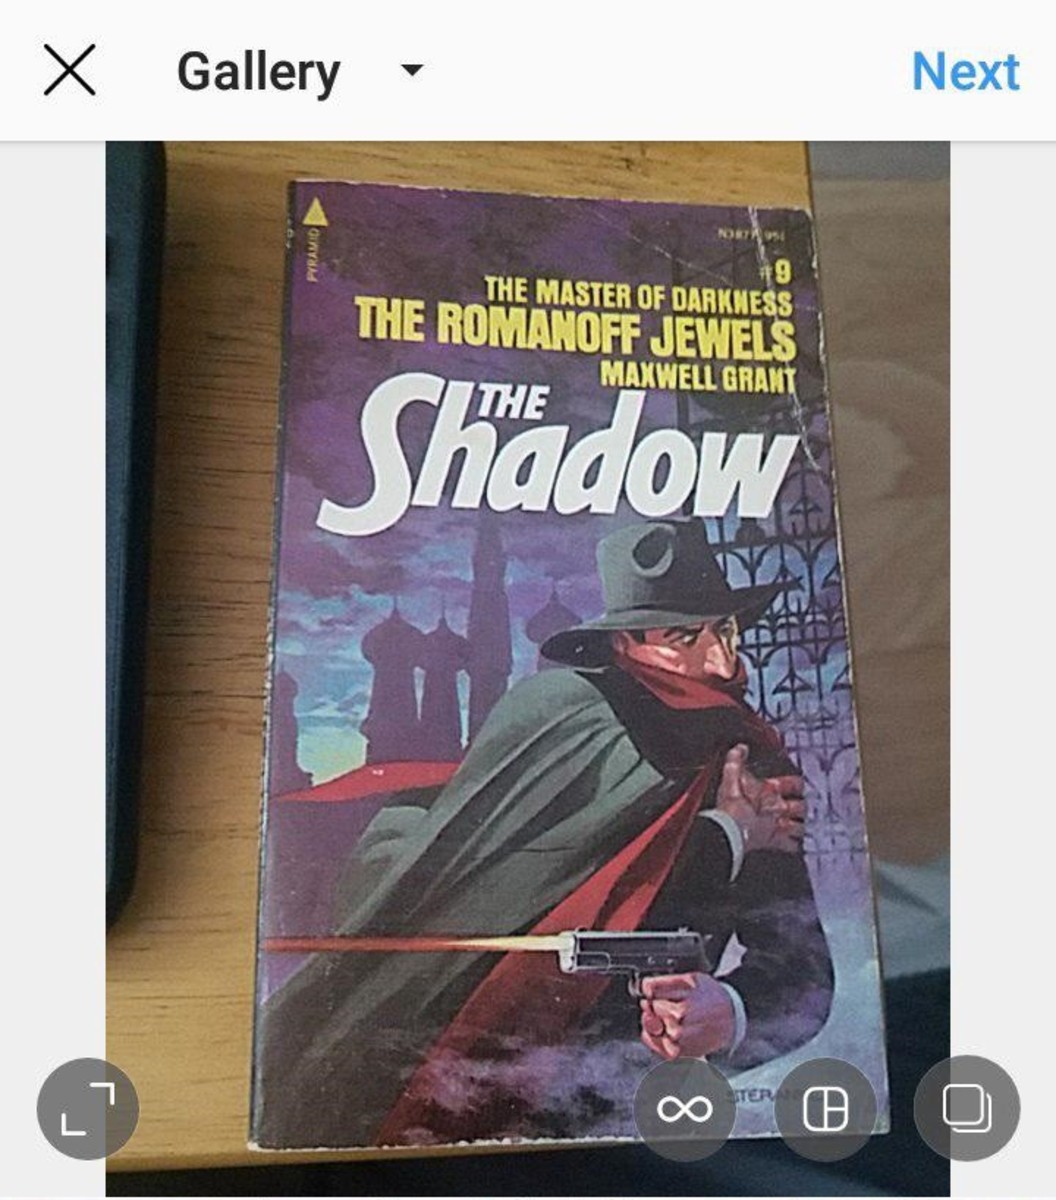
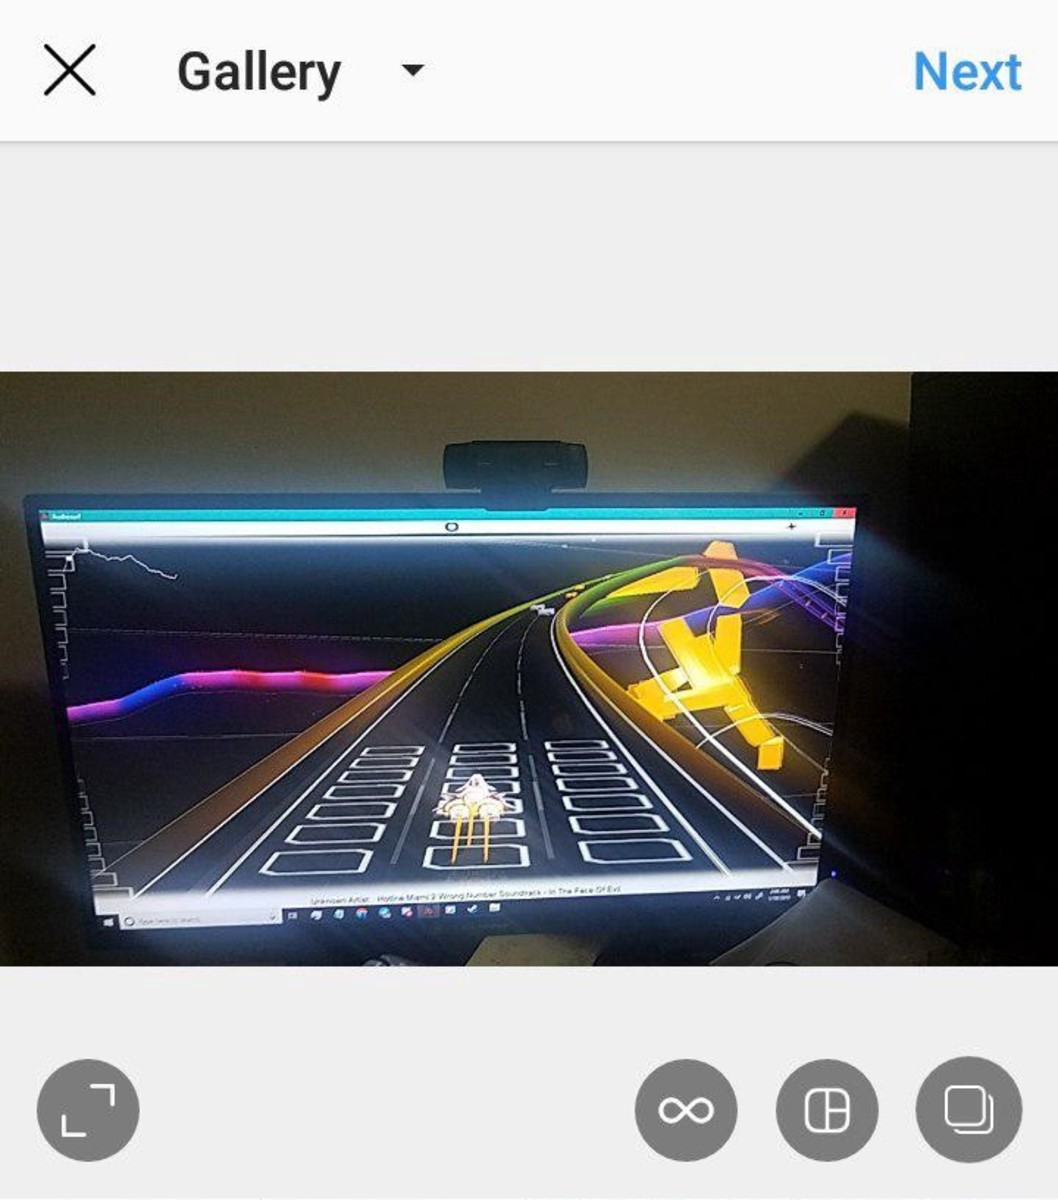
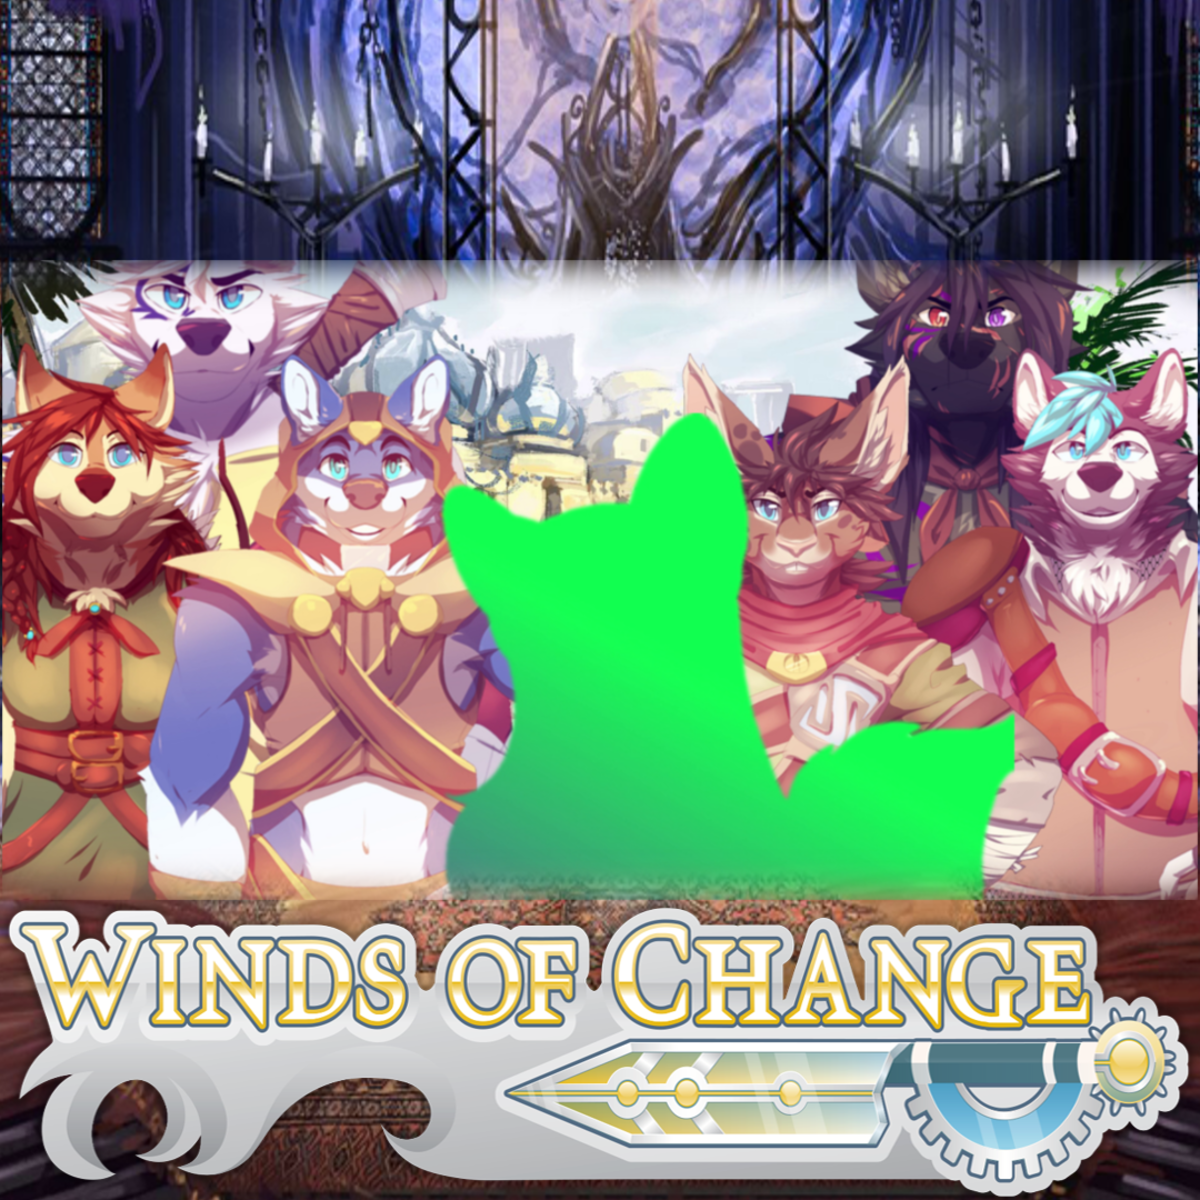
If you attempt to upload a landscape style picture and zoom out, you’re greeted by this: And for some images, you can’t even zoom out all the way, which prevents you from being able to fully show off whatever pictures you’ve taken. This is a constant problem for both myself and a decent chunk of other potential and current users of the platform. Plenty of photographers, artists, and even general users have expressed frustration to me with Instagram’s stingy want to stick with the square resolution. Artists that I know get either a large chunk of side income or their primary income through art. Instagram’s huge user base is a huge draw for these artists…who were then met with the platform’s infamous square. And that makes it more difficult than it should be to show off completed pieces. So, I decided to set out to find a way to conqueror this square. Plus, I have my own non-square images I’d like to upload as well. But what is the “square resolution”? It’s anything like 320x320 or 1080x1080—the latter is my preference. You can also post anything between those two listed resolutions, and it’ll be in its original resolution. If you go under the 320 resolution range, then Instagram will automatically resize the image to fit it. Anything above 1080x1080 is met with the infamous squared treatment.
Controlling Instagram’s Resolution Square
One way you can gain control over what’s shown in the square is through the use of image editing software such as Photoshop or even Microsoft Paint. If it’s free products you’re looking for that’s better than Paint, though, check out GIMP. I use it, and it pretty much covers most of my editing needs. In fact, all the edits you’ll be seeing in this post were done in GIMP. This means I’ll also be explaining how to do this in GIMP—but feel free to follow along with whatever your preferred software is. Except for Paint. You can do better than that. So one way you can “control the square” is:
Start a new image in a square resolution—again, I prefer 1080x1080 but feel free to experiment and find the one you like. Insert the image into your blank canvas. Move and resize until you get your desired result.
This is guaranteed to fit Instagram’s square. This way, you can pre-prime images and get them ready to ship out and have full control over what’s shown and not have to trifle around with Instagram’s silly tools. If you’re worried about getting the image onto your phone to post on Instagram, there are easy workarounds for that too. You can email the picture to yourself, send it via Telegram, or utilize cloud services like Google Drive or Microsoft One Drive. If you have an Instagram Business Account (which is free to get) and a Facebook Page linked to your IG Business Account (also free), you can use Facebook’s Creator Studio so you can upload your IG pics from your desktop. This is my own preferred method. Plus, you won’t have to worry about cloud storage space. How cool is that?
Fitting Images and Downsizing Negative Space
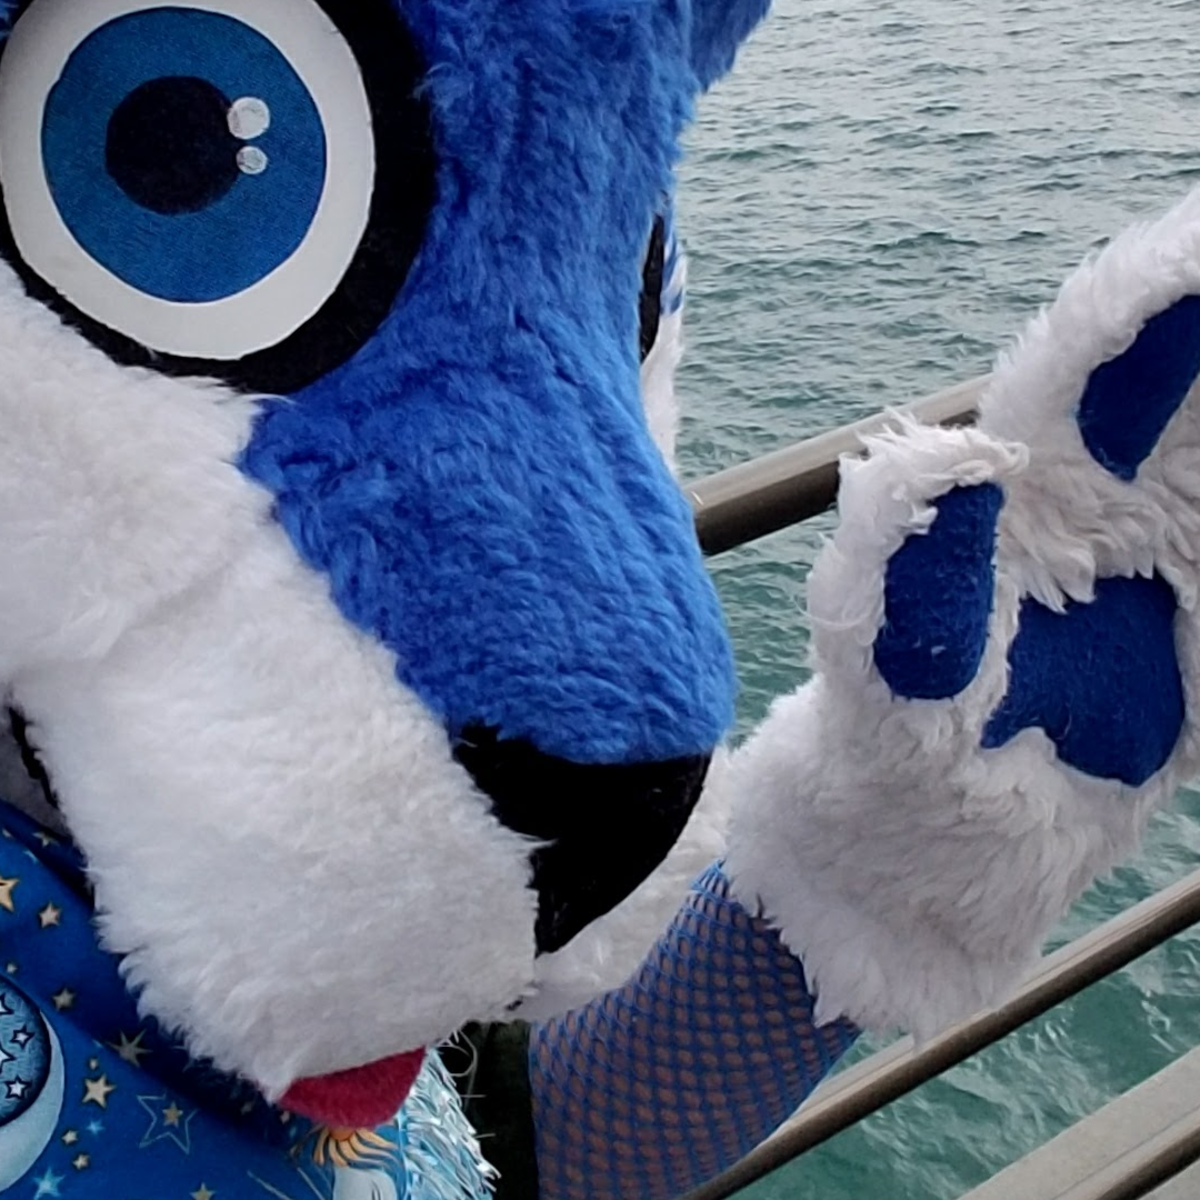
However, there’s still the problem of “Getting the full image” fitted into Instagram and doing something about that awful negative space that occurs if you let the app resize the image for you. This time around, let’s do this:
Make a new square canvas. Insert the image, and scale it down so the entire thing fits in the square canvas. Move the resized image as far to the left as we can. Select a part of the right side of the image, and apply a nice fade to it.
In GIMP, you can do this by selecting the far right side of the resized image, then selecting Feather under the same menu, selecting your feather range (I do 25–50px), and then pressing delete.
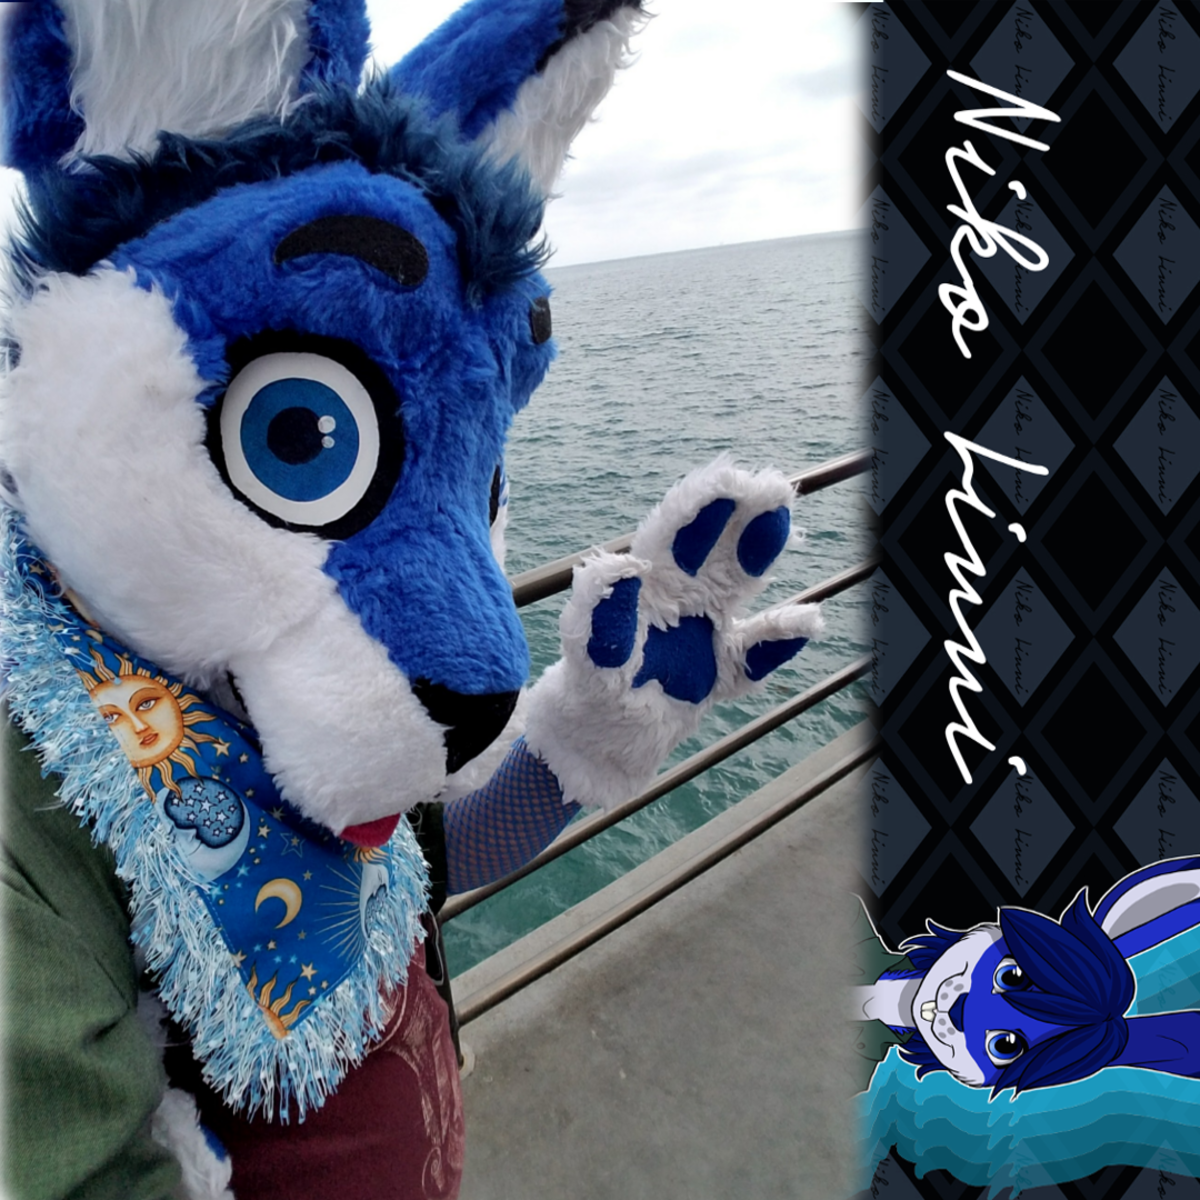
Next, insert your own preferred graphic. I have a handy little personal banner. Make sure the banner is below your resized image but above the bottom canvas layer. Resize that and fit it in all nice and snug. Results:
And, of course, this will fit perfectly in Instagram’s little square. Now we’ve got a way to get the entire image in while finding a use for that negative space. You don’t have to use a banner if you don’t want to, however. If you’ve got social media accounts or any other information, like, say, commission rates or general contact info, you can do that as well.
Other Resizing Tricks and Tips
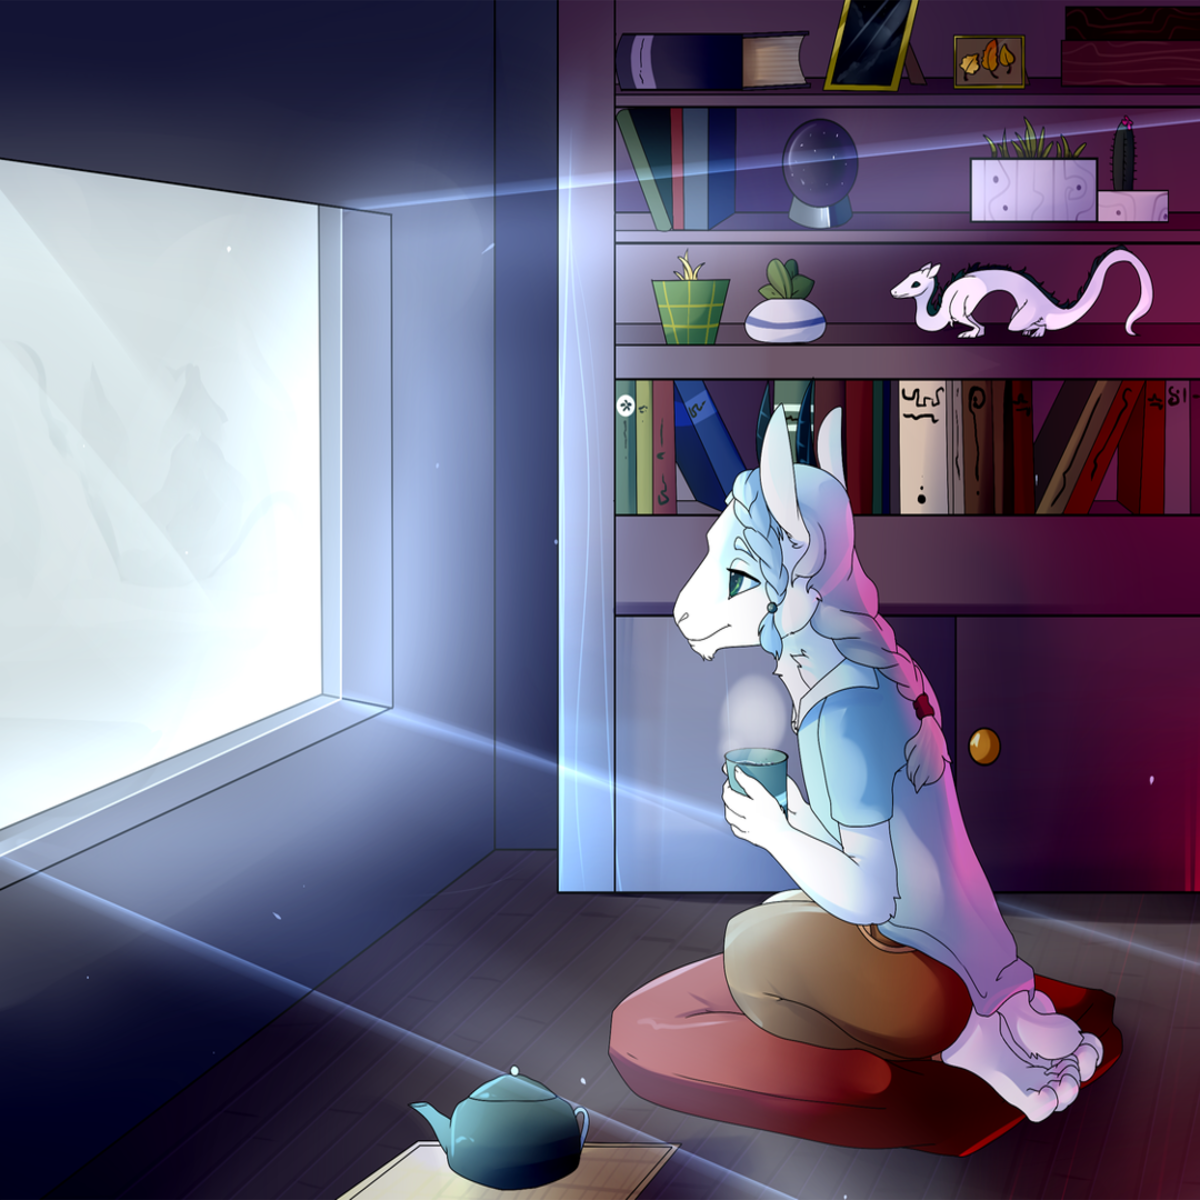
The image can also be set in the middle of the canvas as well—in that case, just add fades or a border on both sides of the image. And yes, you can do this with landscape-style images too. Remember—you don’t have to do it like this. These are merely things I came up with to overcome the square. Some images actually don’t look too bad if you resize them to fit snugly in the square, like this piece I had commissioned once: You can also experiment further with fitting images to the square—for example, I could probably stretch out the image so Laseri—that’s the goat character in the picture—takes up more of the image. Hopefully, you now have some more ideas on how to fit images into Instagram’s little square, the required resolutions, and what can be filled into the negative space created when an image is fitted to the square. Do you have your own ideas for fitting images to the square format? Have you come up with your own way to deal with Instagram’s square format? I’d love to hear your take on things.