The Community edition of Gitlab is available free for use on development and production environment. It provides large number of features required for small to large scale companies. The enterprise edition provides more features but required a paid license. This tutorial will describe you to how to install Gitlab on Debian 10 Buster Linux system. You are going to install Gitlab community edition using this tutorial.
Prerequisites
A running Debian 10 system with with a sudo privileged account . Open a shell on your server and upgrade the current packages to the latest version. Also, install some required packages for installing Gitlab on Debian systems.
Step 1 – Installing Gitlab in Debian
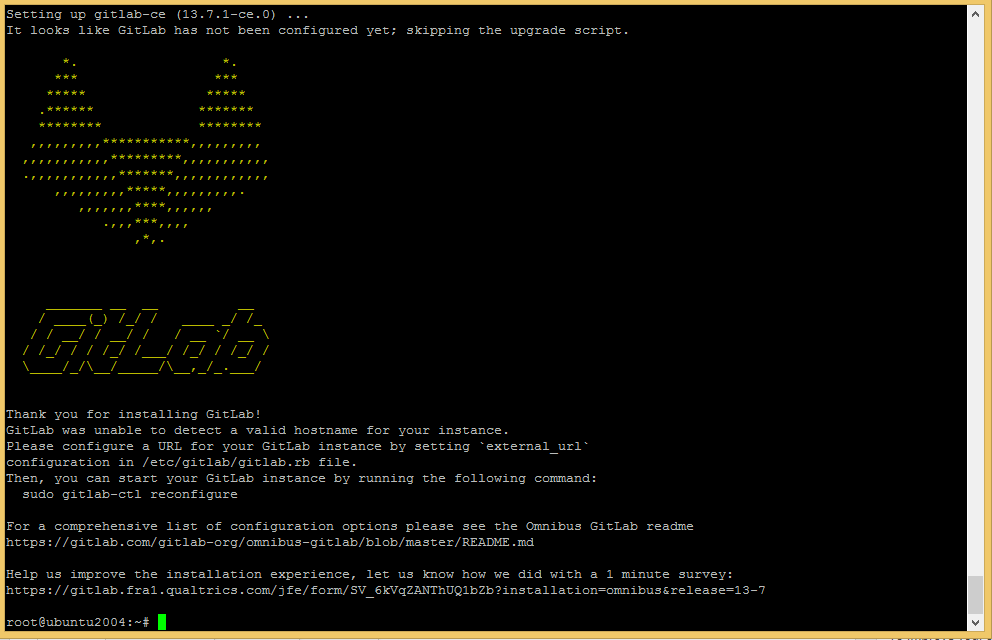
The Gitlab official team provides a shell script to configure Apt repository on your system. As well as install some required dependencies to your system. Open a terminal and execute following command: The above command will create apt configuration file (/etc/apt/sources.list.d/gitlab_gitlab-ce.list) in your system. Next is to install Gitlab on Debian system using Apt command. Make sure to change EXTERNAL_URL with the domain name you want to access Gitlab. Press ‘y’ for any confirmation prompted by the installer. Wait for a few minutes to complete the installation process. The installer will install and configure all the required services like Nginx, Redis, Gitlab and many more.
Step 2 – Configure Gitlab
Edit the Gitlab configuration file /etc/gitlab/gitlab.rb and update the external_url to a valid domain or subdomain name to use for accessing Gitlab. The Gitlab also provide native support for configuring let’s encrypt SSL certificates. To enable the let’s encrypt SSL, edit the following values in configuration file. Save the configuration file. The vim editor user use ESC + :wq to save and exit file. The nano user can use shotcut CTRL + o to save content and then CTRL + x to exit from editor. Now, run the reconfigure command to apply changes to Gitlab server. This will take some time to complete the installation. At the end, you will see a message “gitlab Reconfigured!” on your screen. Once the Gitlab reconfigured, verify the service status Make sure all the services are in running condition. In case of facing any issue with services use sudo gitlab-ctl restart command to restart all services.
Step 3 – Adjust Firewall
If you system running a firewall, make sure to open 80, 443 ports. The firewalld users can use the following commands to open required ports on their system. Next, run the following command to implement the changes:
Step 4 – Access Gitlab Dashboard
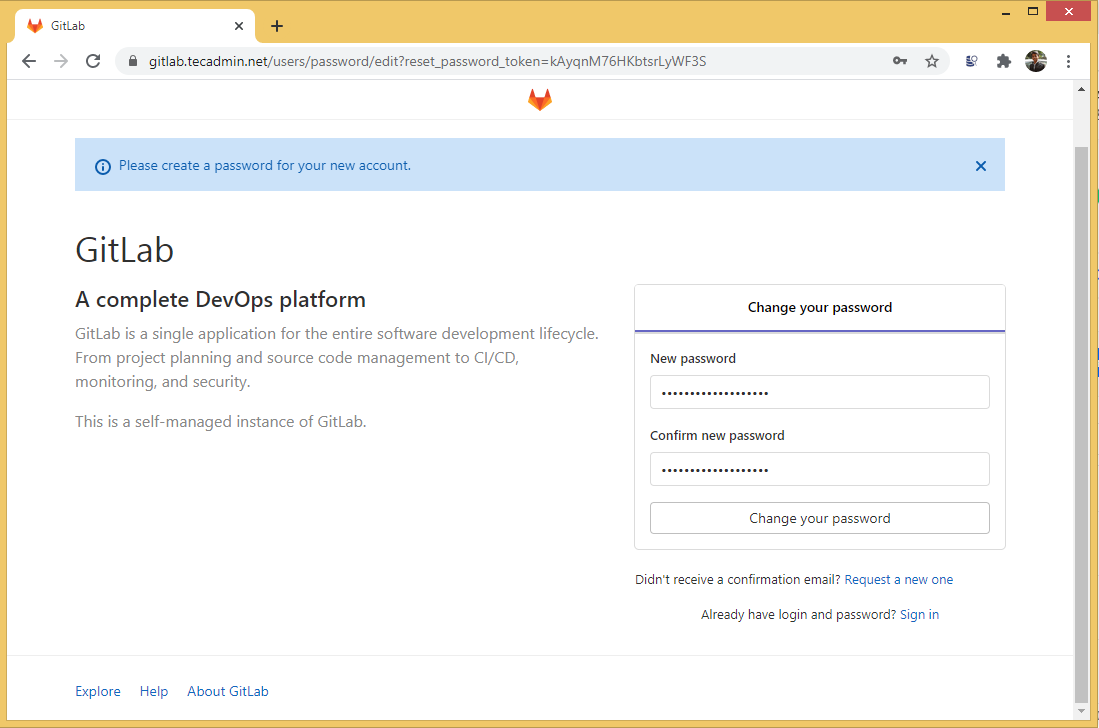
Access the Gitlab dashboard using domain name configured in Gitlab configuration file. Open a web browser and access your domain: https://gitlab.tecadmin.net During the first time, Gitlab will prompt you to set a new password for the default user. The Gitlab default username is “root”, have the administrator privileges. Set a strong password for this account.
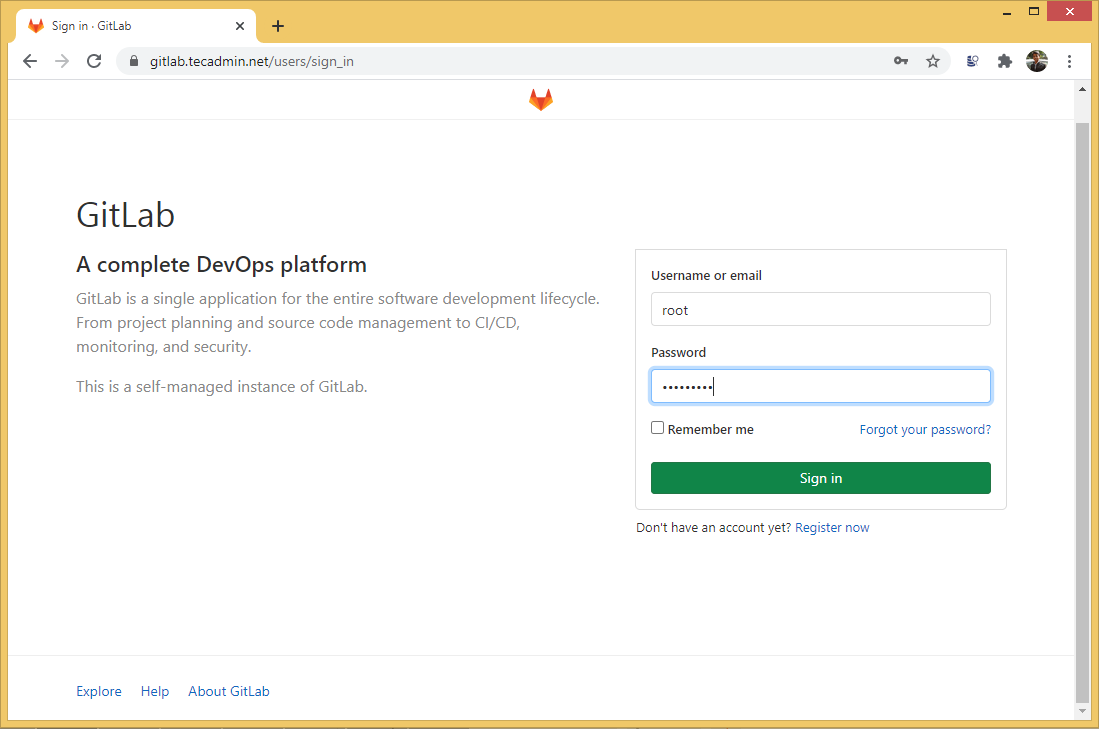
After changing the password, your browser redirects to login page. Here use “root” as username and password, you set in above to login as administrator.
Hit Sign in button to login Gitlab administrator dashboard. That’s it. The Gitlab server has been successfully install and configured on a Debian 10 Linux system. After login to the Gitlab administrator dashboard, create user account, groups and repositories for your code to be managed under Git version control system.
Step 5 – Configure Backups
Use the following command to take complete backup of your data. The default backup created under the /var/opt/gitlab/backups directory, which an be change in /etc/gitlab/gitlab.rb file. You can also add the same command scheduler to backup data nightly. Add the below job to the system crontab.
Conclusion
This tutorial helped you to install and configure Gitlab on Debian 10 system. Also enabled the backup on daily basis.