You can also visit our Git Tutorial section to learn about Git command line tutorials and examples.
Step 1 – Prerequisites
Newly installed CentOS 8 machine. Complete initial server setup Domain/subdomain name for Gitlab with DNS pointed to server.
For this tutoiral, I have launched a new droplet on DigitalOcean. Also pointed pointed “gitlab.tecadmin.net” to the droplet.
Step 2 – Install Gitlab on CentOS 8
First of all, enable the Gitlab repository on your CentOS system. The Gitlab team provides a shell script to configure yum repository for Linux systems. Run the below command to do it: Now, run the following command to install Gitlab community edition: The above command will install all the required applications including Nginx web server to run Gitlab on your system.
Step 3 – Enable Let’s Encrypt SSL
Gitlab has its enbuild feature to configure Let’s encrypt free SSL certificate on Gitlab server. You just need to enable this in the configuration file. Then edit the configuration file to complete configuration: Set the public accessible URL for your Gitlab server. You can also enable let’s encrypt ssl for your Gitlab. The installer will automatically generate Lets encrypt ssl and configure on Gitlab. Also, you can enable to auto renew of the SSL certificate Before enabling the Let’s encrypt, You must have point a domain/subdomain to the server’s IP. This is required to complete domain verification for issuing SSL.
Step 4 – Configure Gitlab Server
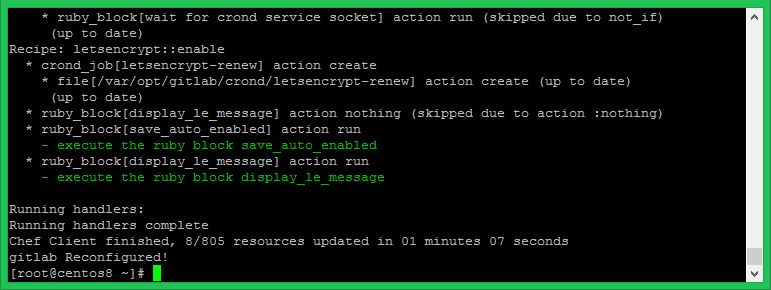
Next, configure Gitlab server using the following command. This will make all the installations and required changes in order to run Gitlab community edition on Ubuntu system. The configuration process will take time to complete setup.
Step 5 – Adjust Firewall
The systems have enabled firealld need to allow HTTP (80) and HTTPS (443) port. This will allow you to access Gitlab server over the network. Use below commands to allow ports in firewalld. Next, run the following command to apply the changes:
Step 6 – Gitlab Dashboard Access
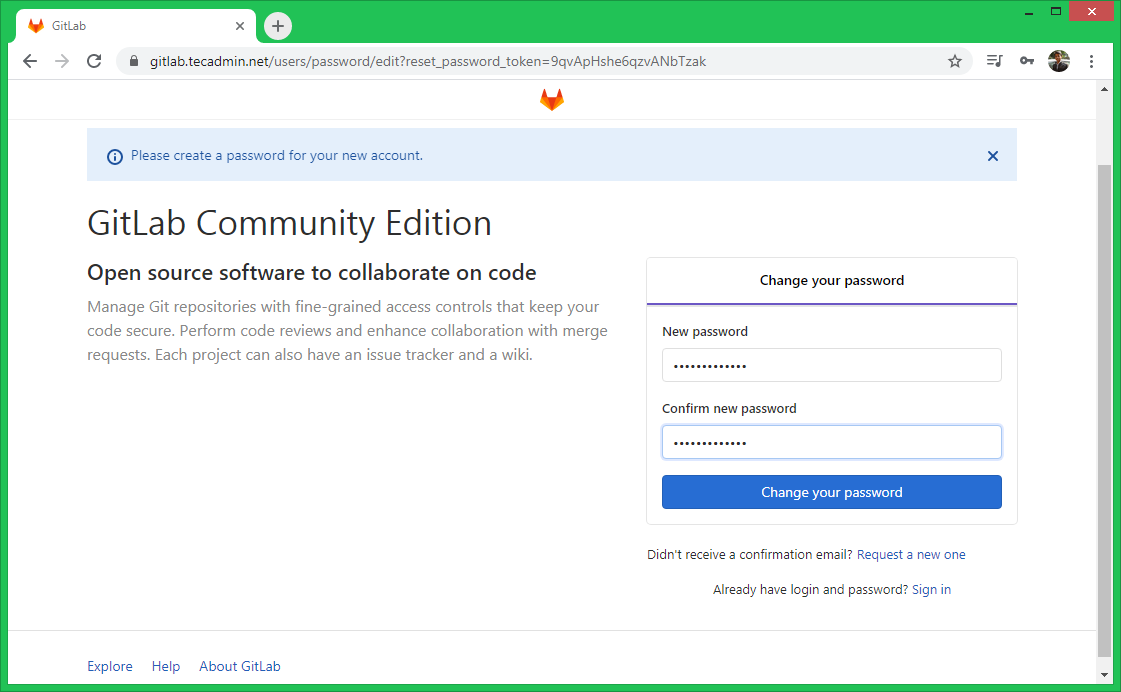
Use the domain name configured with Gitlab to access web interface. For the first time, Gitlab will ask you to set the administrator password. Set the new secure password for the root user.
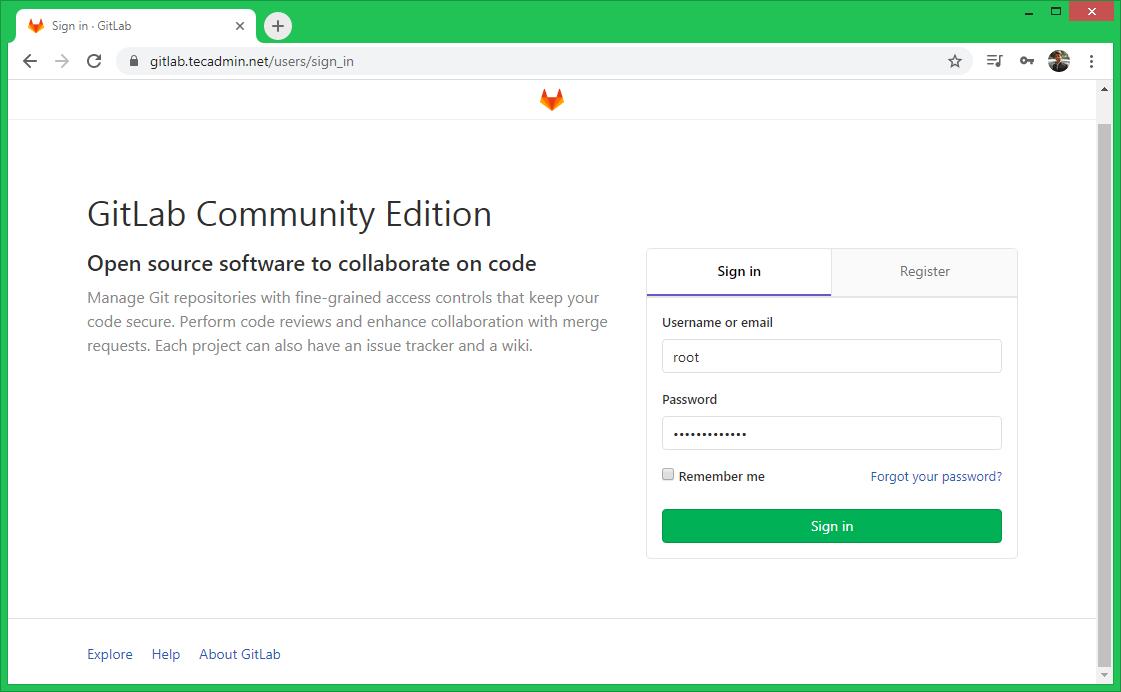
Once you configured the password for the Gitlab root account, navigate to the login screen. Now log in with the user “root” and the specified password.
After the successful login, you will get the dashboard access to your Gitlab server. Here you can start with the creation of users and new git repositories.
Now visit our Git Tutorial to learn more about uses of Git repositories with command line helps and examples.
Step 7 – Schedule Gitlab Data Backup
Use the following command to create the complete backup of Gitlab data. The default backup location will be /var/opt/gitlab/backups. You can change this setting in /etc/gitlab/gitlab.rb file. You can also add the same command scheduler to backup data nightly. Add the below cron to the system crontab.
Conclusion
You have successfully installed and configured Gitlab community edition on your Ubuntu system.