Apache Hadoop 3.3 comes with noticeable improvements and many bug fixes over the previous releases. It has four major components such as Hadoop Common, HDFS, YARN, and MapReduce. This tutorial will explain you to how to install and configure Apache Hadoop on Ubuntu 20.04 LTS Linux system.
Step 1 – Installing Java
Hadoop is written in Java and supports only Java version 8. Hadoop version 3.3 and the latest also support Java 11 runtime as well as Java 8. You can install OpenJDK 11 from the default apt repositories: Once installed, verify the installed version of Java with the following command: You should get the following output:
Step 2 – Create a Hadoop User
It is a good idea to create a separate user to run Hadoop for security reasons. Run the following command to create a new user with name hadoop: Provide and confirm the new password as shown below:
Step 3 – Configure SSH Key-based Authentication
Next, you will need to configure passwordless SSH authentication for the local system. First, change the user to hadoop with the following command: Next, run the following command to generate Public and Private Key Pairs: You will be asked to enter the filename. Just press Enter to complete the process: Next, append the generated public keys from id_rsa.pub to authorized_keys and set proper permission: Next, verify the passwordless SSH authentication with the following command: You will be asked to authenticate hosts by adding RSA keys to known hosts. Type yes and hit Enter to authenticate the localhost:
Step 4 – Installing Hadoop
First, change the user to hadoop with the following command: Next, download the latest version of Hadoop using the wget command: Once downloaded, extract the downloaded file: Next, rename the extracted directory to hadoop: Next, you will need to configure Hadoop and Java Environment Variables on your system. Open the ~/.bashrc file in your favorite text editor: Append the below lines to file. You can find JAVA_HOME location by running dirname $(dirname $(readlink -f $(which java))) command on terminal. Save and close the file. Then, activate the environment variables with the following command: Next, open the Hadoop environment variable file: Again set the JAVA_HOME in the Hadoop environment. Save and close the file when you are finished.
Step 5 – Configuring Hadoop
First, you will need to create the namenode and datanode directories inside Hadoop home directory: Run the following command to create both directories: Next, edit the core-site.xml file and update with your system hostname: Change the following name as per your system hostname:
Save and close the file. Then, edit the hdfs-site.xml file: Change the NameNode and DataNode directory path as shown below:
Save and close the file. Then, edit the mapred-site.xml file: Make the following changes:
Save and close the file. Then, edit the yarn-site.xml file: Make the following changes:
Save and close the file when you are finished.
Step 6 – Start Hadoop Cluster
Before starting the Hadoop cluster. You will need to format the Namenode as a hadoop user. Run the following command to format the Hadoop Namenode: You should get the following output: After formatting the Namenode, run the following command to start the Hadoop cluster: Once the HDFS started successfully, you should get the following output: Next, start the YARN service as shown below: You should get the following output: You can now check the status of all Hadoop services using the jps command: You should see all the running services in the following output:
Step 7 – Adjust Firewall
Hadoop is now starting and listening on ports 9870 and 8088. Next, you will need to allow these ports through the firewall. Run the following command to allow Hadoop connections through the firewall: Next, reload the firewalld service to apply the changes:
Step 8 – Access Hadoop Namenode and Resource Manager
To access the Namenode, open your web browser and visit the URL http://your-server-ip:9870. You should see the following screen: http://hadoop.tecadmin.net:9870
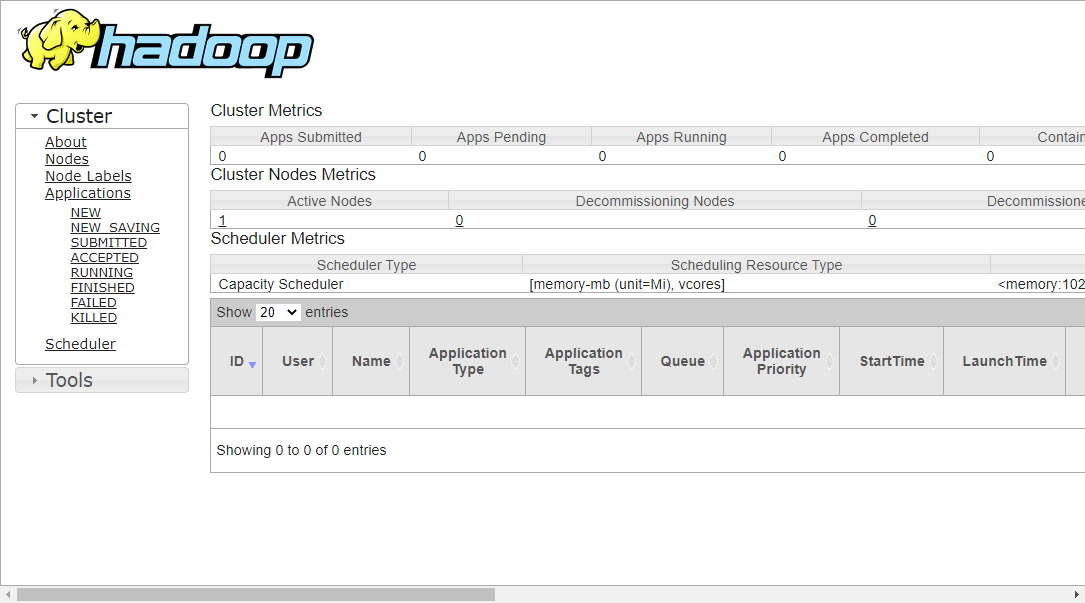
To access Resource Manage, open your web browser and visit the URL http://your-server-ip:8088. You should see the following screen: http://hadoop.tecadmin.net:8088
Step 9 – Verify the Hadoop Cluster
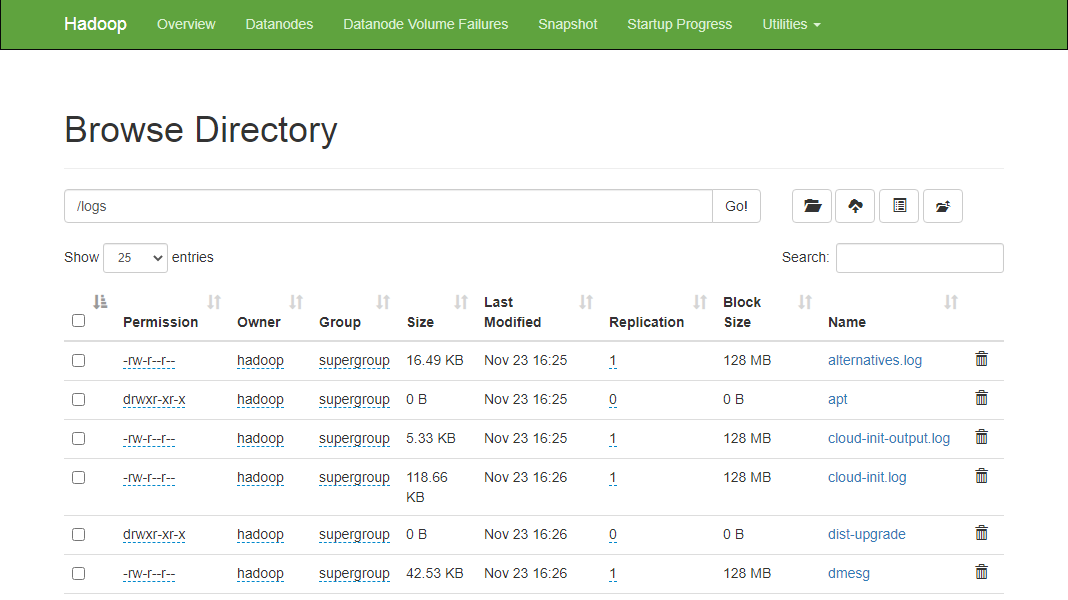
At this point, the Hadoop cluster is installed and configured. Next, we will create some directories in the HDFS filesystem to test the Hadoop. Let’s create some directories in the HDFS filesystem using the following command: Next, run the following command to list the above directory: You should get the following output: Also, put some files to hadoop file system. For the example, putting log files from host machine to hadoop file system. You can also verify the above files and directory in the Hadoop Namenode web interface. Go to the Namenode web interface, click on the Utilities => Browse the file system. You should see your directories which you have created earlier in the following screen: http://hadoop.tecadmin.net:9870/explorer.html
Step 10 – Stop Hadoop Cluster
You can also stop the Hadoop Namenode and Yarn service any time by running the stop-dfs.sh and stop-yarn.sh script as a Hadoop user. To stop the Hadoop Namenode service, run the following command as a hadoop user: To stop the Hadoop Resource Manager service, run the following command:
Conclusion
This tutorial explained to you step-by-step tutorial to install and configure Hadoop on Ubuntu 20.04 Linux system.