Install Homebrew on macOS
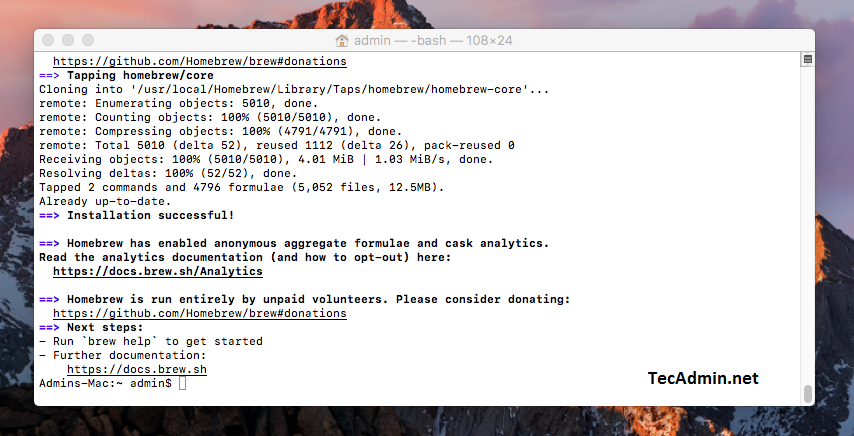
You’ll find that most of the time, folks will tell you to “use homebrew”, or that you have to “install homebrew”. When you see these instructions, it’s likely that the person is referring to the package manager used by many MacOS users. These instructions will be the same for macOS Sierra, macOS High Sierra, and macOS Mojave. To start, open up a Terminal window. You can find the Terminal app in either the Utilities folder or the Applications folder. Then execute the following command: The installation process will prompt for the password. Just enter your password where required to complete the Homebrew installation. The process will take some time. Once the installation is completed, use the following command to check the version. You may also run the below command to ensure everything is configured correctly. The above command will show the instructions for correcting any issues.
What Can You Do With Homebrew?
Homebrew’s core functionality is to download third-party source code from servers, compile it into something that can run on your computer, and then keep track of what’s installed and what has been updated. It can install many different types of software, including:
Compilers and interpreters – e.g., Go, Scala, Ruby Libraries and frameworks – e.g., CUDA, PyTorch, OpenCV, SciPy Packages for other programming languages – e.g., R, Julia, Rust, Go, Java Command line tools – e.g., Git, Go, Python, Rust
Update the Homebrew Package Database
One thing that you need to do with Homebrew before you start installing anything is to update the package database. This keeps track of which third-party programs have been installed on your computer. The first time you install software with Homebrew, or after a long time has passed since you last used Homebrew, you’ll need to do this. When you start out, you’ll probably have to do this every once in a while. But if you use Homebrew regularly, you’ll find yourself doing this less and less often. To update the package database with Homebrew, just run this command:
Install Software Using Homebrew
When you’re ready to install software, you’ll first need to find out what the package name is. You can do this by entering the command “brew search name of software”. This will show a list of programs that you’ll be able to install with Homebrew. The package name is usually shown somewhere in the middle of the list. For example, to install the latest Java, you’ll need to use the package name “openjdk”. You can then install Go by entering this command in the Terminal: After you’ve installed OpenJDK, you can check that everything’s working.
Upgrade Homebrew
You should also keep the homebrew up to date. Execute the following command to upgrade the Homebrew to the latest version.
Uninstall Homebrew?
Similar to installation Homebrew also provides you a script to uninstall it. Open a terminal and execute the following command to remove Homebrew from your system. You can also download the uninstall script and run as below to view more uninstall options.
Conclusion
Installing third-party software can be a pain, especially if that software doesn’t come with a macOS installer. Homebrew offers a more flexible alternative that allows you to install almost any piece of software that you can imagine. It’s a fantastic tool that will save you a lot of time and effort in the long run. However, it’s important to note that Homebrew is not supported by Apple. This means that if there’s a new version of macOS, the folks behind Homebrew will probably release a new version. But if Apple updates its operating system, you’ll likely have to wait a while before you see a new version of Homebrew.