Step 1 – Prerequsities
Let’s start the installation of Node.js on your macOS system using Homebrew. So first update the Homebrew package manager index. Then you can install Node.js package in your MacOS system using the following command: You have successfully installed Node.js on your system. Execute below command on the terminal to view the installed Node.js version info.
Step 2 – Install Angular/CLI on macOS
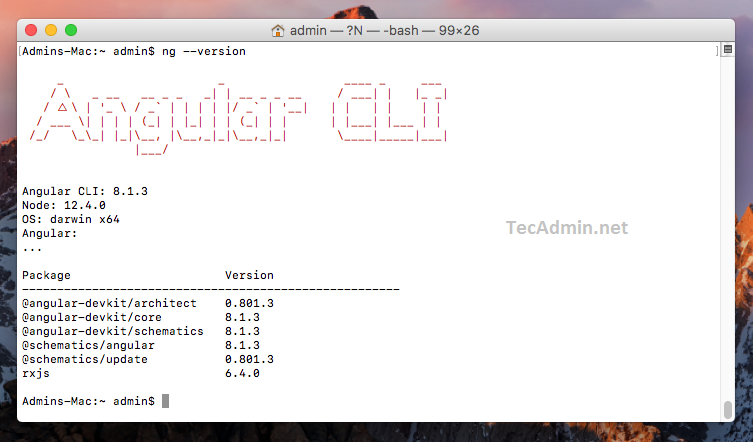
After installing the Node.js and npm on your system, use the following commands to install the Angular CLI tool on your system globally. This command will install the latest available Angular CLI version on your macOS system. If you need any other Angular version on your macOS use one of the following commands as per required version. Using the -g above command will install the Angular CLI tool globally. So it will be accessible to all users and applications on the system. Angular CLI provides a command ng used for command-line operations. Let’s check the installed version of ng on your system.
Step 3 – Create New Angular Application
Now, create a new application named hello-angular4 using the Angular CLI tools. Execute the commands to do this: Output: This will create a directory named hello-angular4 in your current directory, and create an application.
Step 4 – Serve Angular Application
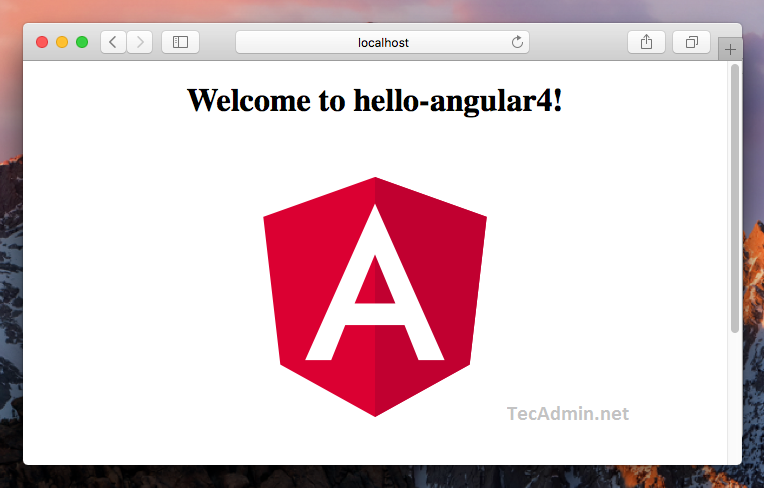
Your basic Angular application is ready to serve. Change directory to hello-angular4 and run your Angular application using ng serve command. You can access your angular application on localhost port 4200, Which is the default host and port used by Angular application.
http://localhost:4200
You can change host and port for running Angular application by providing –host and –port command line arguments. The IP address 0.0.0.0 listens on all interfaces and publically accessible.

