This tutorial will help you to install Apache Kafka CentOS 8 or RHEL 8 Linux systems.
Prerequisites
The newly installed system’s recommended to follow initial server setup. Shell access to the CentOS 8 system with sudo privileges account.
Step 1 – Install Java
You must have Java installed on your system to run Apache Kafka. You can install OpenJDK on your machine by executing the following command. Also, install some other required tools.
Step 2 – Download Apache Kafka
Download the Apache Kafka binary files from its official download website. You can also select any nearby mirror to download. Then extract the archive file
Step 3 – Setup Kafka Systemd Unit Files
CentOS 8 uses systemd to manage its services state. So we need to create systemd unit files for the Zookeeper and Kafka service. Which helps us to manage Kafka services to start/stop. First, create systemd unit file for Zookeeper with below command: Add below contnet: Save the file and close it. Next, to create a Kafka systemd unit file using the following command: Add the below content. Make sure to set the correct JAVA_HOME path as per the Java installed on your system. Save the file and close it. Reload the systemd daemon to apply changes.
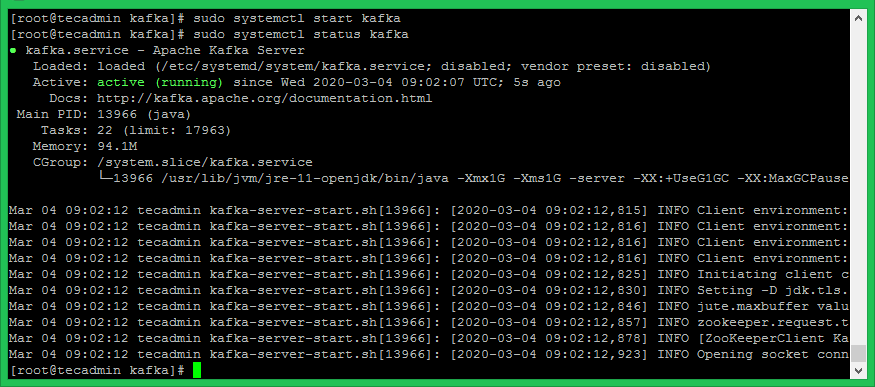
Step 4 – Start Kafka Server
Kafka required ZooKeeper so first, start a ZooKeeper server on your system. You can use the script available with Kafka to get start a single-node ZooKeeper instance. Now start the Kafka server and view the running status:
All done. You have successfully installed Kafka on your CentOS 8. The next part of this tutorial will help you to create topics in the Kafka cluster and work with the Kafka producer and consumer service.
Step 5 – Creating Topics in Apache Kafka
Apache Kafka provides multiple shell script to work on it. First, create a topic named “testTopic” with a single partition with single replica: The replication-factor describes how many copies of data will be created. As we are running with a single instance keep this value 1. Set the partitions options as the number of brokers you want your data to be split between. As we are running with a single broker keep this value 1. You can create multiple topics by running the same command as above. After that, you can see the created topics on Kafka by the running below command: Alternatively, instead of manually creating topics you can also configure your brokers to auto-create topics when a non-existent topic is published to.
Step 6 – Apache Kafka Producer and Consumer
The “producer” is the process responsible for put data into our Kafka. The Kafka comes with a command-line client that will take input from a file or from standard input and send it out as messages to the Kafka cluster. The default Kafka sends each line as a separate message. Let’s run the producer and then type a few messages into the console to send to the server. Now open a new terminal to run the Apache Kafka consumer process. Kafka also provides and command-line consumer to read data from the Kafka cluster and display messages to the standard output. The –from-beginning option is used to read messages from the beginning of the selected topic. You can skip this option to read the latest messages only. For example, Run the Kafka producer and consumer in the separate terminals. Just type some text on that producer terminal. it will immediately visible on the consumer terminal. See the below screenshot of Kafka producer and consumer in working:
Conclusion
You have successfully installed and configured the Kafka service on the CentOS 8 Linux machine.