Step 1 – Prerequisites
Login to Ubuntu 18.04 server console via SSH and install some prerequisites packages on the system.
Step 2 – Install mod_wsgi Module
Before starting, you will need to install some prerequisite Apache components in order to work with mod_wsgi. You can install all the required components by simply running the following command: Now, install mod_wsgi Apache module by running the following command: Restart Apache service to get mod_wsgi to work.
Step 3 – Configure Apache for WSGI
Next, create a python script to serve via mod_wsgi Apache module. Add the following content:
After that, you need to configure the Apache server to serve this file over the HTTP protocol. Let’s create a configuration file to serve the wsgi_test_script.py script over a sub URL. Add the following content: After completing the above steps enable mod-wsgi configuration and restart Apache service.
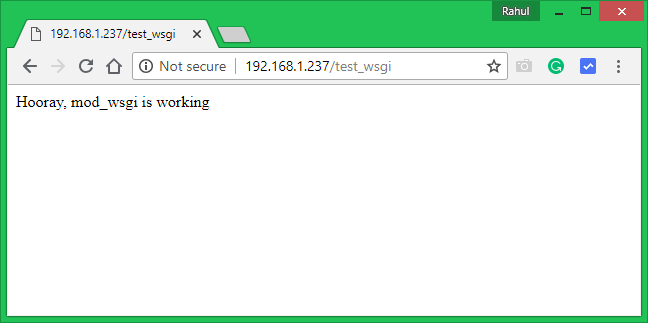
Step 4 – Testing
The setup is ready now. You can test the script by accessing the following URL in a web browser. See below screenshot: