The mod_wsgi is an Apache module used to serve Python scripts over HTTP. This tutorial helps you with how to install the Apache mod_wsgi module on Ubuntu 20.04 system.
Prerequisites
Login to your Ubuntu 20.04 server console with sudo privileged account.
Step 1 – Installing Python
You must have installed the required Python version on your system. For the Ubuntu systems, you can use the apt package manager to install Python on your system.
Step 2 – Install Apache with mod_wsgi Module
Next, you need to install the Apache webserver including the Apache utility package and mod_wsgi Python module on your system. To install these packages run the following commands. After installation, restart the Apache service to reload all modules.
Step 3 – Setup Apache for WSGI
Now, we will create a sample python script to serve via mod_wsgi Apache module. Create a Python script and edit in your favorite text editor: Add the following content:
Save your Python script and close the file. Next, configure the Apache server to serve this file over the HTTP protocol. Let’s create a configuration file to serve the wsgi_test_script.py script with the directory URL. Add the following content: After completing the above steps enable mod-wsgi configuration and restart Apache service.
Step 4 – Test Setup
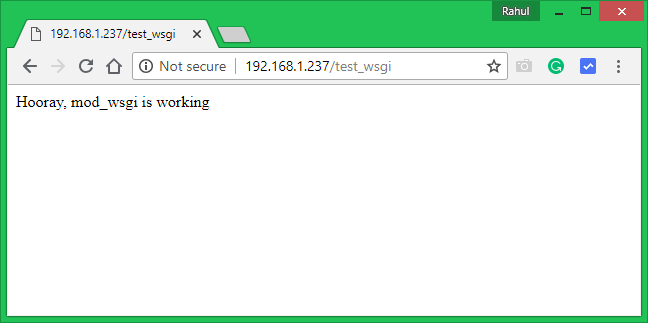
The Python script is ready to serve over Apache. You can test the script by accessing the following URL in a web browser. Make sure to change SERVER_IP_OR_HOSTNAME with the actual server IP or domain name pointed to the IP. See below screenshot:
Conclusion
In this tutorial, you have learned to deploy Python script over Apache web server using mod_wsgi module on Ubuntu system.