This tutorial will help you to install CodeIgniter 4 framework on our Ubuntu system.
Prerequisites
Codeigniter 4 framework required a web server, MySQL database server and PHP on your system. Use below tutorial to install LAMP stack on your Ubuntu 20.04 system.
How to Setup LAMP on Ubuntu 20.04
After installation of LAMP stack on your system, follow below tutorial to create Codeigniter application and configure on your system.
Step 1 – Installing Composer
This tutorial uses PHP composer to create Codeigniter 4 application.PHP Composer is available in as binary file to directly download and use. Run the following commands to install composer on your Ubuntu system.
Step 2 – Create CodeIgniter Application
Codeigniter provides application starter composer module to create new applications. The Codeigniter application starter repository contains the skeleton application, including the composer dependency on the latest released version of the framework. Run the following command to create Codeigniter 4 application on your system: You will see the results like below: Your Codeigniter applications is created under the CodeApp directory.
Step 3 – Configure Database
Now, create a database for your Codeigniter application in MySQL. I have MySQL 5.7 running on my machine. Connected to MySQL with root user then create database and user with the below queries. Execute below queries to create database and user for your application.
Next, you need to edit database configuration file in text editor and update the database settings create above. Run below command to edit file from application directory: Update the following values.
Step 4 – Configure Codeigniter Application
Now you need to configure the base URL for your application. For this tutorial, I am using the www.tecadmin.local domain for our application. You can also choose localhost or any other domain name of your choice. Run the following command to edit App.php file in a text editor: In App.php, update baseURL to the domain name you use for your application: You may also need to change timezone for you application by setting appTimezone variable. Save file and close.
Step 5 – Configure Apache for Codeigniter
For this tutorial, I’m using Apache web server on my Ubuntu system. So create a new Virtual Host configuration file for our Codeigniter application. Let’s create new file and edit: Add following content with proper server name and alias:
Save the Apache Virtual Host configuration file. Then, use the a2enmod command to enable newly created Codeigniter Virtual Host. Also, restart the Apache service to apply changes.
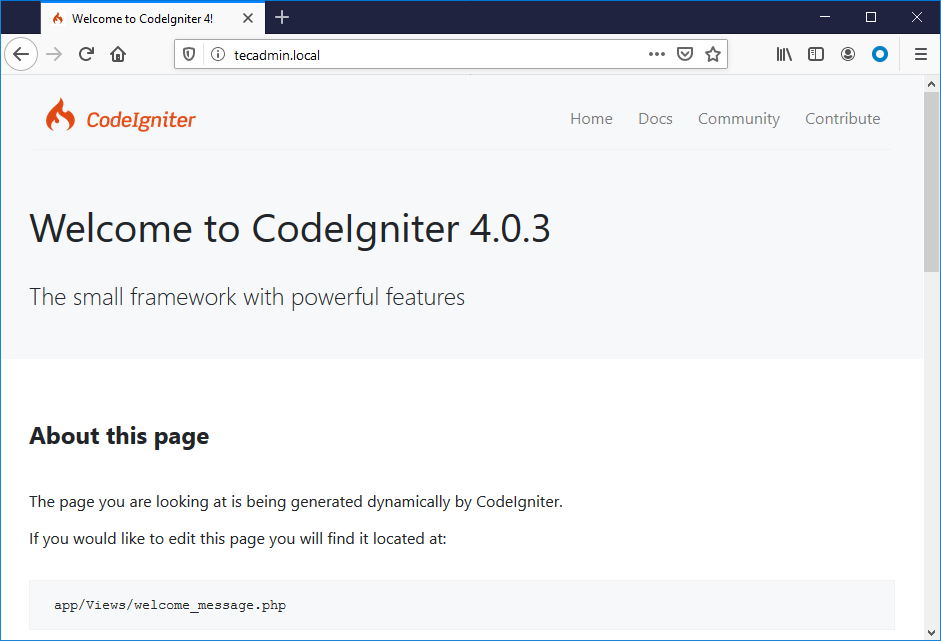
Step 6 – Test Application
The CodeIgnator 4 application is ready to use on your Ubuntu system. You can access application in the web browser with the configured domain name. By default, you will the screen below.
Conclusion
In this tutorial, you have learned to create Codeigniter application and deploy with Apache web server. Let’s start developing with the Codeigniter.