This article explain you to how to install Linux, Apache, MySQL and PHP (LAMP Stack) on Ubuntu 18.04 (Bionic Beaver) Linux Systems. Let’s begin:
Prerequisites
You must have root or sudo privileged user access to your Ubuntu 18.04 system. Login to your Ubuntu system using GUI for Desktop and SSH for the server edition. Now upgrade current packages to latest version.
Step 1 – Installing Apache2
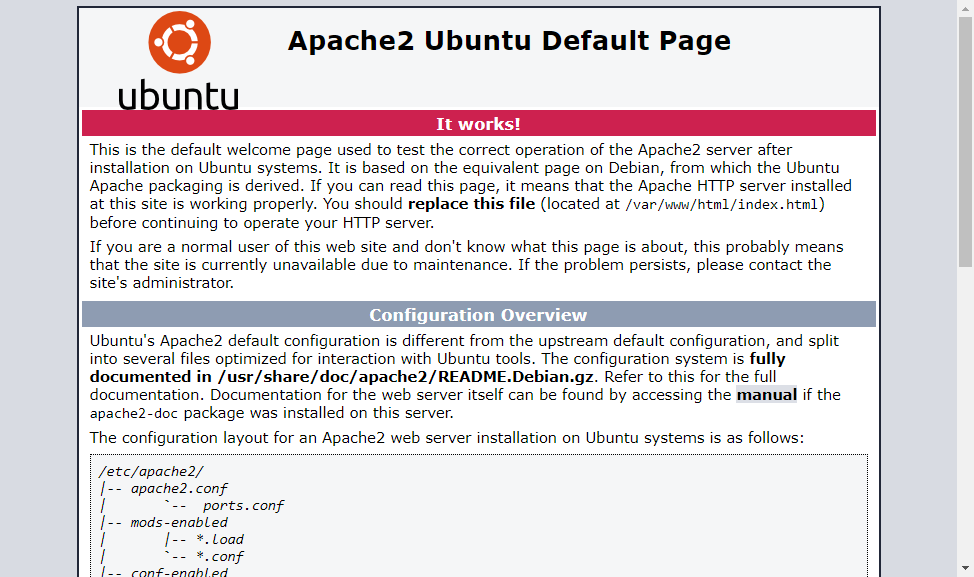
After installing PHP on your system, let’s start the installation of Apache2 in your system. Your also required to install libapache2-mod-php module to work PHP with Apache2. To create additional virtual hosts visit this tutorial. Open a web browser and access your server via IP address on port 80. You will see the default Apache page.
Step 2 – Installing PHP
Ubuntu 18.04 has default PHP 7.2 for installation. But we suggest adding additional PPA for PHP installation which includes multiple other versions of PHP. Use the following commands to update apt cache and install PHP packages on your system. You may also need to install some additional PHP modules for supporting various tasks Verify the installed PHP version
Step 3 – Installing MySQL
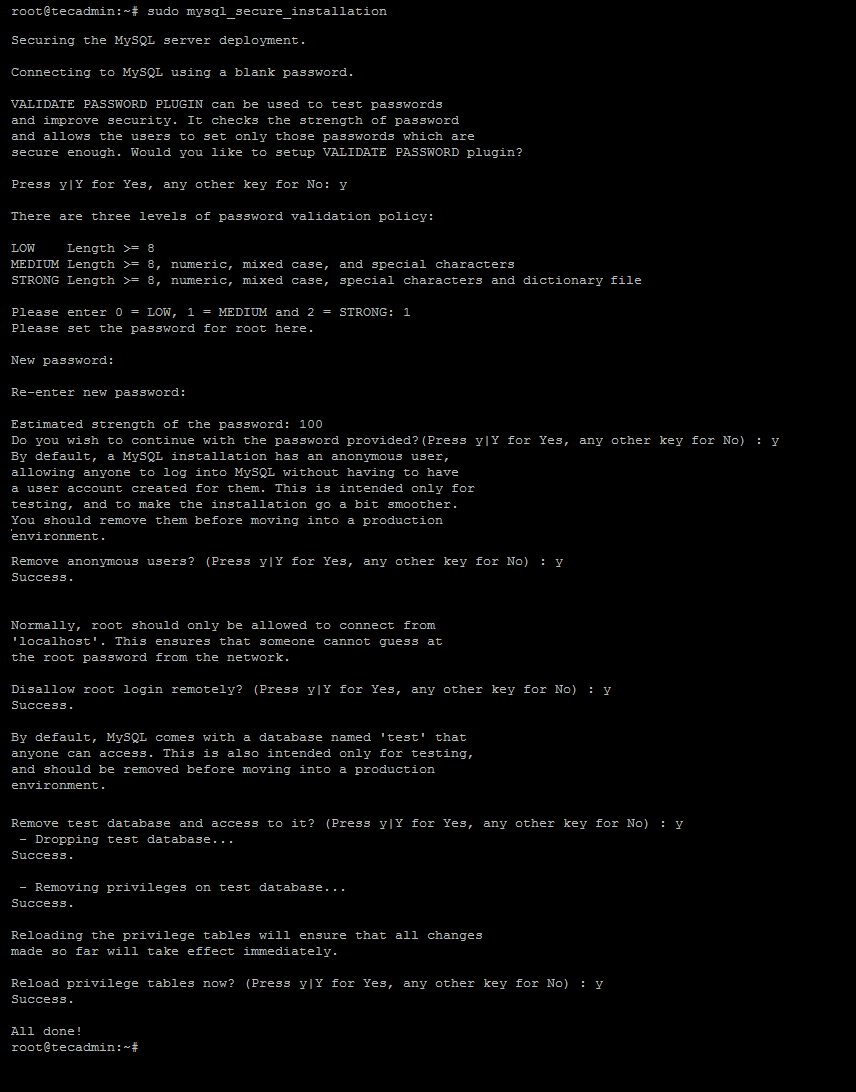
Next is MySQL database serve for the LAMP Stack. The mysql-server packages are available under the official Ubuntu repositories. php-mysql package to required to connect MySQL using PHP. Use the following command to install it. The installer will prompt for the root password, This password will work for your MySQL root user. After installing MySQL execute the following command for initial settings of MySQL server. The configuration wizzard will ask to your setup root password, password policy and removal test account and database. Complete wizard as per your required settings.
MySQL installation has been completed on your system. Connect to the MySQL server via command line.
Step 4 – Installing phpMyAdmin
You can also install phpMyAdmin for the administration of MySQL using web interface. When prompt, select Apache as web server. After that phpmyadmin will create a database for its own uses. Set a strong password for the phpmyadmin account as per password policy. Once the installation finished, you can access phpMyAdmin by using server IP address like: http://server-ip/phpmyadmin/
Step 5 – Installing PHP Composer
Composer is use for installing and managing php application dependencies. To install PHP composer, download its binary file and place under the bin directory. Now use the following commands to make composer available globally for all users in your system, which can be used for all PHP applications on that system.
Step 6 – Manage Services
After installing all the services on your system. Restart MySQL and Apache service to reload any changes done manually.
Step 7 – Configure Firewall
The systems with iptables/ufw enabled, execute the following commands to open port 80 for public access of web server.
With FirewallD:
With UFW:
Step 8 – Test Setup
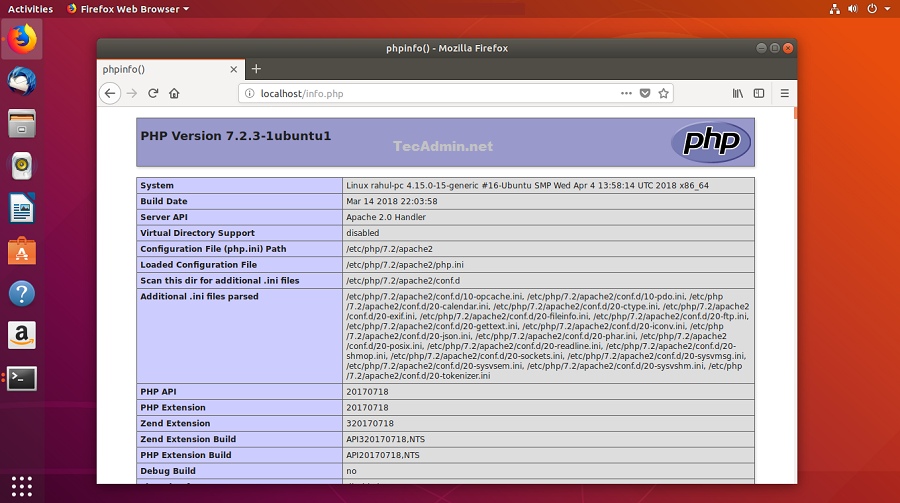
After completing all setup. Let’s create a info.php file website document root with following content. Now access this file in web browser. You will see the screen like below with all details of PHP on server.
Congratulation’s! You have successfully configured web server on your ubuntu System. Read our next article Installing LAMP Stack on RHEL based systems