If you’re reading this article, then we assume that you have already tried to install the game from its website (if not, do so now). Unfortunately, due to the nature of Linux and its security protocols, the installer will not work directly with an operating system such
Prerequisites
Minecraft’s Java version relies on a few prerequisites to run on Ubuntu.
First, the computer must have a 64-bit architecture. Second, it must have an appropriate version of Java installed. Lastly, it needs to have some sort of access to the internet. Minecraft requires a license key to play, which you can purchase from the Minecraft website.
Step 1 – Installing Java on Ubuntu
Minecraft’s Java version relies on a few prerequisites to run on Ubuntu. First, the computer must have a 64-bit architecture. Secondly, it must have an appropriate version of Java installed. To check your current Java version, open Terminal and type: If you see java version 1.8.0 or above then you’re good to go. If you don’t see any version or lower than 1.8 then you need to install Java. On Ubuntu 18.04 and later, install Java using apt-get:
Step 2 – Installing Minecraft on Ubuntu
Minecraft is available as Debian packages as well as Snap packages. You can choose any of the below methods to install Minecraft on Ubuntu systems.
Using Debian PackageFollow the below steps for install Minecraft using the Debian package: Download the Minecraft Debian package from its official sites.wget -o ~/Minecraft.deb https://launcher.mojang.com/download/Minecraft.deb Next, run the following command to install the downloaded Debian package.sudo apt install ~/Minecraft.deb Once the command finishes successfully, Minecraft will be installed on your system. Using Snap PackageSnap provides an easier way for installing packages on Linux systems. Ubuntu 20.04 and later versions have a default Snap daemon configured. To install the Minecraft launcher, open a terminal and type:sudo snap install mc-installer
Step 3 – Launch Minecraft Game
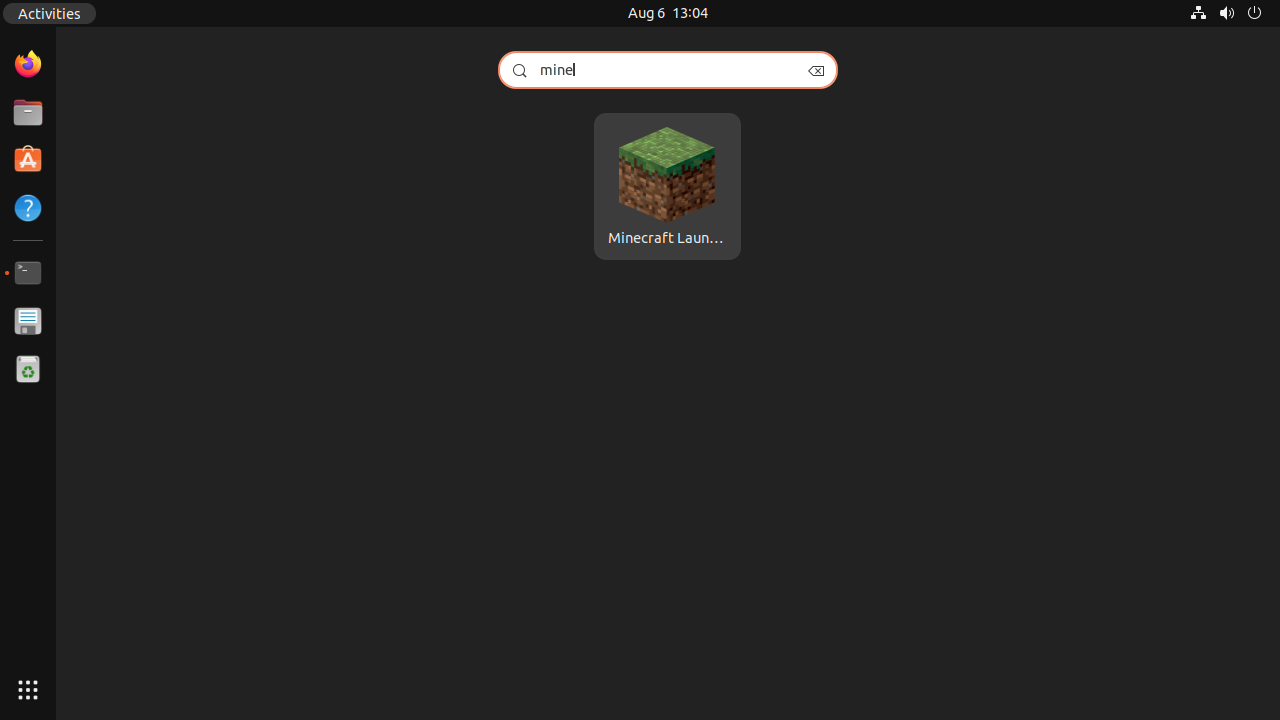
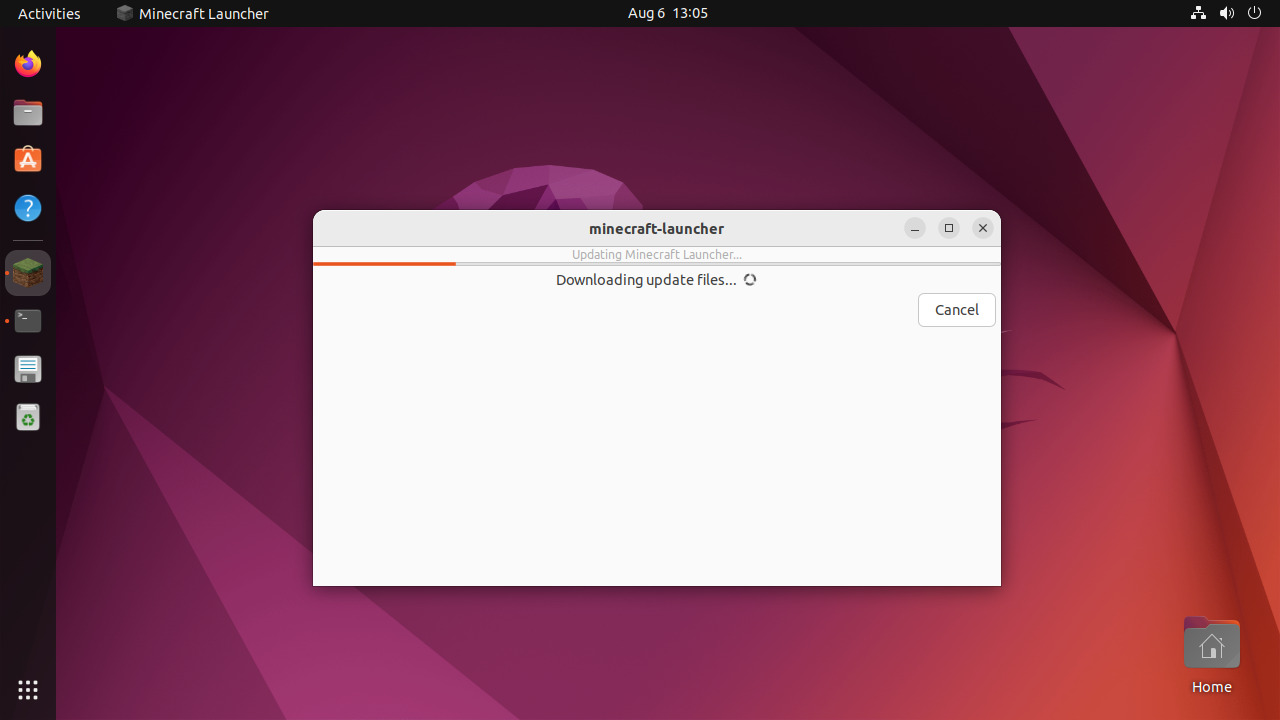
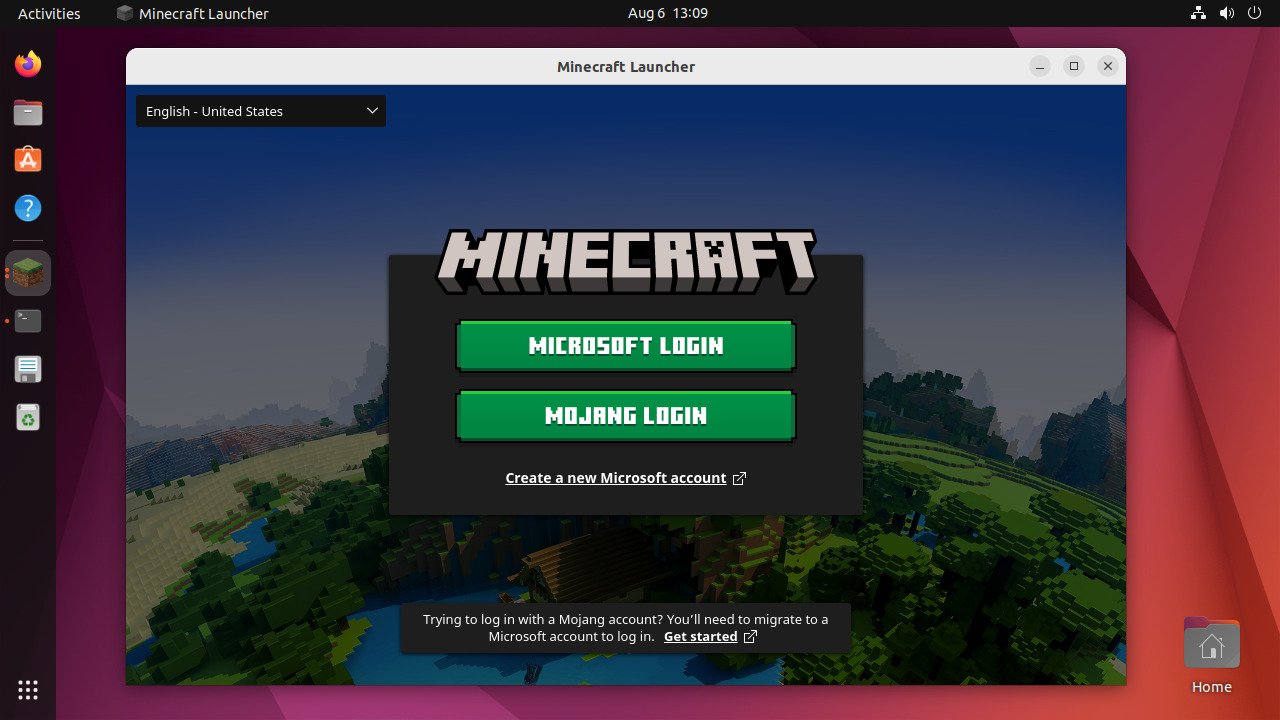
Login to the Ubuntu Desktop manager. Click on the show applications icon and search for Minecraft. You will see a launcher icon as shown below: Next, run the following command to install the downloaded Debian package. Once the command finishes successfully, Minecraft will be installed on your system. Click the launcher icon to start the Minecraft application. During the start, Minecraft will update itself. Once the game started, you will see a login screen. Use your Microsoft account to log in and start the game.
Step 4 – Uninstall Minecraft
I don’t think a Minecraft game lover wants to delete it. But in some cases, you may need to remove it from your system. You can delete Minecraft from Ubuntu based on the installation type.
Debian package: Uninstall Minecraft install with Debian package:sudo apt remove –purge minecraft-launcher sudo apt auto-clean #To remove unnecessary packages Snap package:The users have installed Minecraft using Snap packages, run the following command to uninstall it:sudo snap remove mc-installer
Conclusion
Installing Minecraft on Ubuntu can be challenging, but it is possible with the right preparation. Install Java on Ubuntu first, and then download the installer from the official Minecraft website. Once the installation is complete, you can launch the game from the Applications menu or with a keyboard shortcut. Finally, remember to launch the game in Unity Mode for a more pleasant experience.