Step 1 – Prerequisites
Login to your Ubuntu 18.04 system using shell access. For remote systems connect with SSH. Windows users can use Putty or other alternatives applications for SSH connection. Run below commands to upgrade the current packages to the latest version.
Step 2 – Configure MySQL PPA
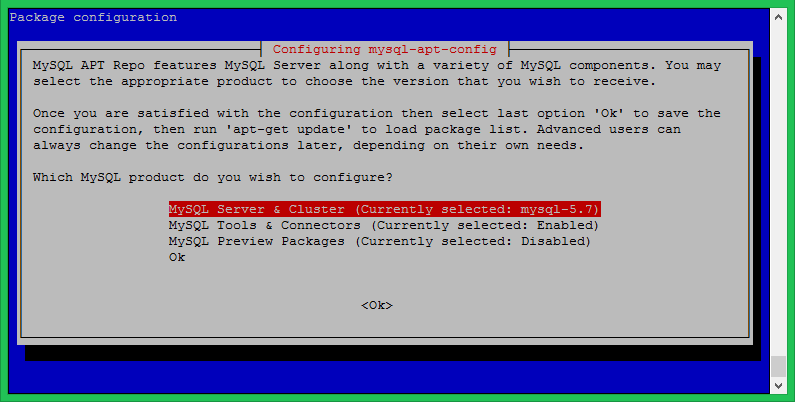
MySQL team provides official MySQL PPA for Ubuntu operating systems. You can download and install the package on your Ubuntu 18.04 system, which will add PPA file to your system. Run below command to enable PPA. During the installation of MySQL apt config package. Select the first line as showing in below screenshot and press enter. Here you can select MySQL version (8.0 or 5.7) to install on your system. After that Select, the last line with text Ok and press enter to complete this.
Step 3 – Install MySQL on Ubuntu 18.04
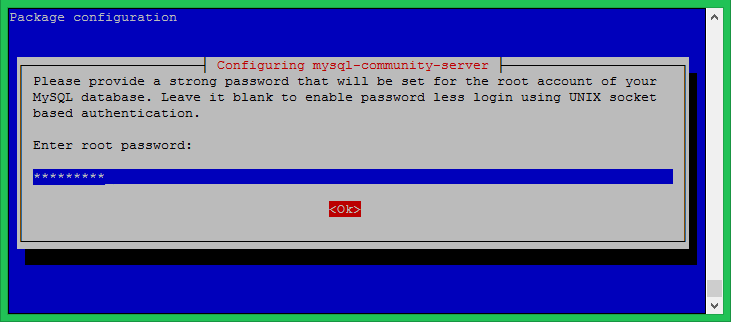
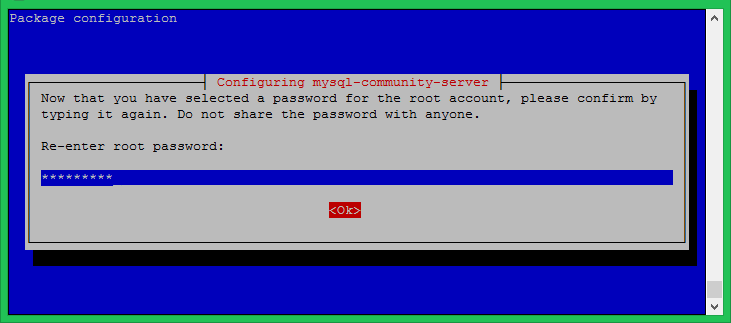
Your system is ready for the MySQL installation. Run the following commands to install MySQL on Ubuntu 18.04 system. The installation process will prompt for the root password to set as default. Input a secure password and same to confirm password window. This will be MySQL root user password required to log in to MySQL server.
Step 4 – Secure MySQL Installation
Execute the below command on your system to make security changes on your Database server. This will prompt some questions. The do the high security provide all answers to yes. Here you can enable/disable validate password plugin, Set required strength for passwords, remove anonymous users, disallow root login remotely, Remove test database and access to it and reload the reload privileges after applied changes. See the below output and action taken by me:
Step 5 – Connect to MySQL
The MySQL server has been installed on your system. Now connect to the MySQL database using the command line. Use root account password set in above step.