This blog will show you how to install and set up phpMyAdmin on Ubuntu 22.04 server.
Step 1 – Install Apache and PHP
We are assuming you already have installed the MySQL server on Ubuntu system. So just install the other required packages to run and access phpMyAdmin. Once the installation is finished, enable and start the Apache web server.
Step 2 – Install phpMyAdmin on Ubuntu 22.04
You can quickly install the phpMyAdmin from the default Ubuntu repositories. But they contain an older version of phpMyAdmin. If you are okay with the old version simply type apt install phpmyadmin, but to install the latest version, you need to download it from the official website. Your system is ready for the phpMyAdmin installation. Download the latest phpMyAdmin archive from the official download page, or use the below commands to download phpMyAdmin 5.2 on your system. Once the downloading is finished, extract the archive and move it to the proper location. Next, create tmp directory and set the proper permissions. This is a necessary step to make it work properly.
Step 3 – Configure phpMyAdmin
Now, you need to configure the webserver to serve phpMyAdmin on the network. Create an Apache configuration file for phpMyAdmin and edit it in a text editor: add the below content to the file.
Save your file. Press ESC key to switch to command more. Then type :wq (colon+w+q) and hit Enter button. After making all the changes, make sure to start the Apache service to reload all settings.
Step 4 – Adjusting FirewallD
The systems with enabled firewalls need to allow HTTP service from the firewall. Run the below commands to open a port for the webserver in the firewall.
Step 5 – Create a MySQL Database and User
Connect to the MySQL server running on your system. Execute the following MySQL queries one by one to create a database and user. Also, assign the privileges to the user on the database.
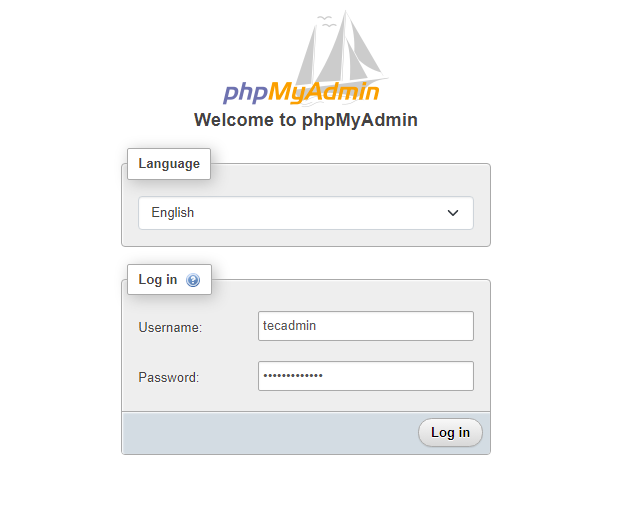
Step 6 – Access phpMyAdmin
All done. You have finished the setup with the phpMyAdmin on the Ubuntu Linux system. Now access phpMyAdmin with the server IP address or domain name. Replace your-server-ip-domain with the localhost (for the local machines), or system IP address for remote machines. I have updated our DNS and pointed dbhost.tecadmin.net to the server’s IP address. Log in with the username and password used to access MySQL on the command line.
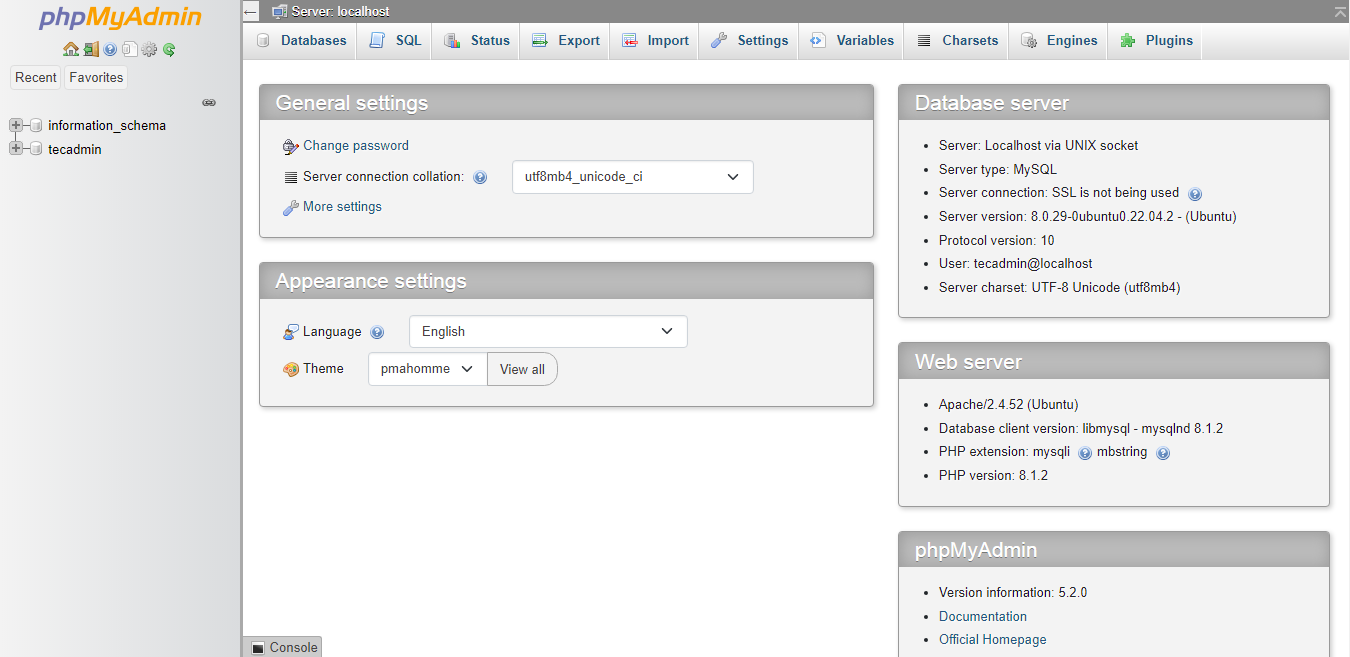
Conclusion
You have successfully configured phpMyAdmin on the Ubuntu system. Also you can disable root user login for the for the security purposes in phpMyAdmin. You can use phpMyAdmin to administer the MySQL server without login in through the command line.