Step 1 – Prerequisites
We are assuming you already have installed the MySQL server on CentOS 8 operating system. So just install the other required packages to run and access phpMyAdmin. Once the installation finished, enable and start httpd web server.
Step 2 – Install phpMyAdmin
Your system is ready for the phpMyAdmin installation. Download the latest phpMyAdmin archive from the official download page, or use the below commands to download phpMyAdmin 5.0.1 on your system. After downloading extract archive and move to the proper location. Then create tmp directory and set the proper permissions.
Step 3 – Configure phpMyAdmin
Now, you need to configure web server to serve phpMyAdmin on network. Create Apache configuration file for phpMyAdmin and edit in text editor: add the below content to file.
Save your file and close it. The systems with SELinux enabled needs to set proper permissions to allow SELinux policies After making all the changes, make sure to start the Apache service to reload all settings.
Step 4 – Adjust Firewall
The systems with enabled firewalls need to allow HTTP service from the firewall. Run the below commands to open a port for the webserver in the firewall.
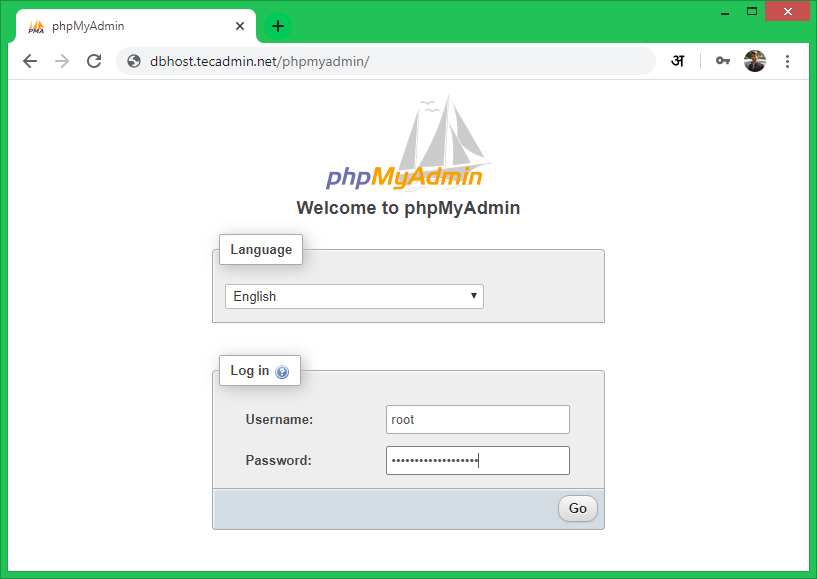
Step 5 – Access phpMyAdmin
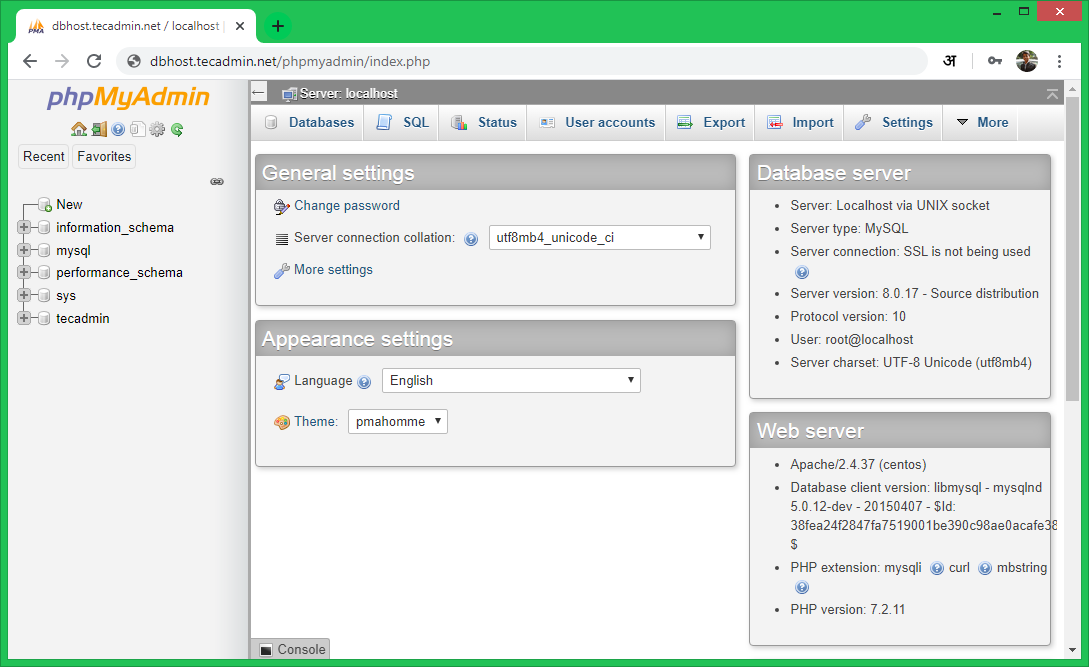
All done. You have finished the setup with the phpMyAdmin on CentOS 8 Linux machine. Now access phpMyAdmin with the below IP. Replace your-server-ip with the localhost (for the local machine) for server IP address.
Log in with the username and password used to access MySQL on the command line.
Conclusion
You have successfully configured phpMyAdmin on CentOS 8 system. Let’s disable root user login for the phpMyAdmin for security purposes.