Prerequisites
For installation of Postal mail server on your system, you must have following prerequisites installed on your system. This tutorial will help you to install them.
Ruby 2.3 or higher MySQL or MariaDB database server RabbitMQ server Node.js (for javascript compilation) Git (for accessing the repository)
Step 1 – Install Basic Packages
First, start with the initial package installations on your system. Use below commands to install Git, MariaDB(MySQL) database server and Nginx web server with some other dependencies.
Step 2 – Install Node.js
Now, install the latest Nodejs on your system. Use the following commands to install Nodejs 7 on your system or visit this tutorial to install latest available version.
Step 3 – Install Ruby 2.3
After installing Node.js, install Ruby version 2.3 or higher version on your system. First use following commands to add Ruby languege PPA in your system. Now, use the below commands for installing Ruby 2.3 on system.
Step 4 – Install RabbitMQ Server
You also needs to install RabbitMQ server on your system for messaging. Use following commands enable Erlang packages PPA. Also enable the RabbitMQ server PPA in your system. Now, you can install RabbitMQ Server package on your system using the following command. This will install all of its dependencies as well.
Step 5 – Create Database in MySQL
First, create a database in your MySQL server, Also create a database user for accessing database with the Postal mail server. Also, add a grant that permits Postal to manage all databases that are prefixed with postal-.
Step 6 – Create RabbitMQ VirtualHost
In this step, add a VirtualHost in RabbitMQ server and create a user account to access it with application.
Step 7 – Install Postal Mail Server
At this point, You have completed all requirements for Postal installation. Let’s start with the user creation for Postal setup. Create a account named postal with following command. Now, clone the postal source code on Github using following command. And add a soft link of the Postal binary file under /usr/bin/ directory to access command globally. To configure postal, you’ll need to have bundler and procodile installed on your system. Install them both: Now, switch to postal user and complete all the installations with following commands.
Step 8 – Create Postal Admin User
Now run the postal make-user user to create first Postal administrator account. This account will be used latest to login on Potal dashboard.
Step 9 – Check Postal Running Status
At this stage, your have a running Postal server. To make sure everything is working properly use the following command. You will find following 5 services there. Make sure all the services are in running stage. The command output will be as below.
Step 10 – Setup NGINX for Postal
Postal provides a Nginx configuration file. Just copy this file to your Nginx server. You can simply replace default Nginx configuration file or create a new file. Postal default works with SSL only. So create a self-signed SSL to access Postal dashboard or you can get a free valid certificate from Let’s Encrypt. Finally, reload Nginx web server. Now access your server with https. You will get Postal dashboard login screen. Enter your administrator account details created in step 8.
Step 11 – Configure Postal Dashboard
At this point, You have a running Postal server. Now you need to configure this to send emails. First, you need to understand the setup. There are three main parts
Organization => You can create multiple organizations, eg one organization for one client. Mail server accounts => Each organization can have multiple mail server account. You can keep them in live or development mode. For eg, an organization can assign one mail server to each production team. Domains => Each mail servers can have multiple domains. Remember that Postal will accept emails have from address for domains added here and verified.
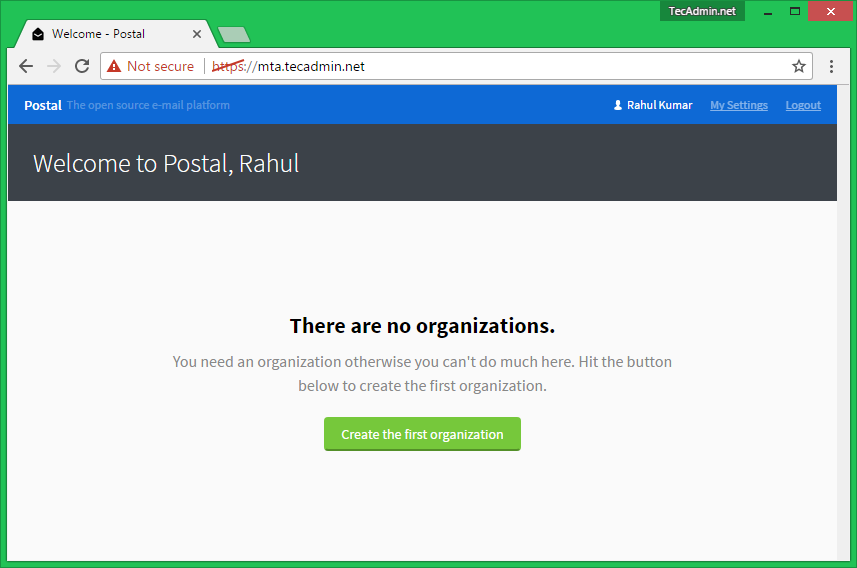
Create Organization
So let’s create your first organization after login. Click on Create the first organization button. Enter the name of the organization and short name in the input box.
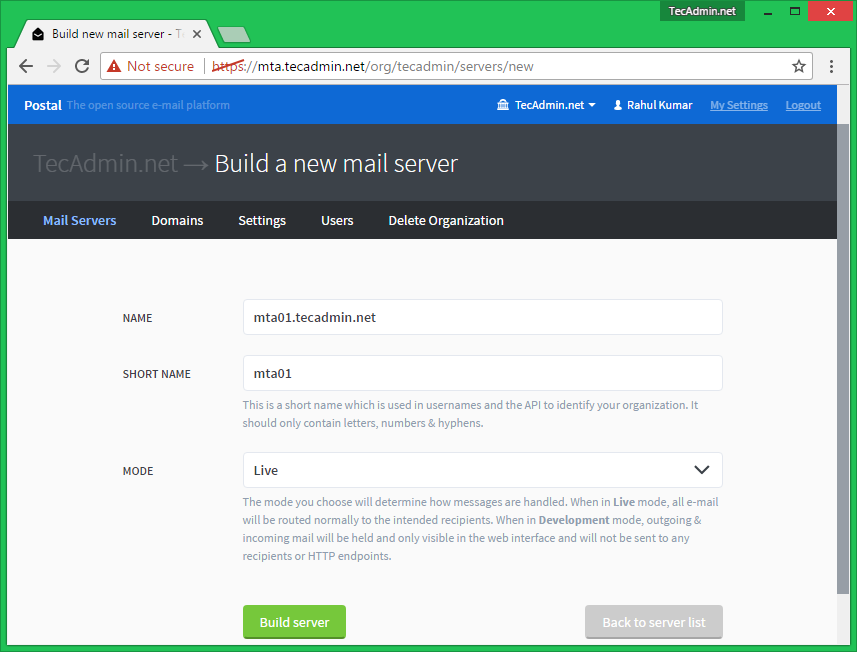
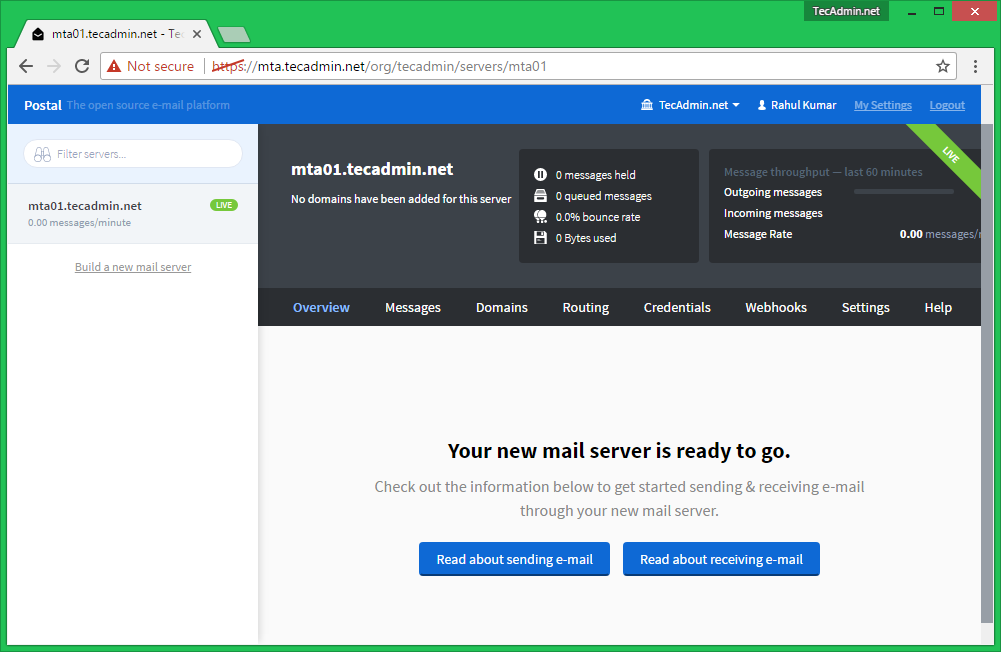
Build Mail Server
You will be automatically switched to the newly created organization, Now click on build your first mail server button. Input the name of your mail server, short name, and mode of the mail server. There are two type of mode available
Live => The emails will work properly and reached to destination. Development => The emails sent will show in Postal dashboard but they actually not delivered to end users
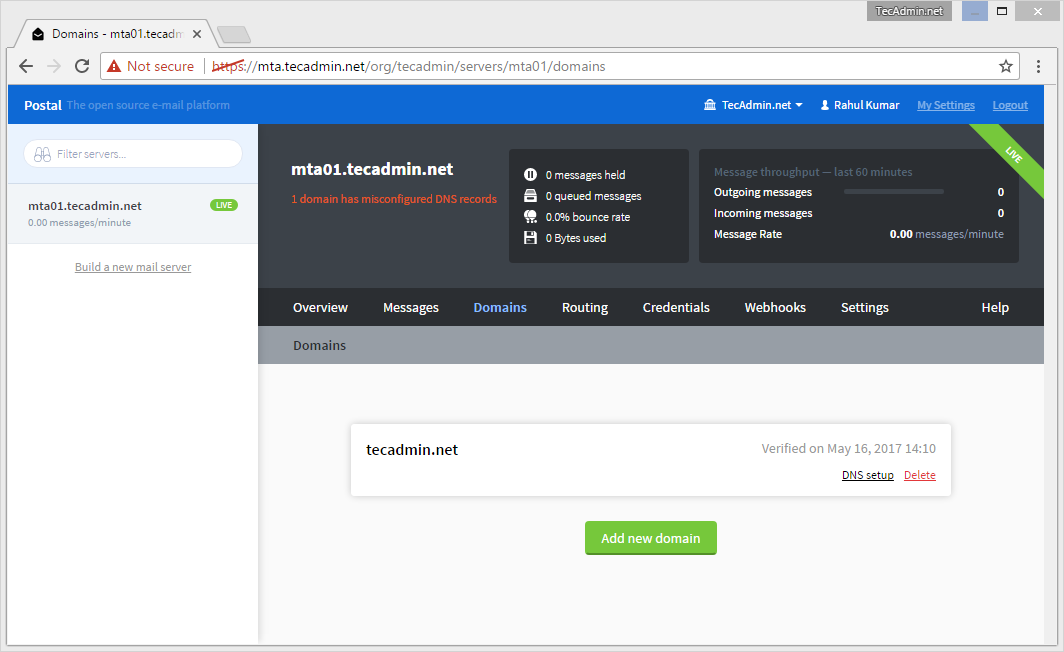
Add Domains
Now add your first domain from which you need to send emails. This will show you the DNS settings required to update for the added domain. Update all settings in DNS server and complete this step.
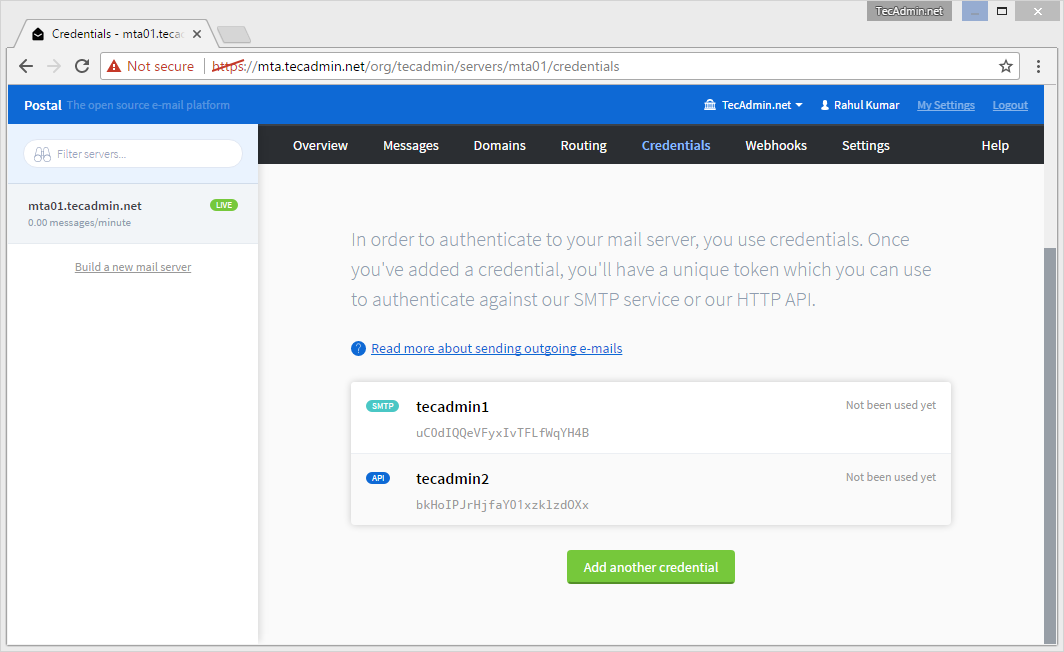
Create Credentials
You also need to create credentials for your mail server. There are two types of creadentials.
SMTP => These credential will required to send emails through SMTP protocol, For example linux mail command, PHPMailer etc. API => These are required to send mails through HTTP api.
Step 12 – Testing Postal with Client
Postal provides its client libraries for multiple programming languages. Download the required library from below link and test the setup. https://github.com/atech