This tutorial will help you to install RabbitMQ on Ubuntu 18.04 LTS and 16.04 LTS systems.
Prerequisities
Login to your Ubuntu system and update current packages. Also, included the below step based on our reader’s experiences added in the comments section. Remove erlang packages already installed on your system.
Step 1 – Install RabbitMQ on Ubuntu
First of all, enable the RabbitMQ PPA repository on your system. Also, import rabbitmq signing key on your system. Use the following commands to do this. After that update the apt cache and install the RabbitMQ server on your system.
Step 2 – Manage RabbitMQ Service
After completing installations, enable the RabbitMQ service on your system. Also, start the RabbitMQ service. Use one of the below methods sysvinit for older systems or systemctl for the latest operating system.
Using Init –
Uisng Systemctl –
Step 3 – Create Admin User in RabbitMQ
By default, rabbitmq creates a user named “guest” with the password “guest”. You can also create your own administrator account on the RabbitMQ server using the following commands. Change your password with your own password.
Step 4 – Setup RabbitMQ Web Management Console
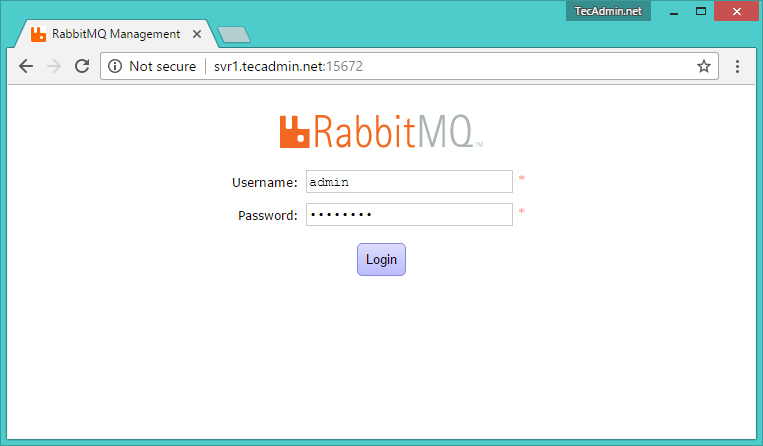
RabbitMQ also provides and web management console for managing the entire RabbitMQ. To enable the web management console run the following command on your system. The web management console helps you with managing the RabbitMQ server. RabbitMQ dashboard starts on port 15672. Access your server on the port to get the dashboard. Use the username and password created in step 3
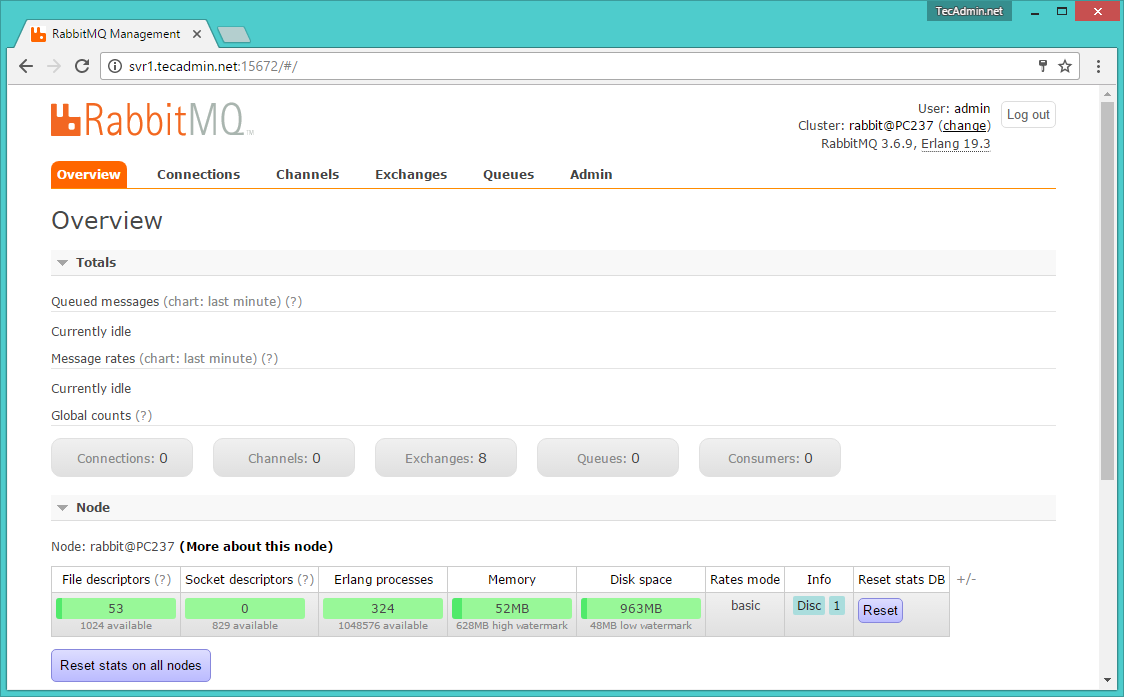
After login in, you will get the RabbitMQ management web interface dashboard.