Oracle VirtualBox 6.1 is the latest major version launched by the Oracle team. The latest updates come from time to time. At the time of updating this tutorial, VirtualBox 6.1.16 is the latest available version to install. You can read the ChangeLog to know more about changes in newer version’s of VirtualBox. This tutorial described how to install VirtualBox on Ubuntu 20.04 LTS (Focal Fossa) Linux systems.
Prerequisites
First of all, upgrade the current packages on your system. Login to your Ubuntu desktop system using sudo privileged user. Then run the following command to upgrade packages on your system to the latest version.
Step 1 – Configure Apt Repository
Oracle VirtualBox team provides an official package repository for Ubuntu & Debian-based systems. Import the public key to your system signed the packages. Open a terminal (CTRL+ALT+T) on your system and execute: Then, you need to add Oracle VirtualBox PPA to the Ubuntu system. You can do this by running the below command on your system. This command will add an entry to the /etc/apt/sources.list at end of the file.
Step 2 – Install VirtualBox on Ubuntu 20.04
Now, your system is ready for the Virtualbox installation. Run the following commands to install VirtualBox. If you have already installed an older version of VirtualBox, the Below command will update it automatically. Press ‘Y’ for any confirmation prompted by the above command. This will complete the installation of VirtualBox on Ubuntu systems.
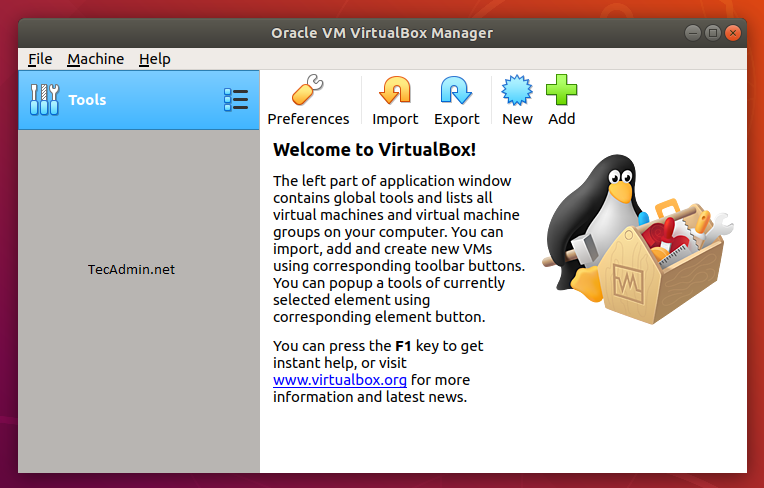
Step 3 – Launch VirtualBox Application
Search for the Virtualbox under the applications or simply run the following command from a terminal to launch the Virtualbox application.
Conclusion
This tutorial helped you to install Virtualbox on Ubuntu 20.04 LTS Linux system.