VirtualBox is a popular, cross-platform virtual machine manager that allows you to create virtual machines (VMs) on your Mac. VMs can be used to run different operating systems at the same time. They’re also useful for testing software in isolation, without risking your real computer. In order to install VirtualBox on macOS, you need to have a Mac with a 64-bit processor running macOS 10.11 or higher. VirtualBox runs on Windows, macOS, and Linux, and supports a wide range of guest operating systems. This blog post helps you how to install VirtualBox on macOS systems.
How to Install VirtualBox on MacOS
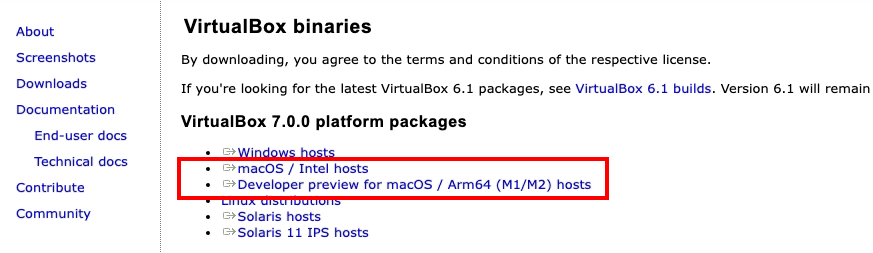
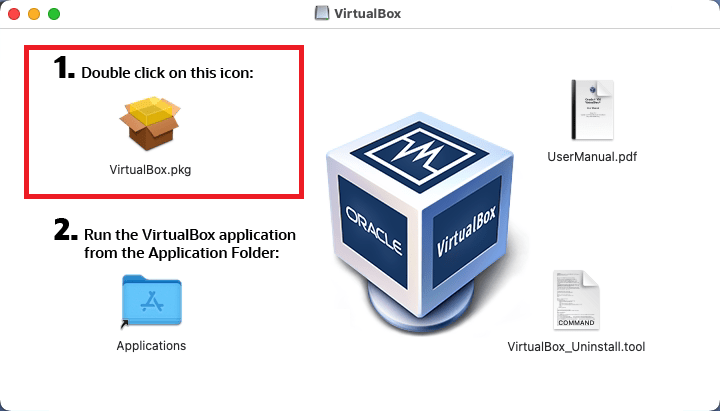
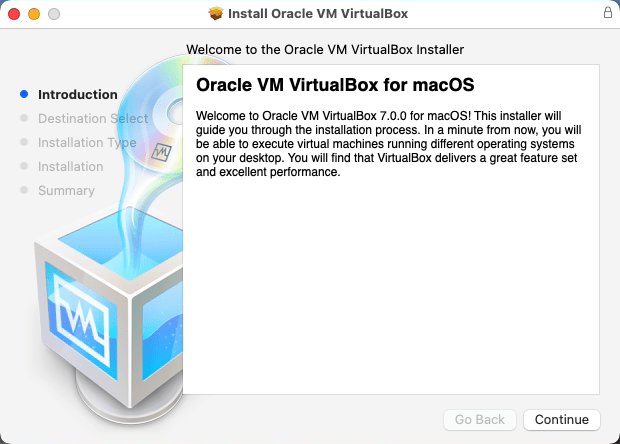
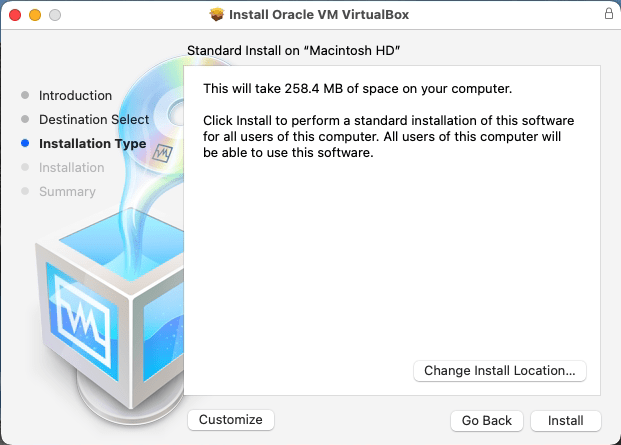
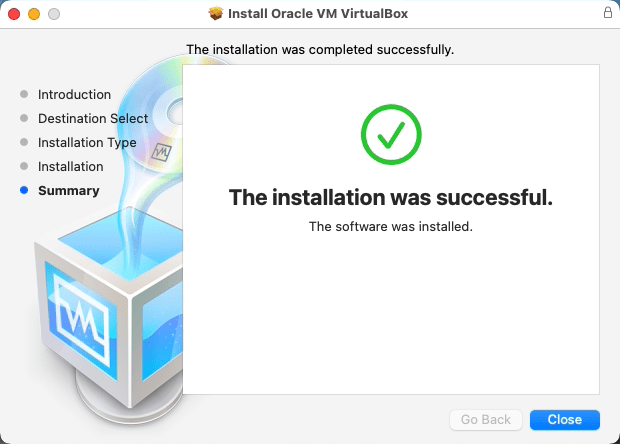
The VirtualBox development team provides a package file for macOS systems. You can download this file directory from Virtualbox’s official website. Then install it on your system. The following steps will help you to step by step installation of VirtualBox on your macOS system.
Install VirtualBox Extension Pack on macOS
The VirtualBox provides additional features using the extension pack. For example, it allows using physical USB (2.0 and 3.0 )devices connected to the host machine. It also allows you to access Webcam and VirtualBox Remote Desktop Protocol (VRDP).
Conclusion
Once you install VirtualBox, create a new virtual machine by clicking the “New” button and following the remaining steps to set up your new machine. Make sure that you select the correct operating system version. This step-by-step tutorial helped you to install VirtualBox on your macOS system.