How to Install Visual Studio Code Editor in Ubuntu & Debian How to Install Visual Studio Code Editor in Fedora & CentOS
Step #1. Enable Package Repository
Create a new file /etc/yum.repos.d/vscode.repo and edit in text editor. Now add the following content to the file.
Step #2. Install Visual Studio Code
Now, Import the package signing gpg key on your system using the following command. After importing gpg key, Let’s use the below commands to install the Visual Studio Code on your openSUSE or SEL system.
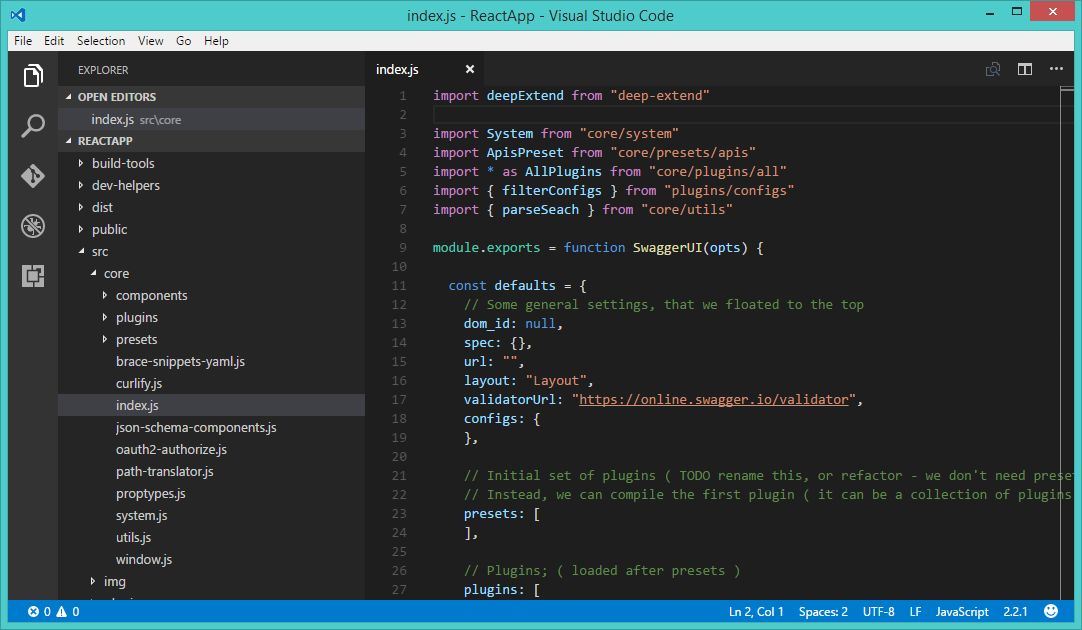
Step #3. Open Visual Studio Code
Now launch the Visual Studio Code editor on your system using the graphical menu. After that create a new file or open files and directories using the File menu.
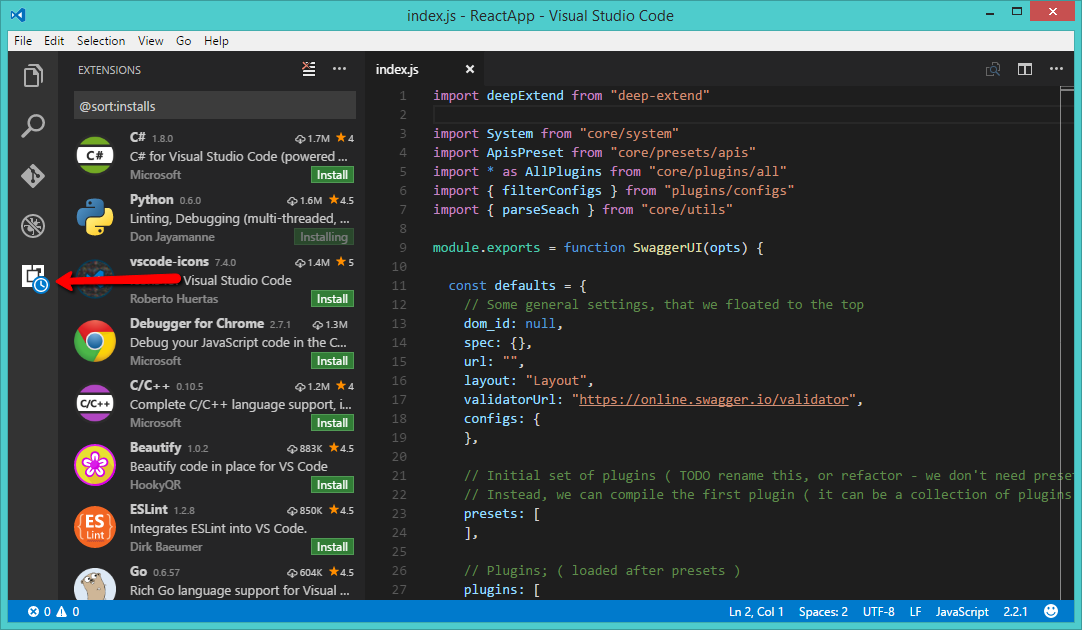
Step #4. Add Required Extensions
There are a large number of extensions available for Visual Studio Code like C#, Python, JavaScript, Google Chrome, etc. Install the required extensions to enhance your working experience with Visual Studio Code.