Canva In this article, I will cover everything from what you need to consider before you start, to uploading your completed video on YouTube. I will be using text and photos to support this article. This is an article from my point of view only. There are hundreds if not thousands more out there.
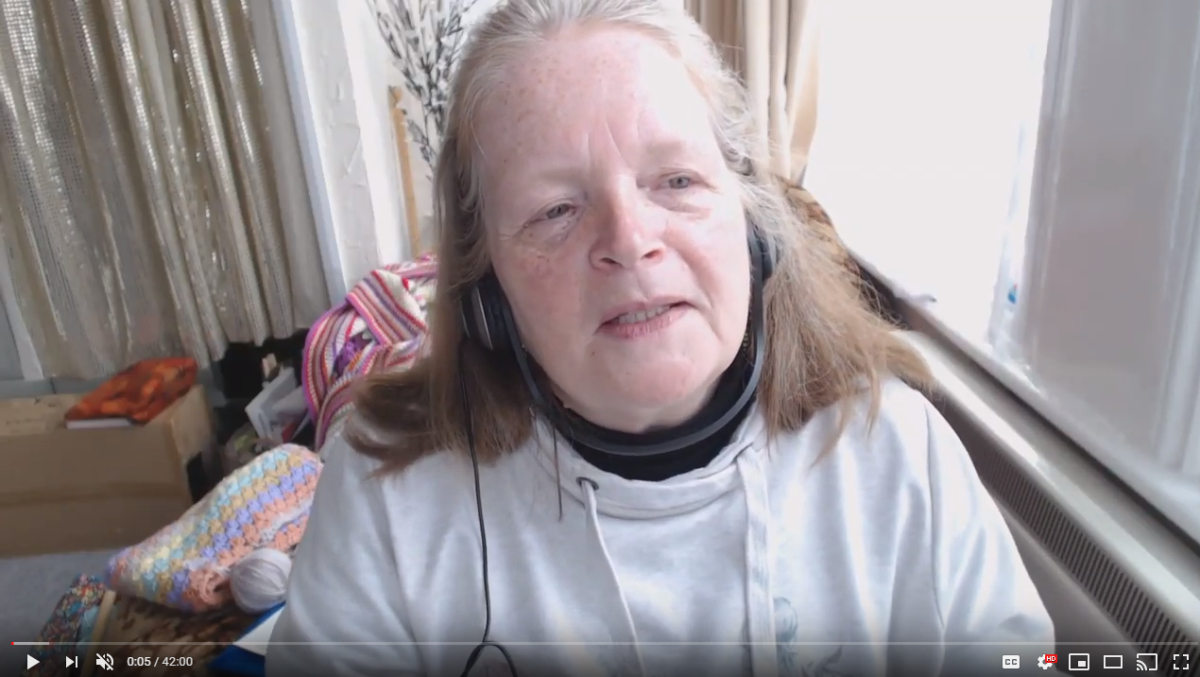
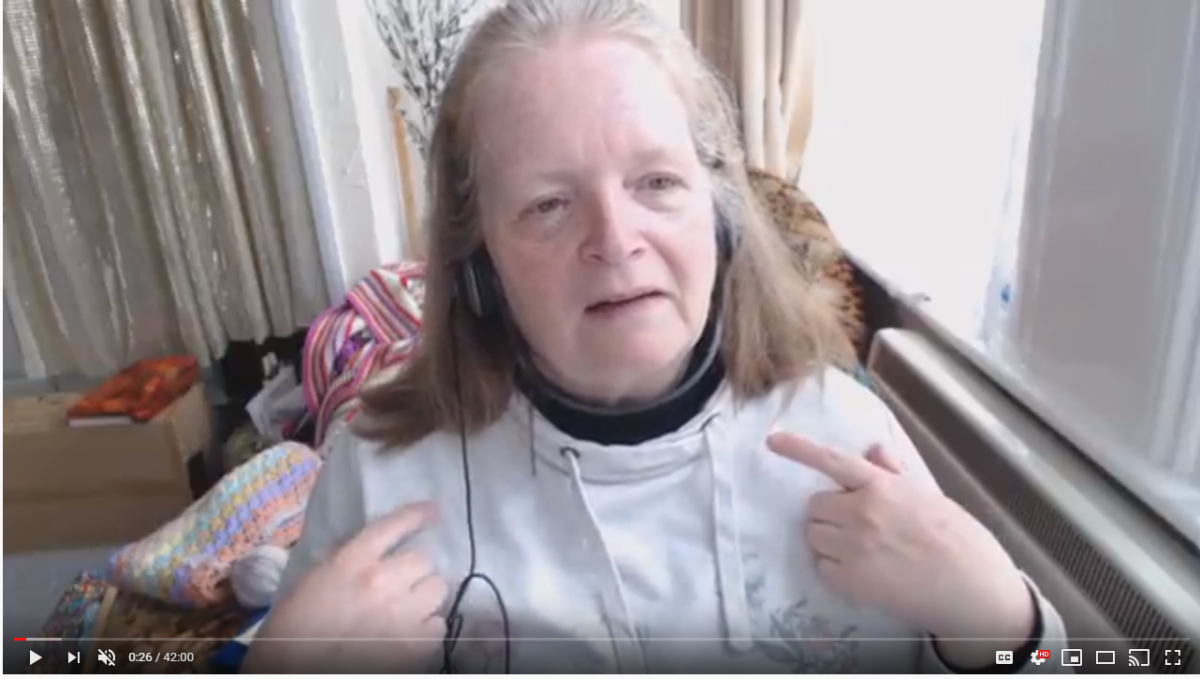
1. Consider If You Want to Be Visible in the Video
There are pros and cons to whichever one you choose. If you choose to be seen on your video, then sometimes it can be harder for the viewers to see the piece of craftwork and/or supplies you are showing to them because of the distance from the camera. Some podcaster’s will lean forward to try to give you a better view, but some do not. If you choose not to be seen on camera or to have just your hands showing, then this can take the personal touch away and may be harder for the viewers to engage with you. However, it will be much easier for the viewers to see the craftwork and/or supplies you are showing. This is also a good choice if you are planning to demonstrate a technique.
2. Ensure Your Camera/Video Recorder Is Up to the Job
This doesn’t seem to be a problem for most of the podcasts I watch, but I have seen a few where the camera (usually mobile/cell phone cameras) only record for 30 minutes at a time and switch off mid-recording. It’s probably best not to waffle too much if you have limited time to record on your camera or give the viewer a heads up at the start that your video may be briefly interrupted for resetting.
3. Acquire Adequate Lighting and Sound
This can make or break your podcast. I have aborted watching many podcasts because poor lighting ruins the enjoyment for me. Being able to see your beautiful hand makes or supplies clearly is the main reason most viewers watch. So consider the lighting in the room you choose for your podcast. Maybe invest in some suitable lighting. I use my daylight lamp (usually used for stitching in the evenings) when the day is grey and gloomy. On a bright sunny day, I don’t need any extra assistance. Equally important is the sound. It can be a bit frustrating trying to listen to a podcast where the microphone isn’t strong enough. Do a test video to make sure you are happy with the lighting and the sound quality of your device. Suitable lighting and microphones are available on the internet. Check reviews of products before you decide to buy.
4. Consider the Time of Day & Child Safety Rules
Yes, there are videos out there where they are interrupted by a child walking into the room, shopping being delivered or a cute pet trying to get in on the act. There are strict rules on YouTube regarding children in videos. You may want to read YouTube’s policy as well this helpful article from change.org. I understand the child safety rules are set to be tightened further from January 2020. So if you want to lessen the impact of any interruptions this is a good thing to consider before you start. With the best will in the world, you can’t prevent all interruptions but they can be minimised.
5. Be Organised: Make a Content List
Don’t forget to start by introducing yourself and thank your viewers for tuning in. Viewers like a little background before you start. You may want to include what part of the world you are coming from, your craft history and where you can be found on the internet. Also, include where your show notes can be found e.g on your website or in the show notes in the drop-down box under the right-hand side of the video your viewers are watching. It is always good practice to do show notes as your viewers can get caught up in the podcast and sometimes forget where you said something came from. Then refer to your list of what you would like to talk about on your podcast, preferably in the order you would like to say/show. I have suggested a few headings below and broken down the most popular jargon heard on podcasts.
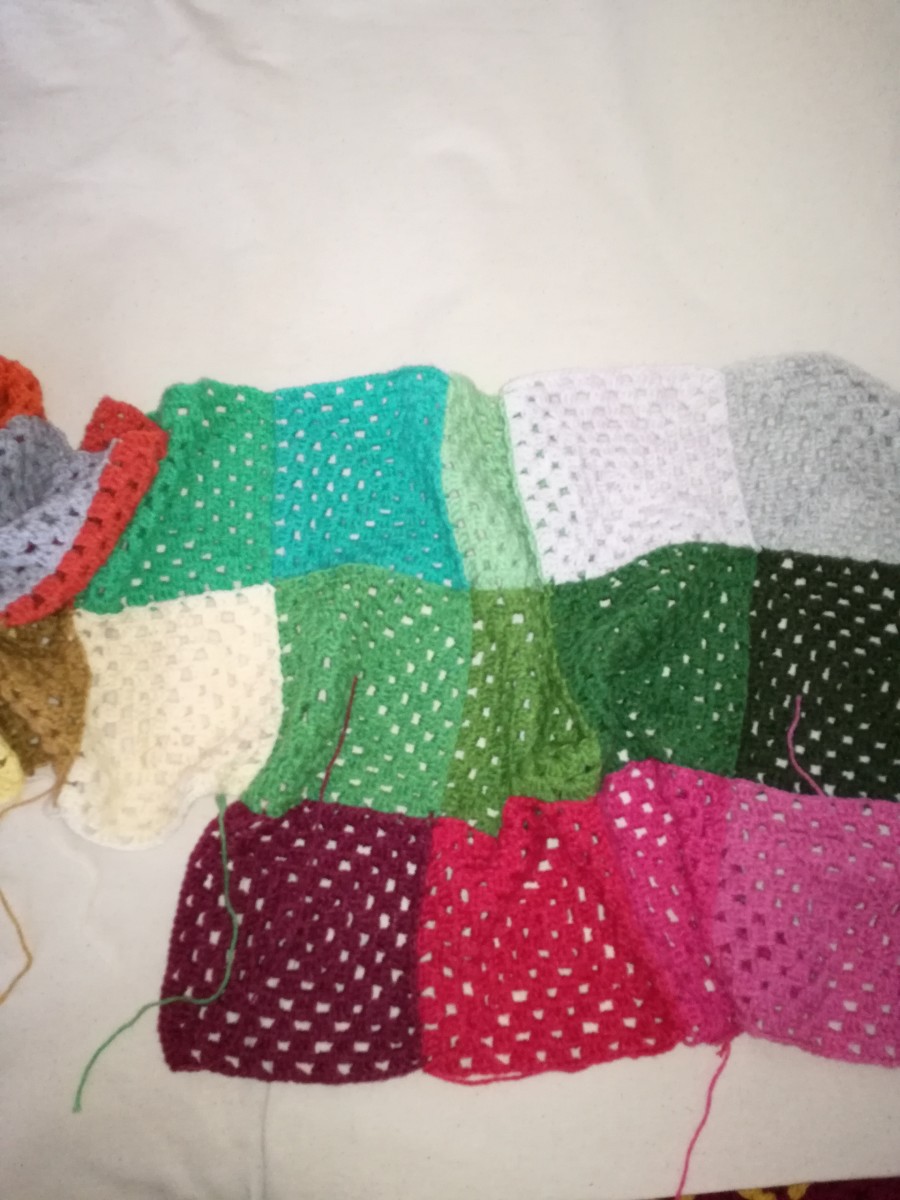
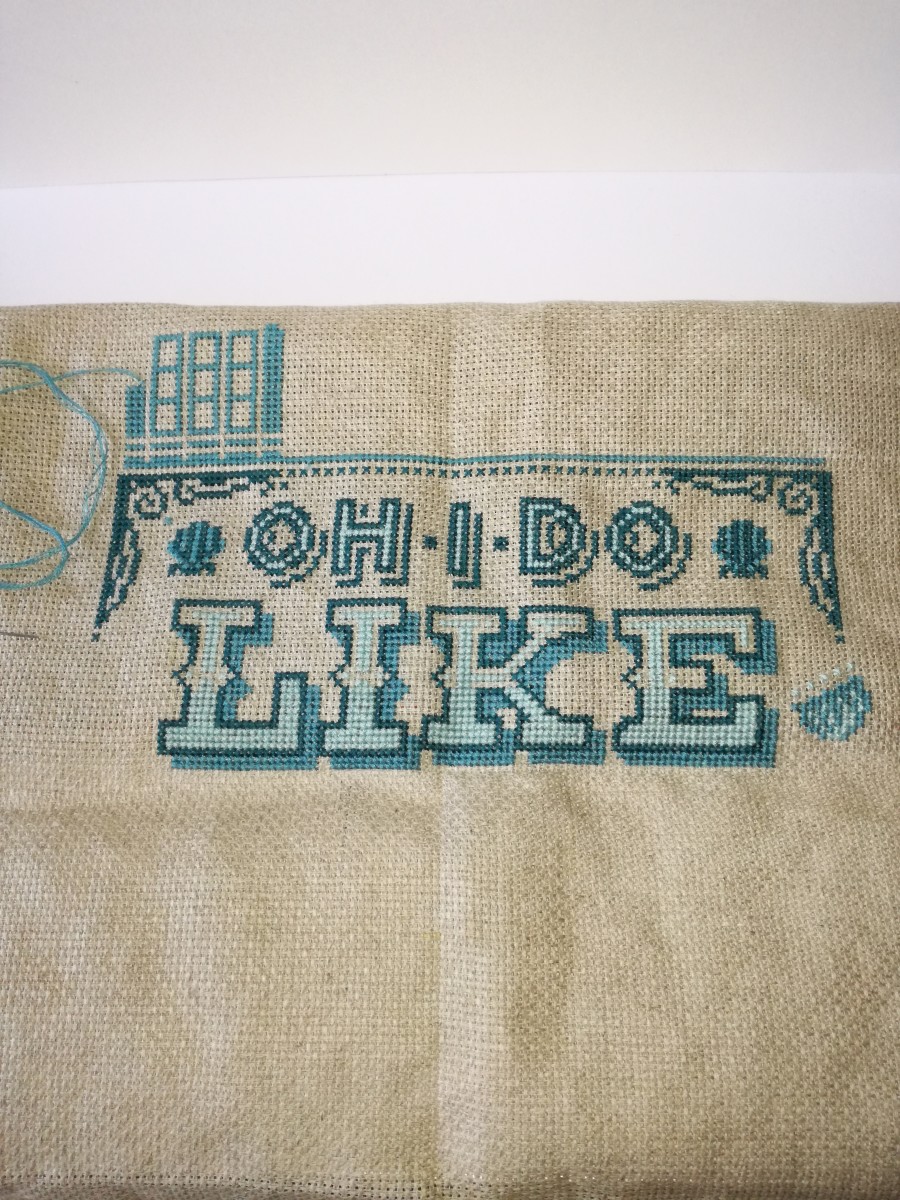
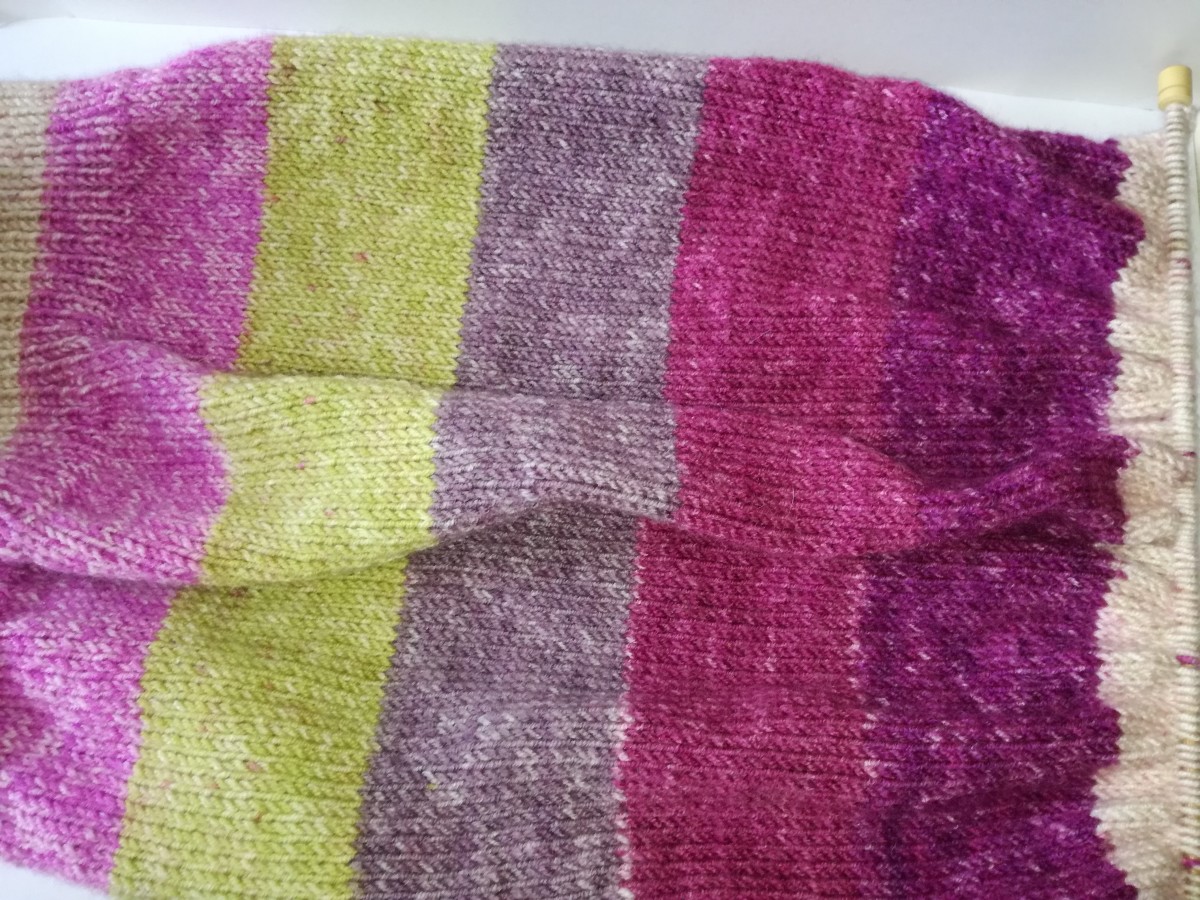
6. Begin With Works in Progress
You may want to start your podcast with Works in Progress (WIPs). This can be anything you are working on at the moment but have not finished. I have a crochet blanket, some cross stitch, and a knitted jumper I am working on at the moment so I would talk about these under this heading (see photos below). Include the relevant details about each project; for example,
The ball bands of any yarn you have used. The viewer will be interested in the brand, shade number/colour and thickness of the yarn. The size and make of the knitting needles or crochet hook you are using. The pattern you are using including the name of the designer and where the pattern can be purchased or tell the viewer if it is a free pattern. For cross stitching include the chart design and designer name. The name and count of the fabric you are using and whether you are using the called for stranded cottons/floss colours. If you are not, then talk a little about the swaps you have made.
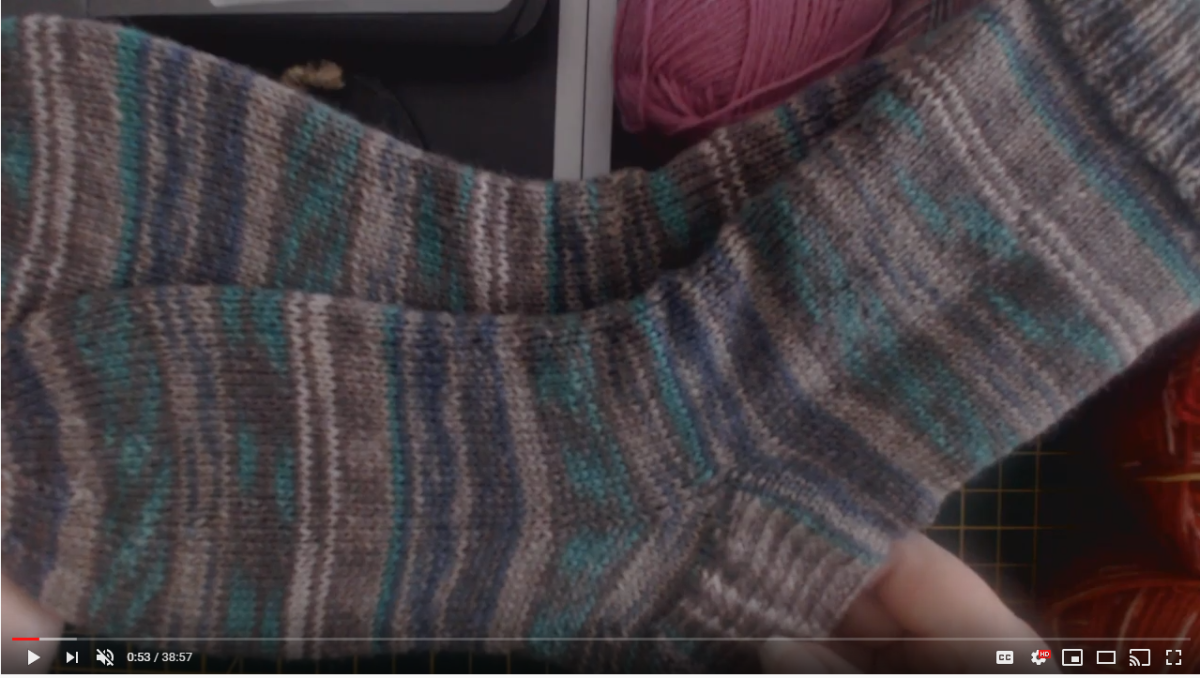
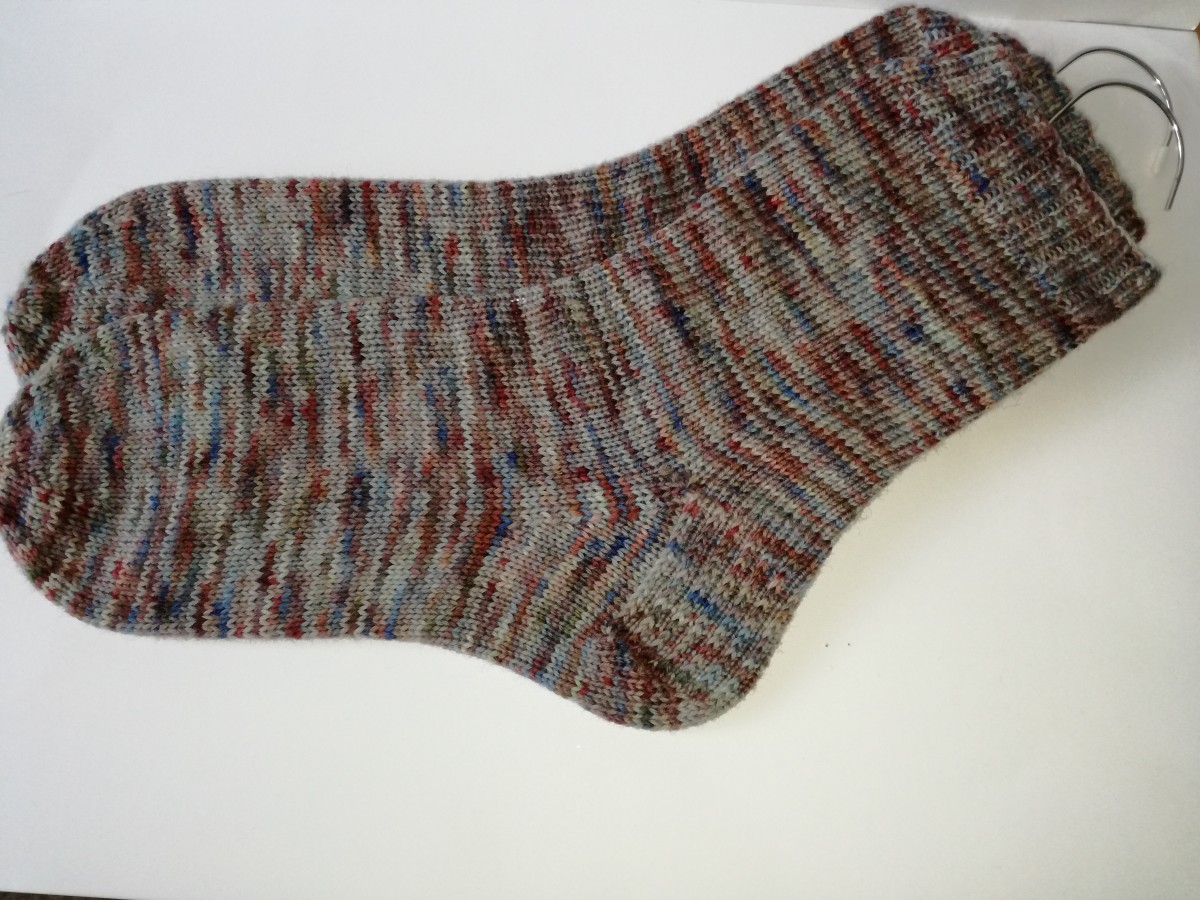
7. Share Finished Objects
Next you may want to talk about Finished Objects (sometimes called FOs). For example, I have just completed a pair of knitted socks so I would show these under this heading (see photo below). Remember to add the relevant details about your FOs as in Works in Progress.
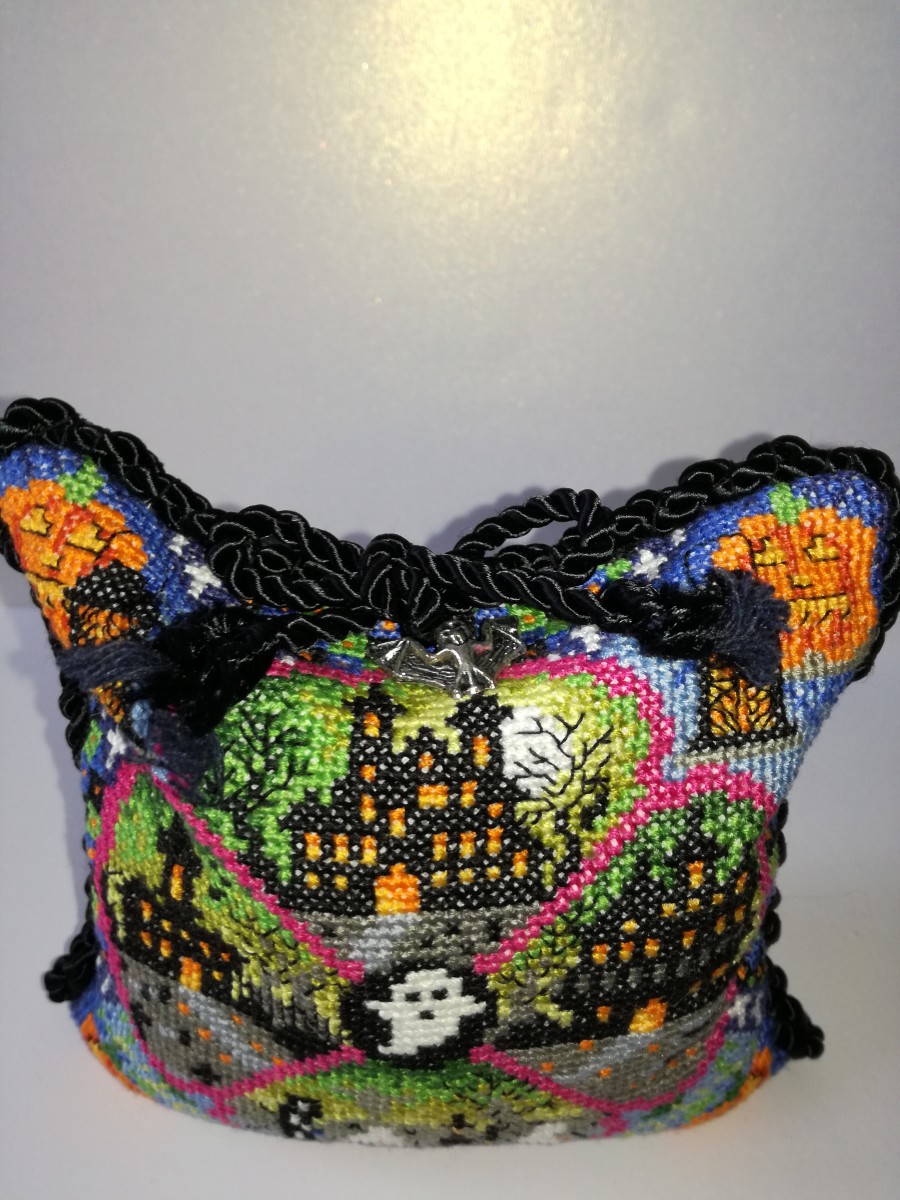
8. Share Fully Finished Objects
Then there is such a thing as Fully Finished Objects (often called FFOs). This term is mostly used when talking about stitched pieces and means the stitching and the making up e.g.framing is fully completed. In addition to the relevant information listed in Works in Progress you may want to add how you finished your object; e.g. if you had a completed piece of cross stitch framed, talk about where it was framed. Did you do it yourself? Then talk about how you went about choosing that particular frame.
9. Share Recent Purchases
Some podcasters like to show and talk about any purchases they have made to support their craft between videos. Some viewers don’t like this and for this reason, most podcaster’s will leave this bit until last, giving the viewer the opportunity to skip it. I like to see this part because it widens my knowledge of what is out there and potentially supports local small businesses if there is something I see and like and then go on to purchase. I have heard this section called a variety of things; e.g., Haul, Incoming Goodies, Confessions, Treasure Chest and Purchases. Another section that many podcasters will leave until the end is talking about their Shop Updates. This usually means that the podcaster has an Etsy or Ravelry shop or their own website where they sell related products to support their podcast or indeed themselves. This can include project bags, for keeping your craft projects in when you’re not working on them, hand-dyed yarns, patterns and stitch markers.
10. How to Close
The final section of your podcast is often speaking about crafting plans for the coming week(s) and thanking your viewers for watching and encouraging them to like and subscribe to your channel. This gets you higher up in the ratings when viewers are searching for craft videos to watch. This thought and organisation before you begin can help your podcast to run smoothly and cut down on the amount of loading time your video takes to upload to YouTube.
How to Create a YouTube Channel
Now you have finished your video, the next thing is to get it loaded to YouTube. If you haven’t got a channel, then it is fairly straightforward to set one up. This content is accurate and true to the best of the author’s knowledge and is not meant to substitute for formal and individualized advice from a qualified professional. © 2019 Sue Creftor