Ubuntu 20.04 systems uses netplan from the previous LTS system. The desktop systems provide an attractive graphical user interface to work with it. Using the GUI, you can easily change or set a static IP address on your Ubuntu system.
Set A Static IP on Ubuntu 20.04
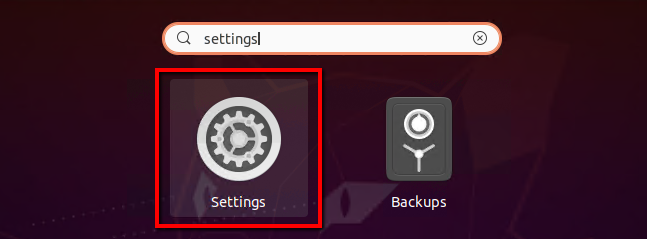
You must have a root or sudo privileged account in the Ubuntu system. Login to your Ubuntu 20.04 Desktop system. After that open settings on your machine as shown in the below screenshot.
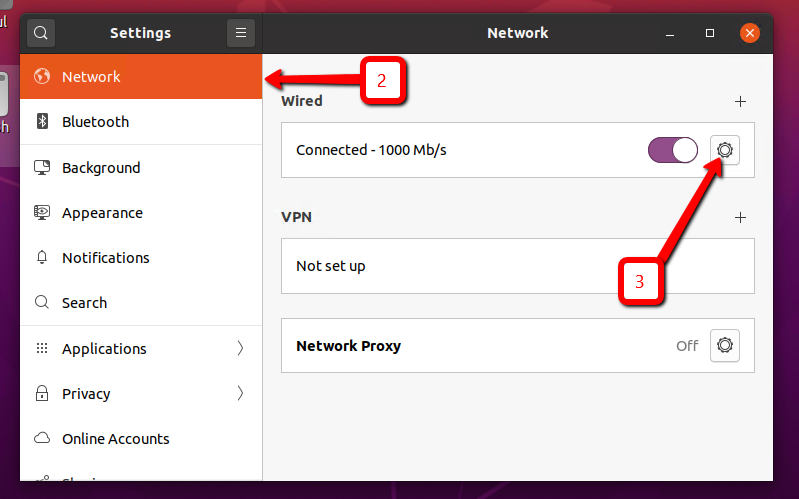
In the settings window, click on Network tab in the left sidebar. After that click icon to open the setting for your systems network interface as shown on the below screen.
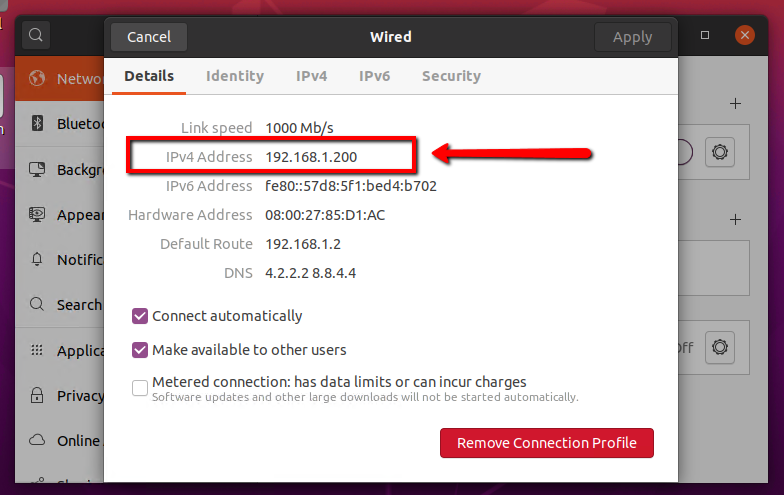
This window will show you the current IP address configured on your system. Now select the IPv4 tab Then under the IPv4 Method select the “Manual” option. In the Addresses section and set your IP Address, Netmask, and Gateway. You may also set remote DNS IP addresses. If you don’t know what to set here use 8.8.8.8 and 8.8.4.4 as shown in below screenshot.
View Current IPs on Ubuntu
You can view the current static IP under the details tab.
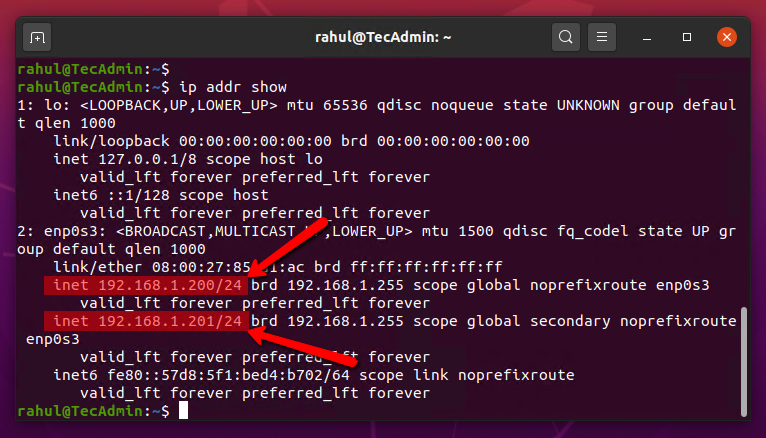
To view IP on the command line. Press CTRL + ALT + T to launch the terminal on your Ubuntu system. Then type the following command to view all IP addresses configured on your system.