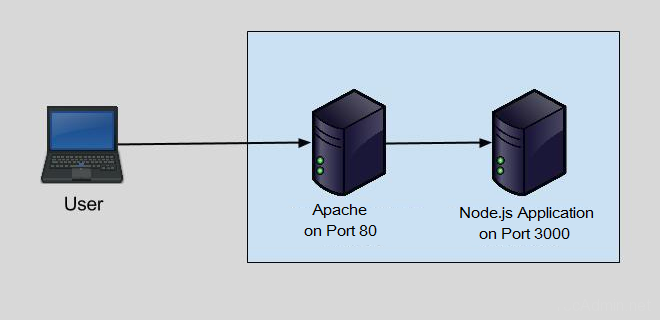
A reverse proxy is an intermediary server that allows clients to reach content hosted on another server more efficiently and securely. It is commonly used with websites but can be used with any kind of network endpoint that requires dynamic incoming connections from many different sources.
Before Start
I am using Ubuntu 22.04 Linux system running in Virtualbox. You can also buy the VPS instance from DigitalOcean at low prices. Installed latest Node.js version using this tutorial on this Linux machine.
Step 1 – Create Sample Node Application
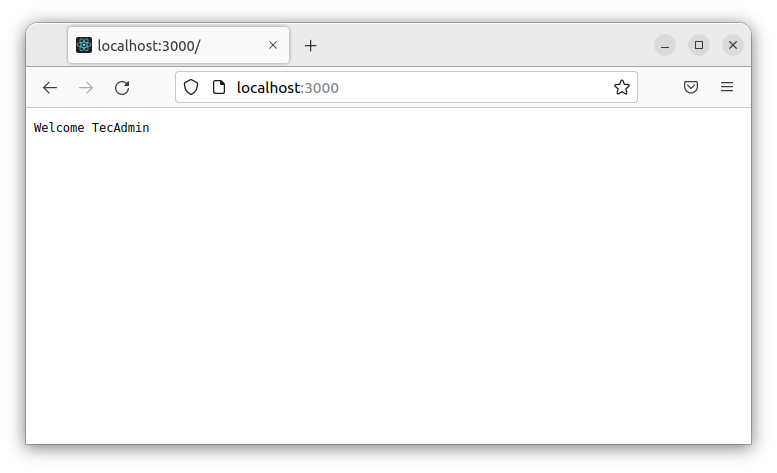
As you are here 🙂 You must have a running Node.js application on some port. We assume you are running your application on port 3000. For the demonstration purpose, I am creating a sample web application on Node.js and running on port 3000. So it will be easier to understand for you. Then, add the following content in the JavaScript file. Your Node application is ready to serve on port 3000. Let’s start the Node.js application in the background. And access this in the browser. You will see the result below:
Step 2 – Installing Apache
Now install the Apache web server using the default Package manager. The Ubuntu and Debian-based systems use apt, Fedora and CentOS/RHEL 8 use DNF, and CentOS/RHEL 7/6 use yum. Apache packages are available under default repositories on almost operating systems. After installation of the Apache web server, you must have enabled the Proxy module. This module is enabled in Apache for users who installed using rpm packages. If you don’t have enabled edit your Apache configuration /etc/httpd/conf/httpd.conf or for Apache 2.4 /etc/httpd/conf.modules.d/00-proxy.conf file and uncomment the following lines or put them in the file. For the Debian-based systems use the following command to enable the Proxy module with Apache.
Step 3 – Configure VirtualHost in Apache
As you have configured and run a Node.js demo server. Now, start configuration with the Apache web server. Create a virtual host configuration file for your domain under /etc/apache2/sites-available/ directory. Add the following content.
Save the file and close it. After creating the configuration, restart the Apache webserver using the following command.
Step 4 – Verify Setup
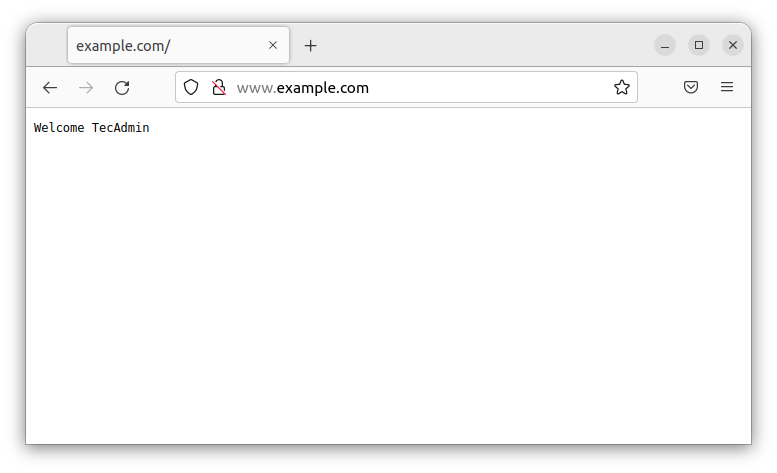
The Apache reverse proxy server is configured to accept requests to send them to the backend Node application. Now, access your domain name in a browser. If everything is configured correctly, you should see the Node application.
Conclusion
In this blog post, we discussed why you need to set up reverse proxy and how you can set up Apache Reverse Proxy for your Node.js application. We also discussed why it is important to configure Nginx in such a way and how you can do so. Now that you know how to set up Apache Reverse Proxy for your Node.js application, you can rest assured that your application will be accessible to anyone who wants to access it. Alternatively, Nginx has better performance as a Proxy server, so if you are not bounded with Apache, go with the Nginx proxy server.