Step 1 – Prerequsities
Java is the primary requirement for running Hadoop on any system, So make sure you have Java installed on your system using the following command. If you don’t have Java installed on your system, use one of the following links to install it first.
Install Oracle Java 11 on Ubuntu 18.04 LTS (Bionic) Install Oracle Java 11 on Ubuntu 16.04 LTS (Xenial)
Step 2 – Create User for Haddop
We recommend creating a normal (nor root) account for Hadoop working. To create an account using the following command. After creating the account, it also required to set up key-based ssh to its own account. To do this use execute following commands. Now, SSH to localhost with Hadoop user. This should not ask for the password but the first time it will prompt for adding RSA to the list of known hosts.
Step 3 – Download Hadoop Source Archive
In this step, download hadoop 3.1 source archive file using below command. You can also select alternate download mirror for increasing download speed.
Step 4 – Setup Hadoop Pseudo-Distributed Mode
4.1. Setup Hadoop Environment Variables
Setup the environment variables used by the Hadoop. Edit ~/.bashrc file and append following values at end of file. Then, apply the changes in the current running environment Now edit $HADOOP_HOME/etc/hadoop/hadoop-env.sh file and set JAVA_HOME environment variable. Change the JAVA path as per install on your system. This path may vary as per your operating system version and installation source. So make sure you are using the correct path. Update below entry:
4.2. Setup Hadoop Configuration Files
Hadoop has many configuration files, which need to configure as per requirements of your Hadoop infrastructure. Let’s start with the configuration with basic Hadoop single node cluster setup. first, navigate to below location
Edit core-site.xml
Edit hdfs-site.xml
Edit mapred-site.xml
Edit yarn-site.xml
4.3. Format Namenode
Now format the namenode using the following command, make sure that Storage directory is Sample output:
Step 5 – Start Hadoop Cluster
Let’s start your Hadoop cluster using the scripts provides by Hadoop. Just navigate to your $HADOOP_HOME/sbin directory and execute scripts one by one. Now execute start-dfs.sh script. Then execute start-yarn.sh script.
Step 6 – Access Hadoop Services in Browser
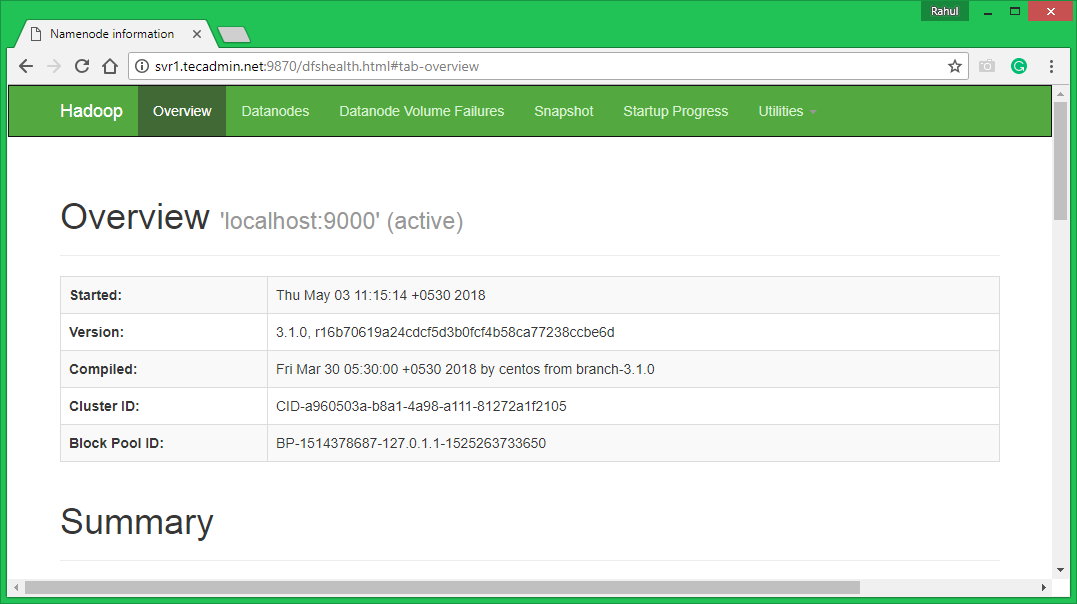
Hadoop NameNode started on default port 9870. Access your server on port 9870 in your favorite web browser.
Now access port 8042 for getting the information about the cluster and all applications
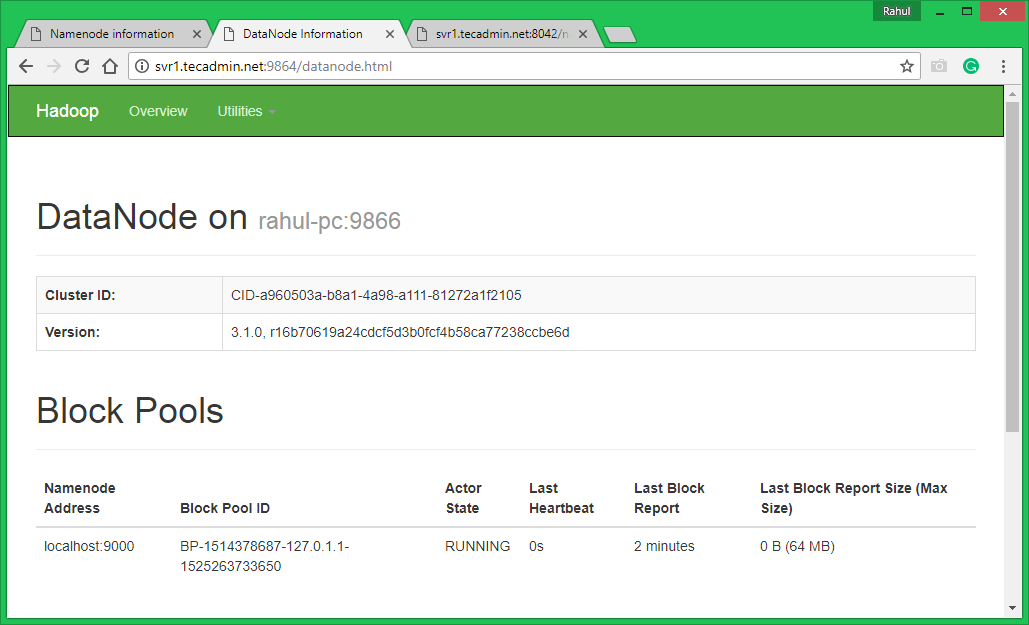
Access port 9864 to get details about your Hadoop node.
Step 7 – Test Hadoop Single Node Setup
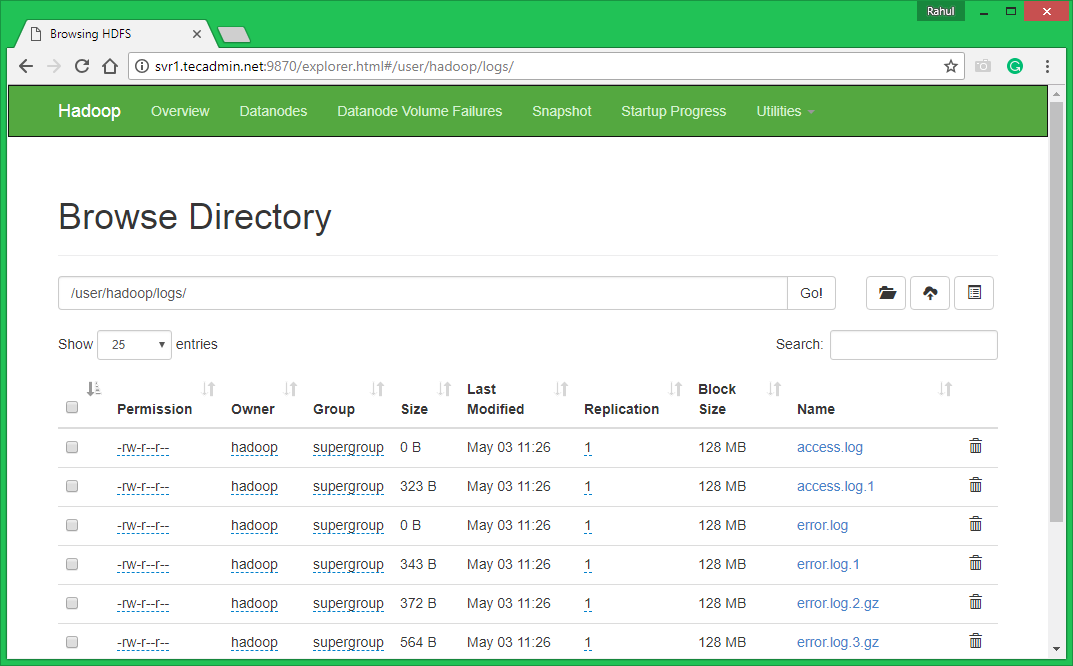
7.1. Make the HDFS directories required using following commands. 7.2. Copy all files from local file system /var/log/httpd to hadoop distributed file system using below command 7.3. Browse Hadoop distributed file system by opening below URL in the browser. You will see an apache2 folder in the list. Click on the folder name to open and you will find all log files there.
7.4 – Now copy logs directory for hadoop distributed file system to local file system. You can also check this tutorial to run wordcount mapreduce job example using command line.