This tutorial helps you to install and use Certbot (A Let’s Encrypt client) on Ubuntu 20.04 LTS Linux system.
Prerequisites
You must fulfill the followings:
A running Ubuntu 20.04 system with sudo privileged account access. Apache web server with virtual host configured with a real domain or subdomain. Domain or sub-domain must be pointed correctly to web server IP address.
Step 1 – Installing Certbot
Certbot is a tool to obtain certificates from Let’s Encrypt and configure them on your web server. The Snap package is the easiest way for installing the certbot on the Ubuntu system. Open a terminal and execute the below command to install certbot:
Step 2 – Generate SSL Certificate
Now, You can request SSL certificates from Let’s encrypt based on the web server. While using the above commands, the domain must be pointed to the server in DNS. Also, ensure that /.well-known/acme-challenge is served by the web server.
Step 3 – Test SSL
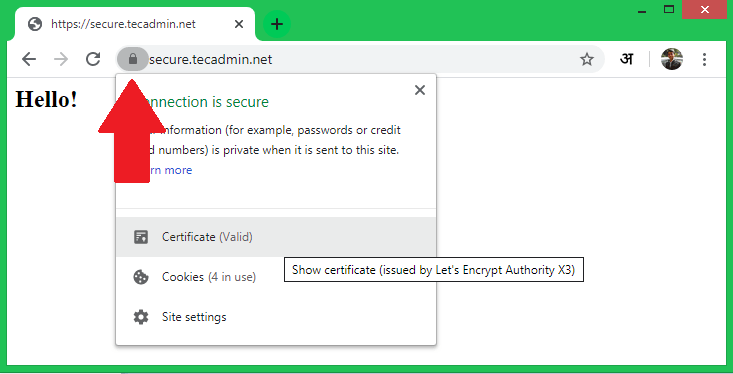
Once the SSL certificate is installed on the web server, visit https://your-domain.com/ in a web browser and look for the SSL lock icon in the URL bar. You can also do a security scan for the SSL setup on https://www.ssllabs.com/ssltest/.
Step 3 – Renew SSL Certificate
A Let’s Encrypt certificate is issued for the 3 months only. You need to renew the certificate before 30 days of expiry. Certbot allows you a hassle-free renewal just by running a single command. Run the below command to renew all the certificates on that system. You can also run a dry run without actual renewal. This will help you to test if SSL renewal performs well.
Conclusion
In this tutorial, you have learned to install certbot on the Ubuntu system. Also helped you to create new certificates for your web servers.