If you’re an experienced system administrator, you know that a proxy server can be a valuable tool for optimizing your network. In this blog post, we’ll show you how to install a proxy server on Ubuntu using the Squid proxy server.
How to install Squid on Ubuntu and Debian
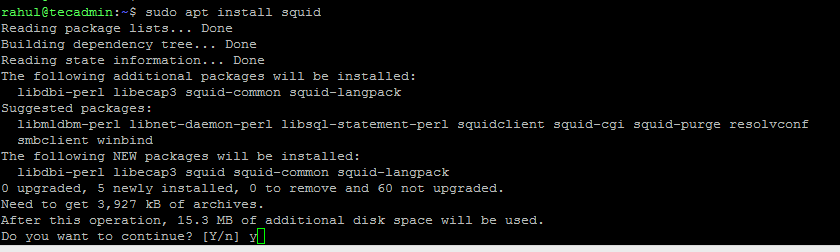
To install Squid on Ubuntu and Debian, use the following commands: The Squid proxy server will be installed on your Ubuntu system. You can verify the service status by running the following command: After you have installed Squid, you will need to configure it to meet your needs. The default configuration should be suitable for most users, but you may need to make some changes depending on your specific needs.
How to Configure Squid Proxy Server
The main Squid configuration file is located at /etc/squid3/squid.conf. This file contains all of the settings for Squid. You can edit this file to change the configuration of Squid.
Conclusion
In this article, we will go over the steps on how to install a Squid proxy server on an Ubuntu server. We will also cover some basic configurations that can be made to Squid once it is installed. By the end of this article, you should have a working installation of the Squid proxy server on your Ubuntu server. If you need to change the Squid port, you can simply edit this line and enter the new port number. For example, if you want to use port 8080, you would enter: Once you’ve made the change, save the file and restart Squid. Note: You can also configure Squid as transparrent proxy server by adding transparent keyword with the port like http_port 8080 transparent .
UFW Users:sudo ufw allow 8080 FirewallD Users:sudo firewall-cmd –permanent –zone=public –add-port=3128/tcp sudo firewall-cmd –reload
This command will allow traffic on port 8080, which is the port that Squid listens on.
First, install apache2-utils package, that provides htpasswd command.sudo apt-get install apache2-utils -y Create a new file to contain username and password. Also change ownership to the Squid user proxy:sudo touch /etc/squid/secure_passwd sudo chown proxy: /etc/squid/secure_passwd Create a new user with following commnad:sudo htpasswd /etc/squid/secure_passwd tecadmin The system will prompt you to enter and confirm a password for “tecadmin” user. Edit the /etc/squid/squid.conf file, and add the following configuration:auth_param basic program /usr/lib64/squid/basic_ncsa_auth /etc/squid/secure_passwd auth_param basic children 5 auth_param basic realm Squid Basic Authentication auth_param basic credentialsttl 2 hours acl auth_users proxy_auth REQUIRED http_access allow auth_users Restart Squid service.
Create a new file /etc/squid/blocked_websites.acl and edit in a text editor. You can choose any name of your choice.sudo nano /etc/squid/blocked_websites.acl In this file, add the domain names one per line to be blocked. You can start the domain name with a dot (.) to blcok subdomains as well..yahoo.com .facebook.com Edit the /etc/squid/squid.conf file again.sudo nano /etc/squid/squid.conf Add the following lines just before the ACL list.acl blocked_websites dstdomain “/etc/squid/blocked.acl” http_access deny blocked_websites Save changes and restart Squid service.