With technology changing so much, the market for online video tutorials continues to increase in popularity. We must continue to keep as many people up to date as possible with new tech tips. The hype started years ago, and to this day, you can agree that you can learn just about anything on YouTube.
Start a Screen Recording
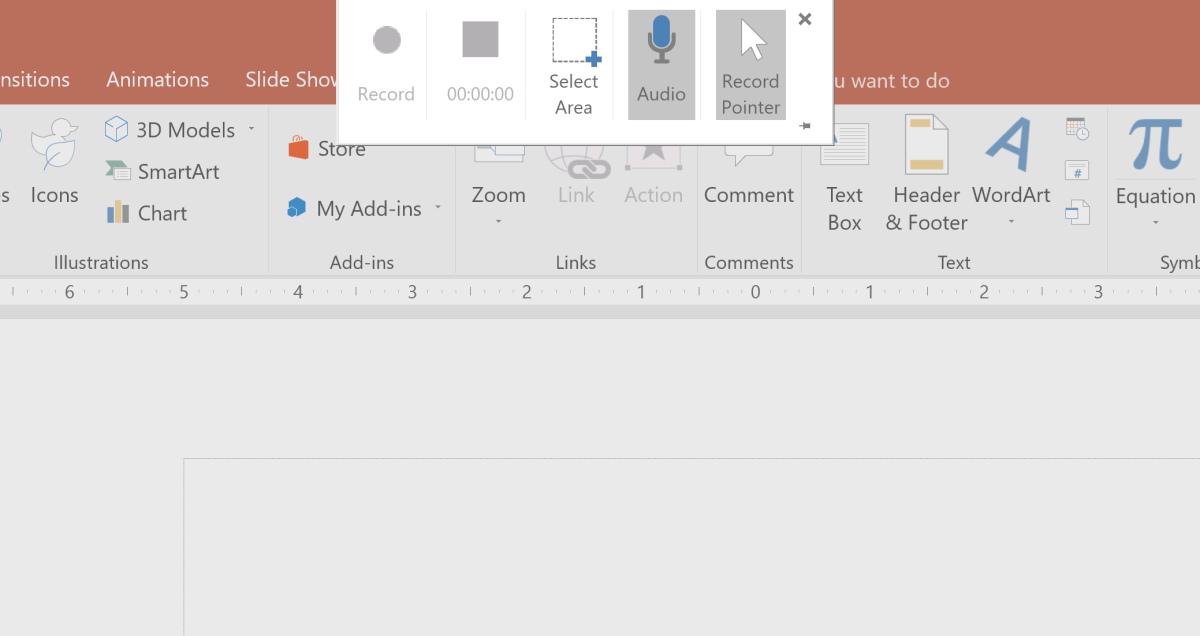
To start a screen recording, open PowerPoint and click on the insert tab. Next, click on “Screen Recording” located in the media section. The screen recording options will now appear at the top of your screen. If these options go away, move the cursor up to the top of the screen and it will reappear. Notice also that the background will turn grey. This will remain grey until a recording area is selected. Click on the select area option, then go to the area of your computer screen where you want to record content.
Start Recording
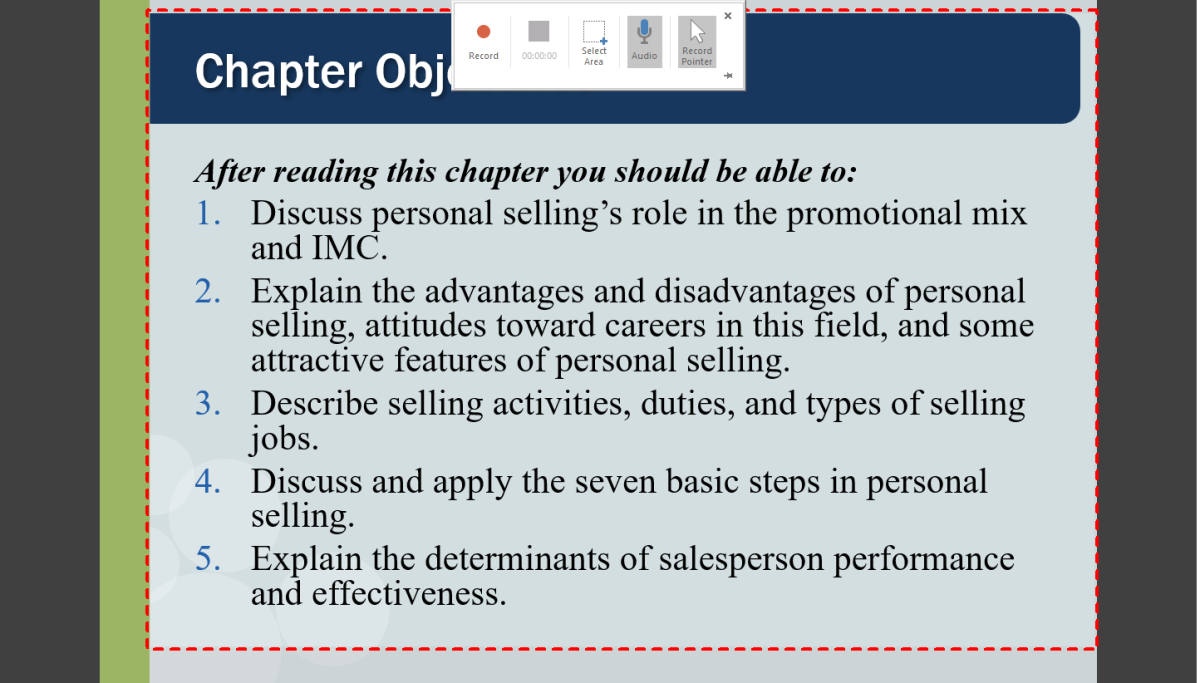
You can select the whole screen or a certain area that you want to record by holding on to the left mouse button and dragging your cursor to create a square or rectangular recording area. In the case of the illustration below, I want to narrate a PowerPoint presentation while recording. The gray color will disappear where your selected area is. Now is the time to click on the record button.
Stopping the Recording
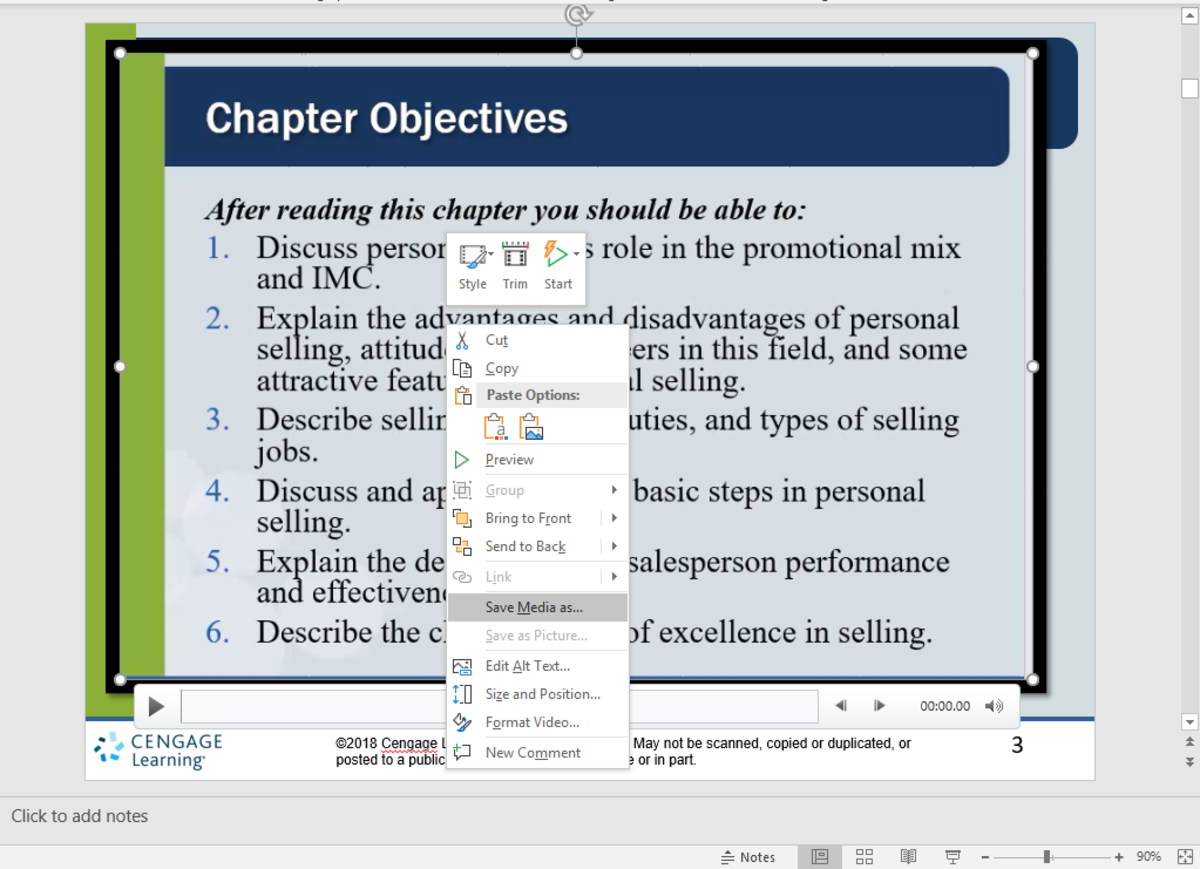
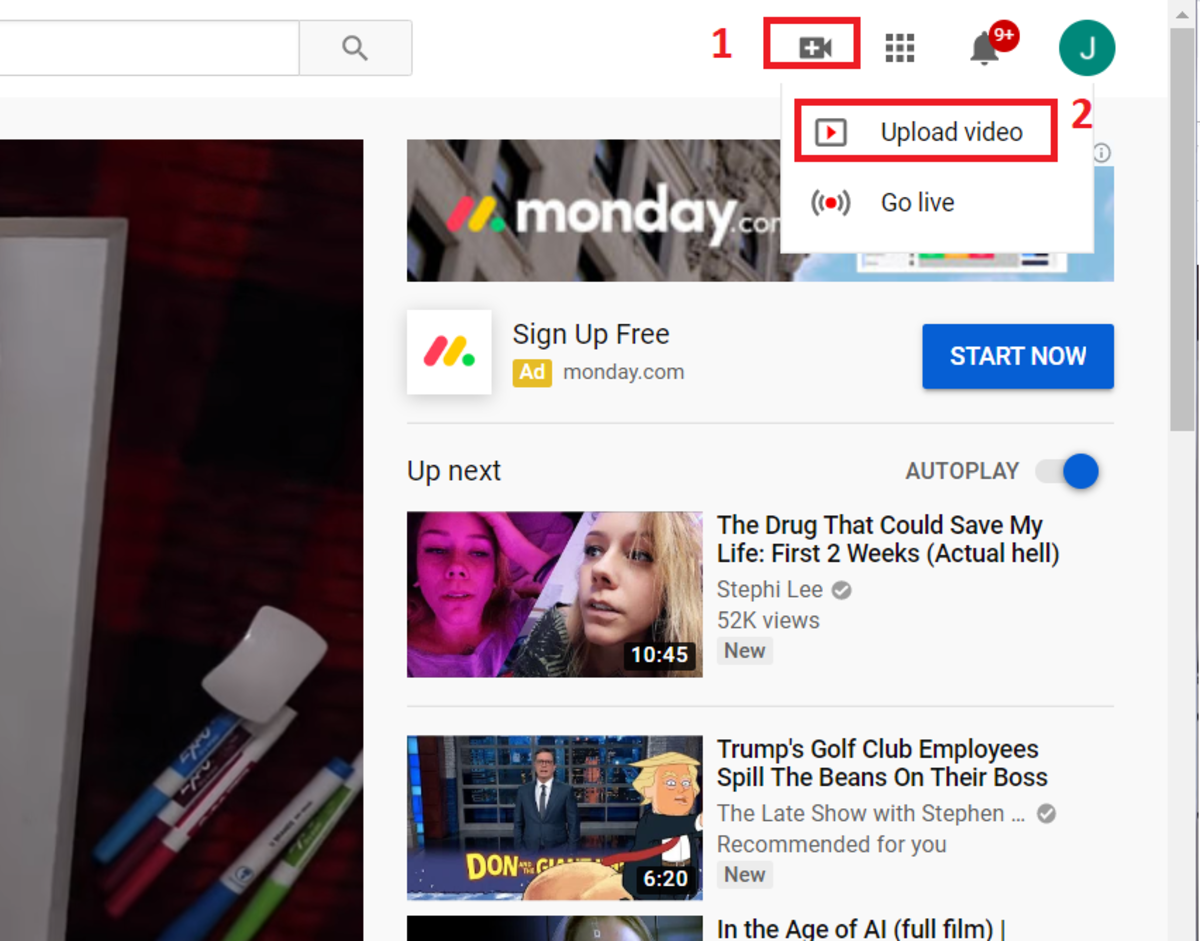
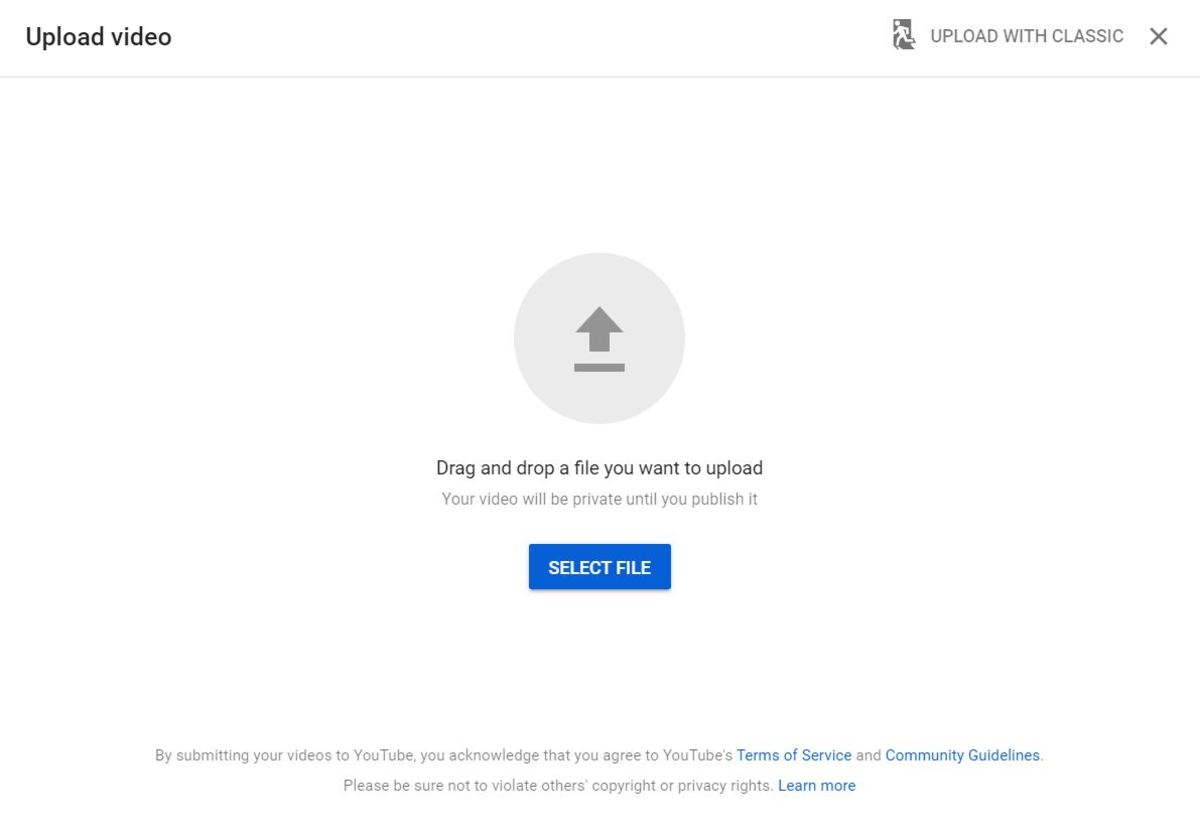
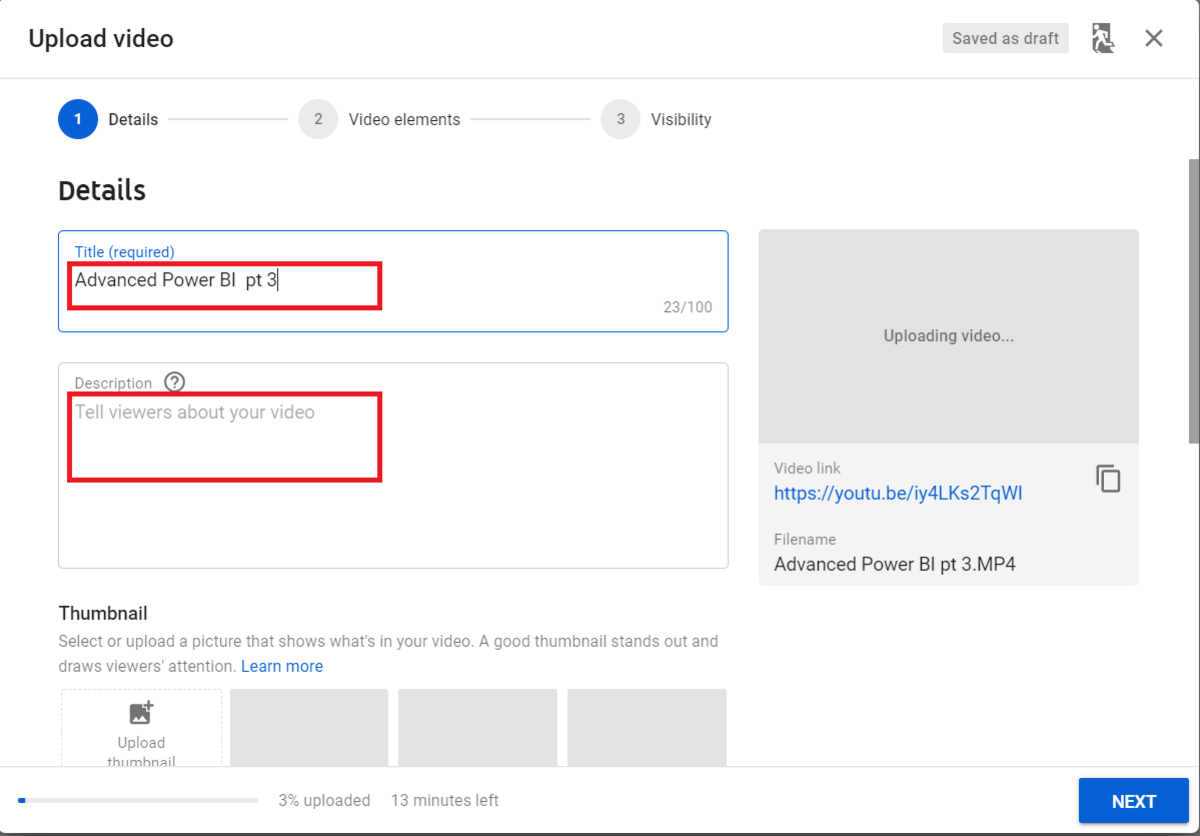
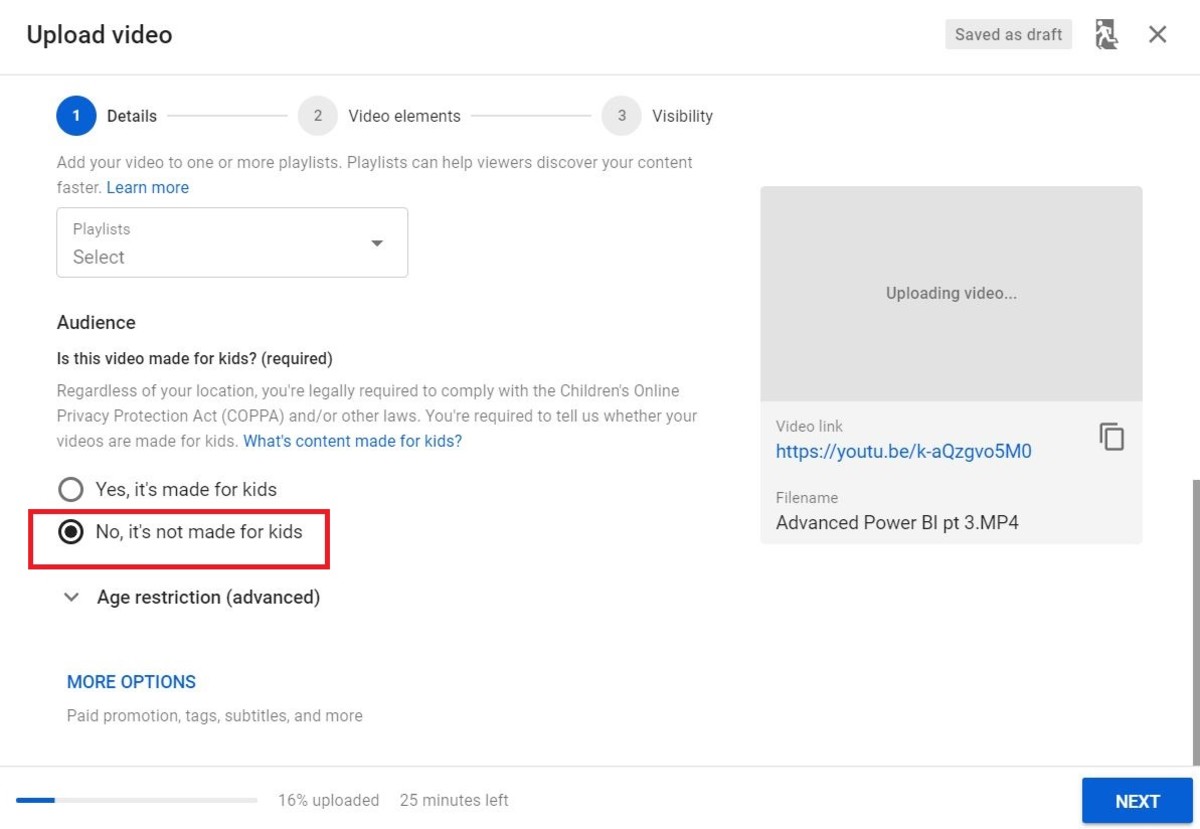
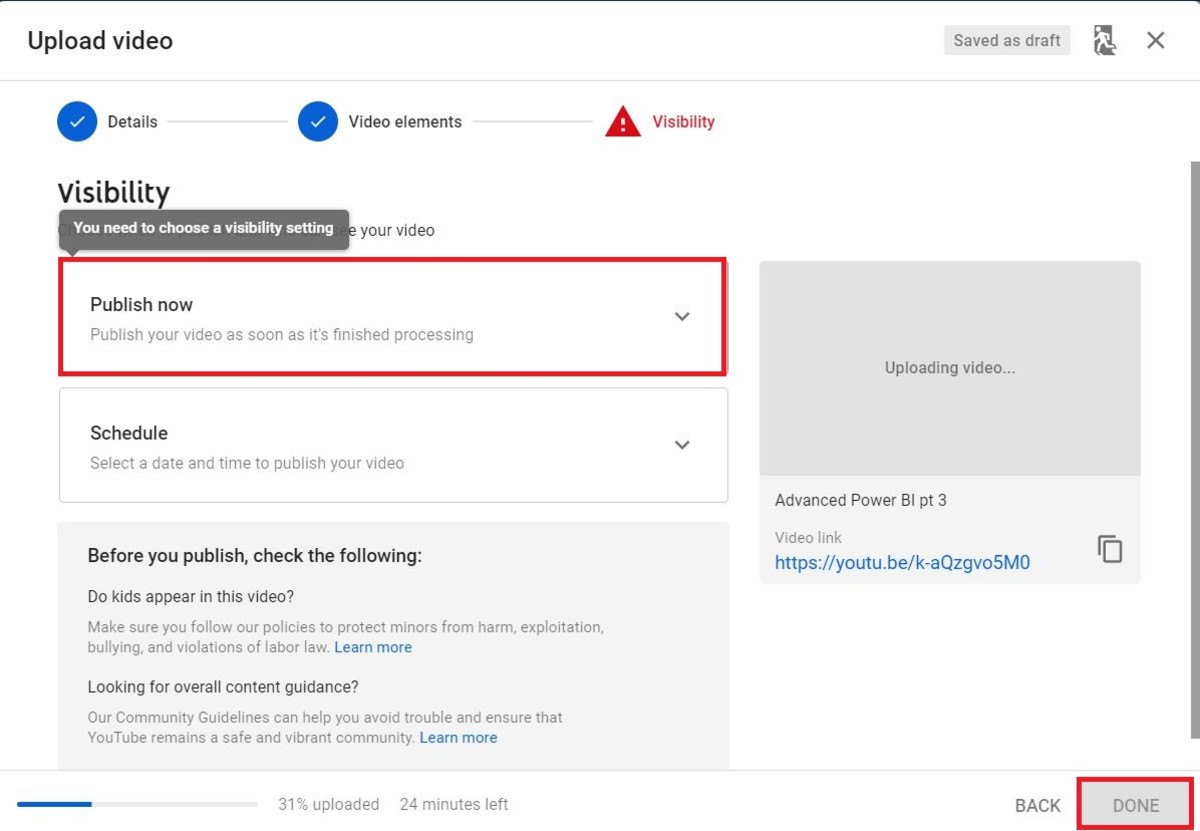
To end the recording, move your cursor to the top of the screen toward the middle to show the recording controls and click stop. At this point, your video is saved within the PowerPoint presentation. You may view your recording by hovering over it, followed by clicking on the play button. In order to make a YouTube video, the video must be saved outside of PowerPoint. To do so, right-click on the video and click “Save Media as” to find a location on your computer to save the file. Next, log in to your YouTube account. Once logged in, click on the create video or post button and upload video button. The steps are numbered in the illustration below. In this new window, you must click on the select file button in the middle of the screen. This will direct you to your computer’s directory, where you will need to select the media file to be uploaded. Next, you need to create a title or confirm that you want the title to be the same as the file name. The description also needs to be created. You want to make sure your description has the correct keywords used in it so search engines can find your work. After this is complete, click the Next button. Indicate whether your video is intended for kids. Click the next button two more times. The last things you need to do are choose how private you want your video to appear and choose to publish. Note that the done button text will change to publish after the privacy setting is made. This content is accurate and true to the best of the author’s knowledge and is not meant to substitute for formal and individualized advice from a qualified professional. © 2019 Joshua Crowder