I’ve decided to do a tutorial on upgrading from Windows 2003R2 Certificate Authority (CA) because I had to migrate one recently. We cannot upgrade the CA directly from 2003R2 to 2019. We need to upgrade to a version of Windows prior to 2019 first. The 2003R2 CA database is not compatible with the 2019 CA version. In this tutorial, we will use 2012R2 as the intermediate version. If the CA is running on any version of Windows from 2008R2 and later, it can be upgraded to 2019 directly. The following is a high-level summary of the steps we’ll use to migrate a CA from one server to another.
Summary of Steps
On the original server: On the destination server:
Back up the Certificate Authority
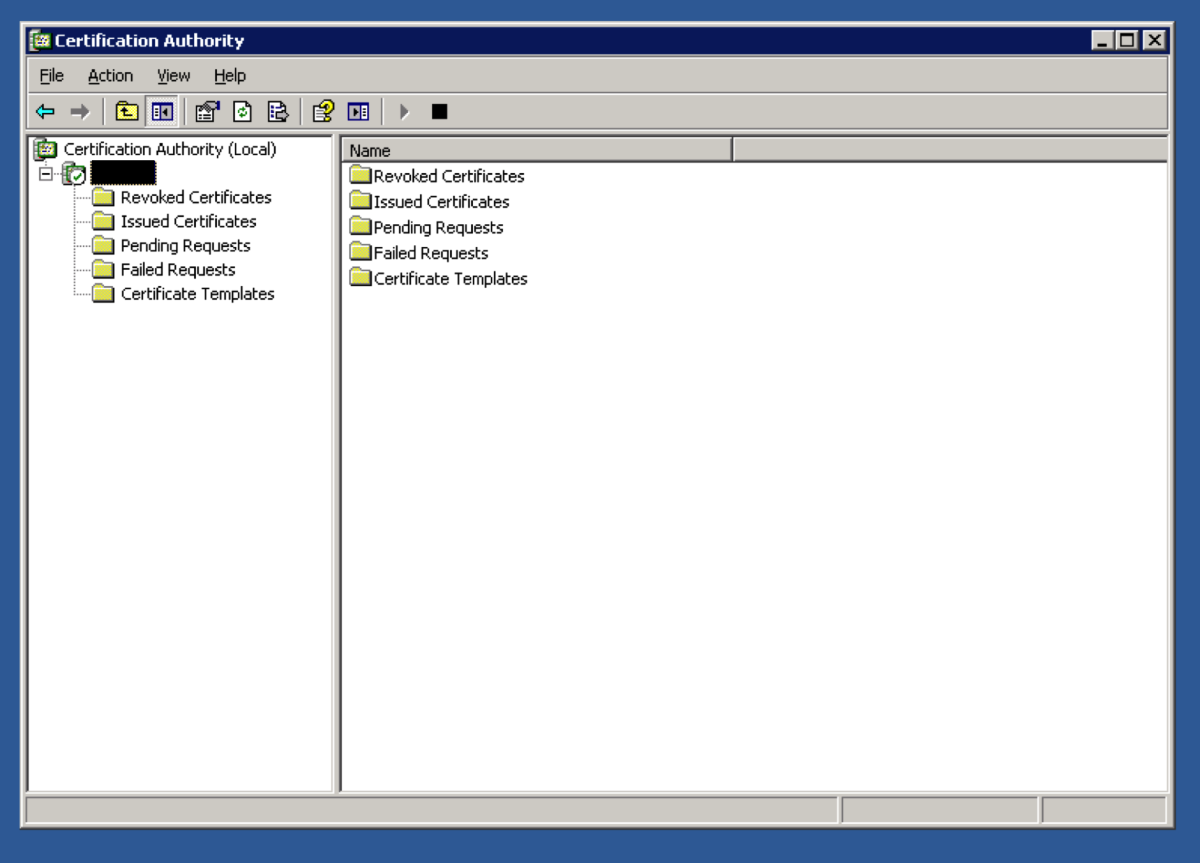
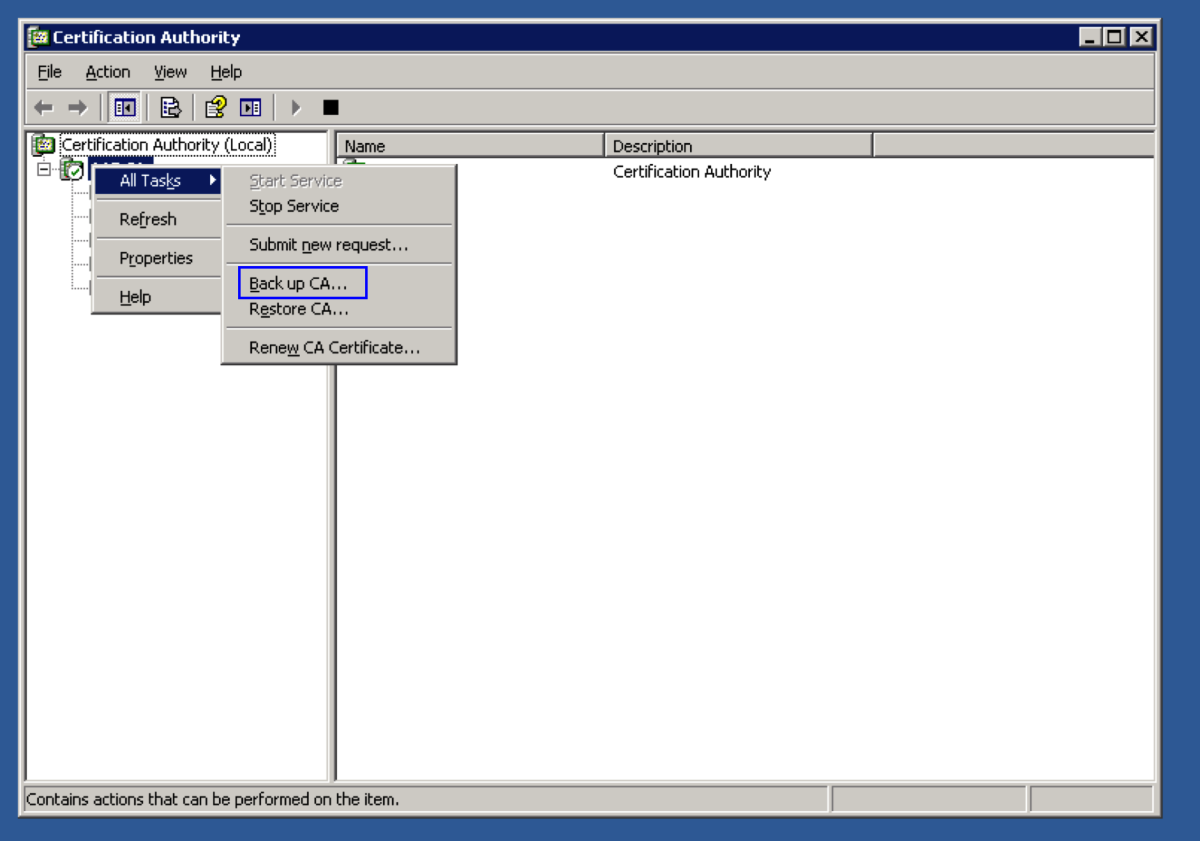
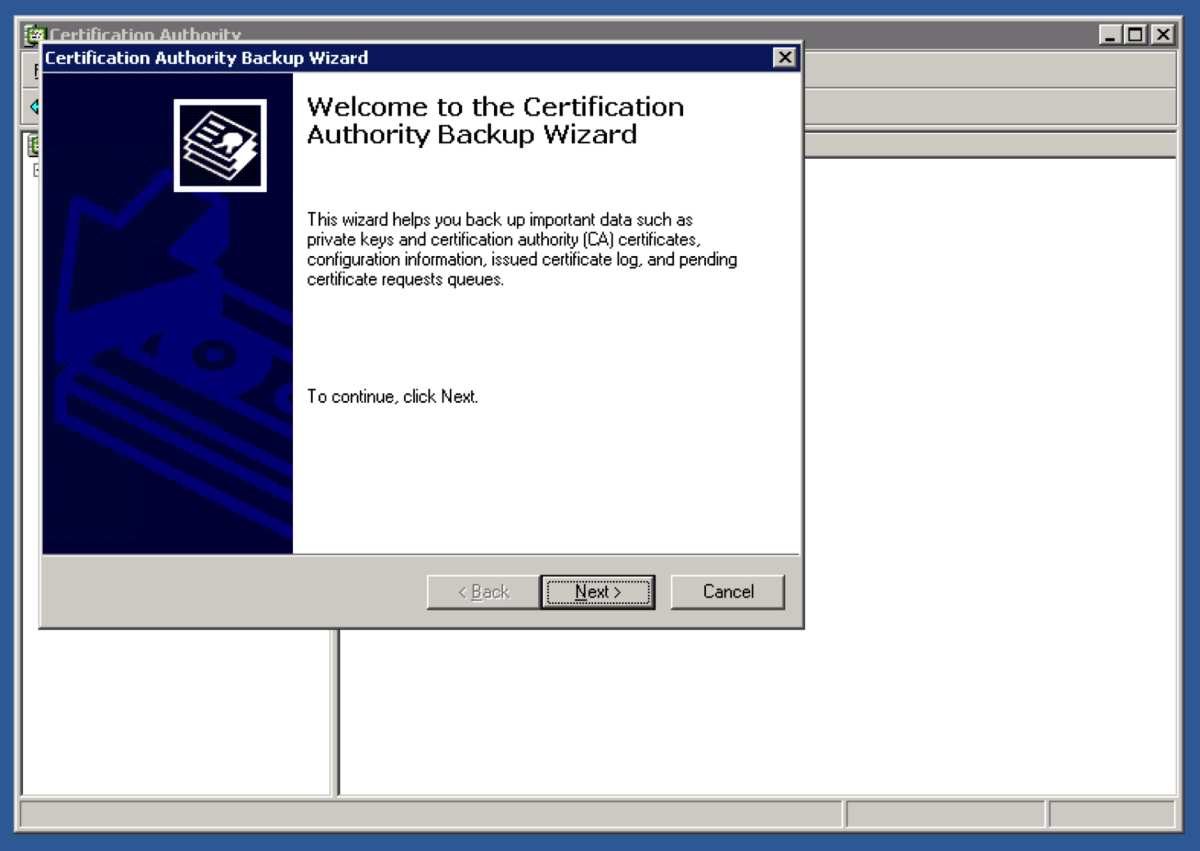
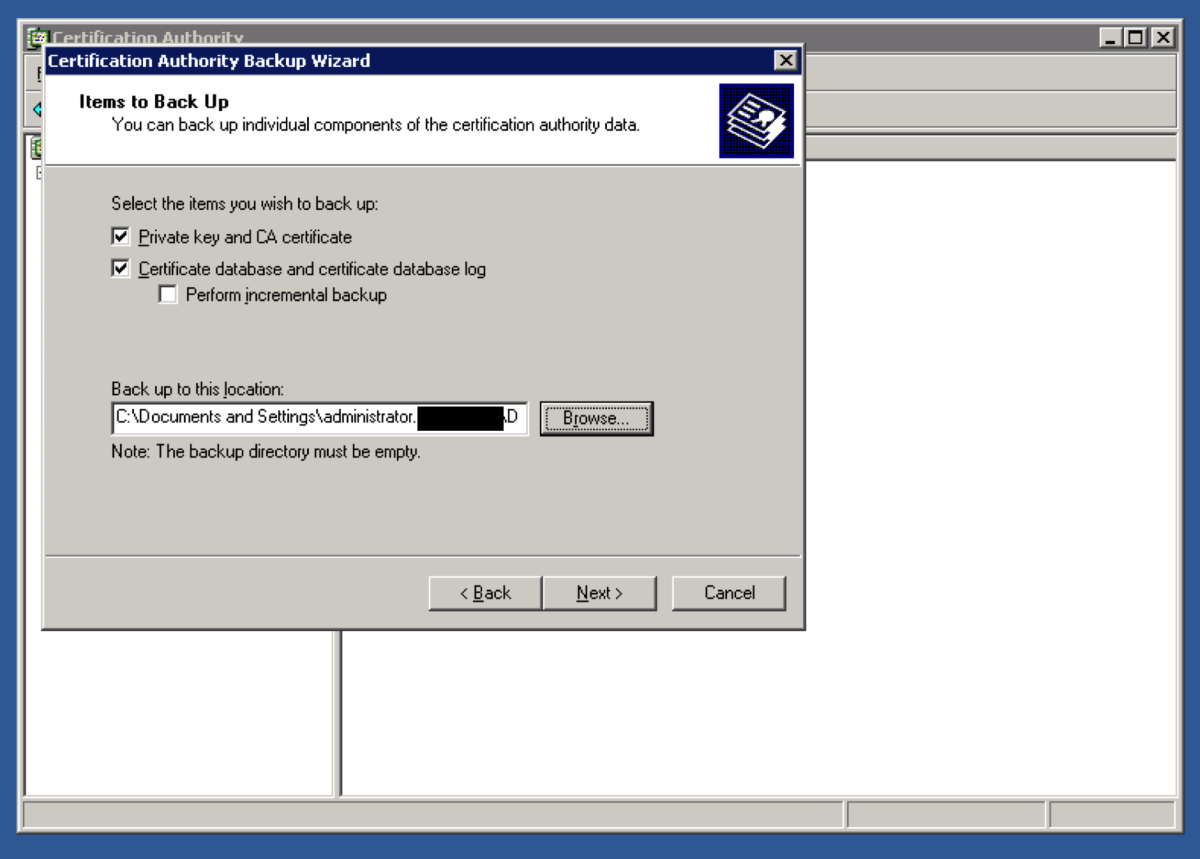
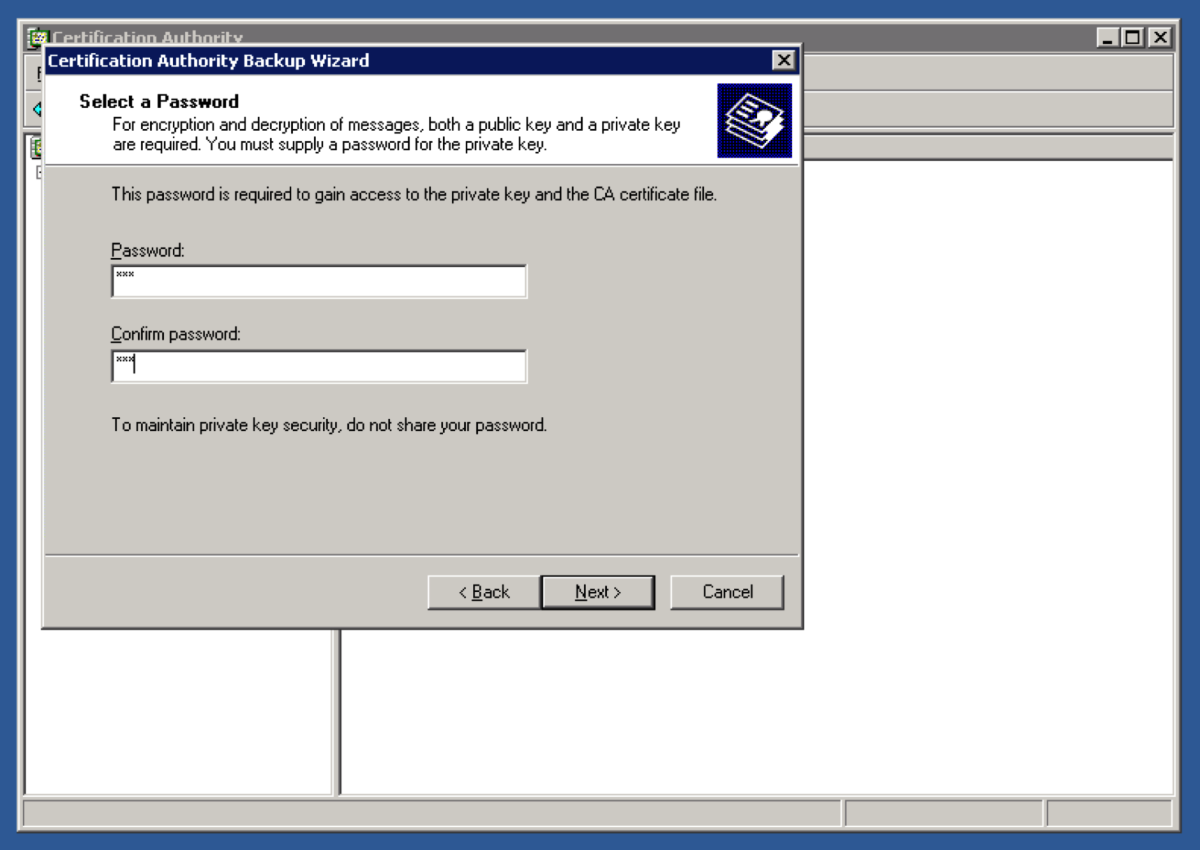
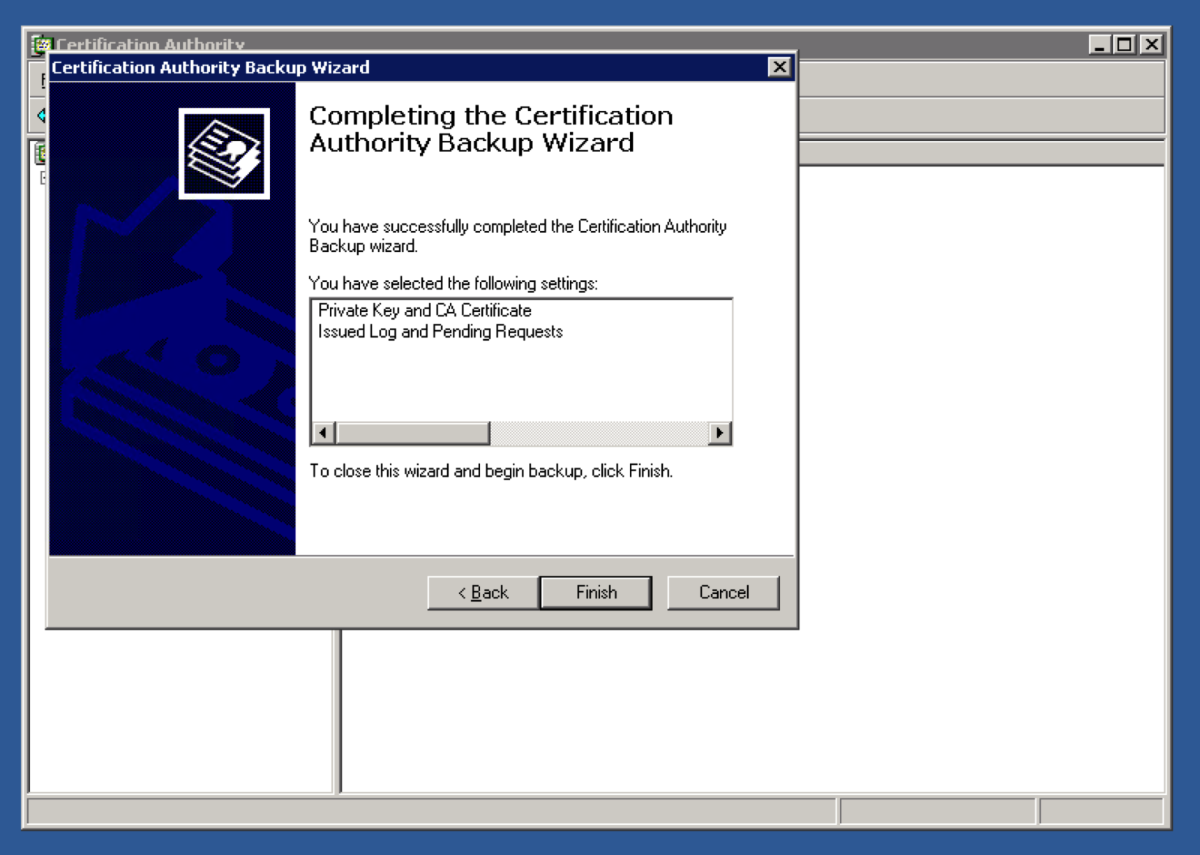
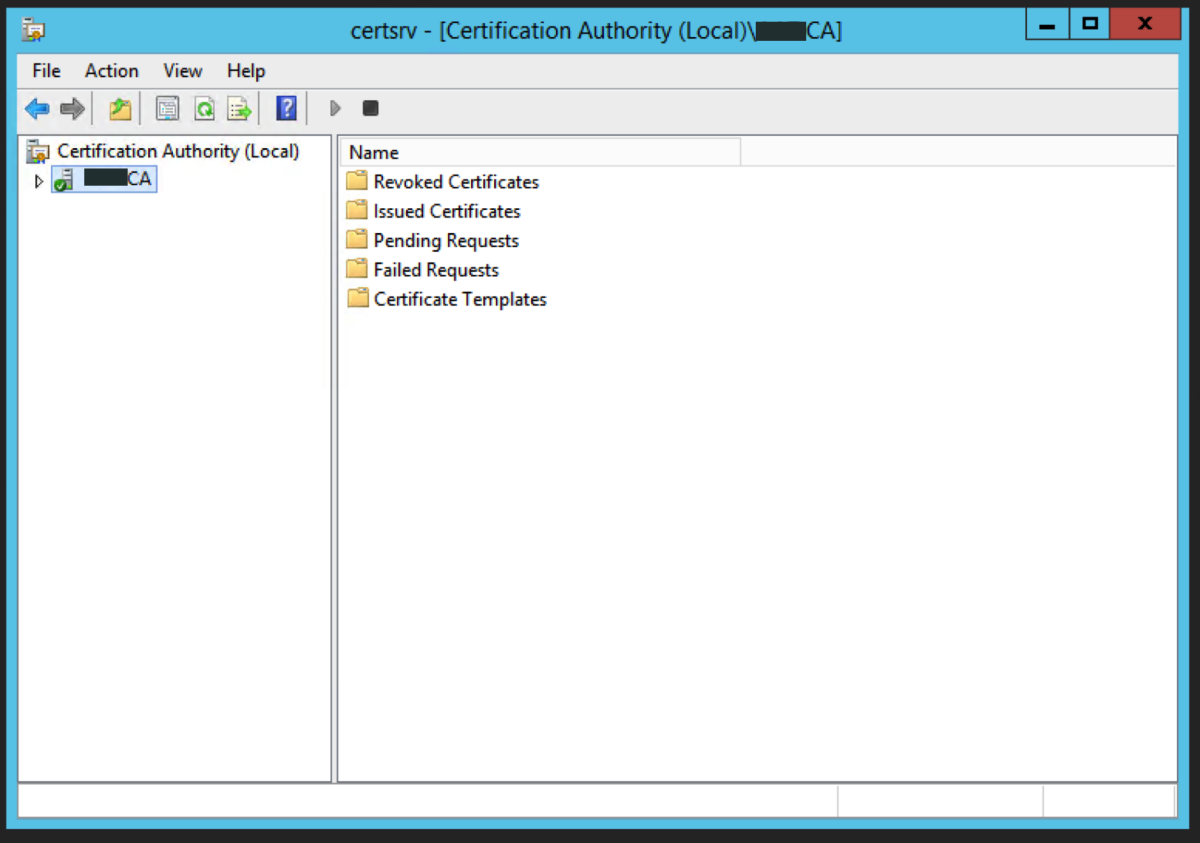
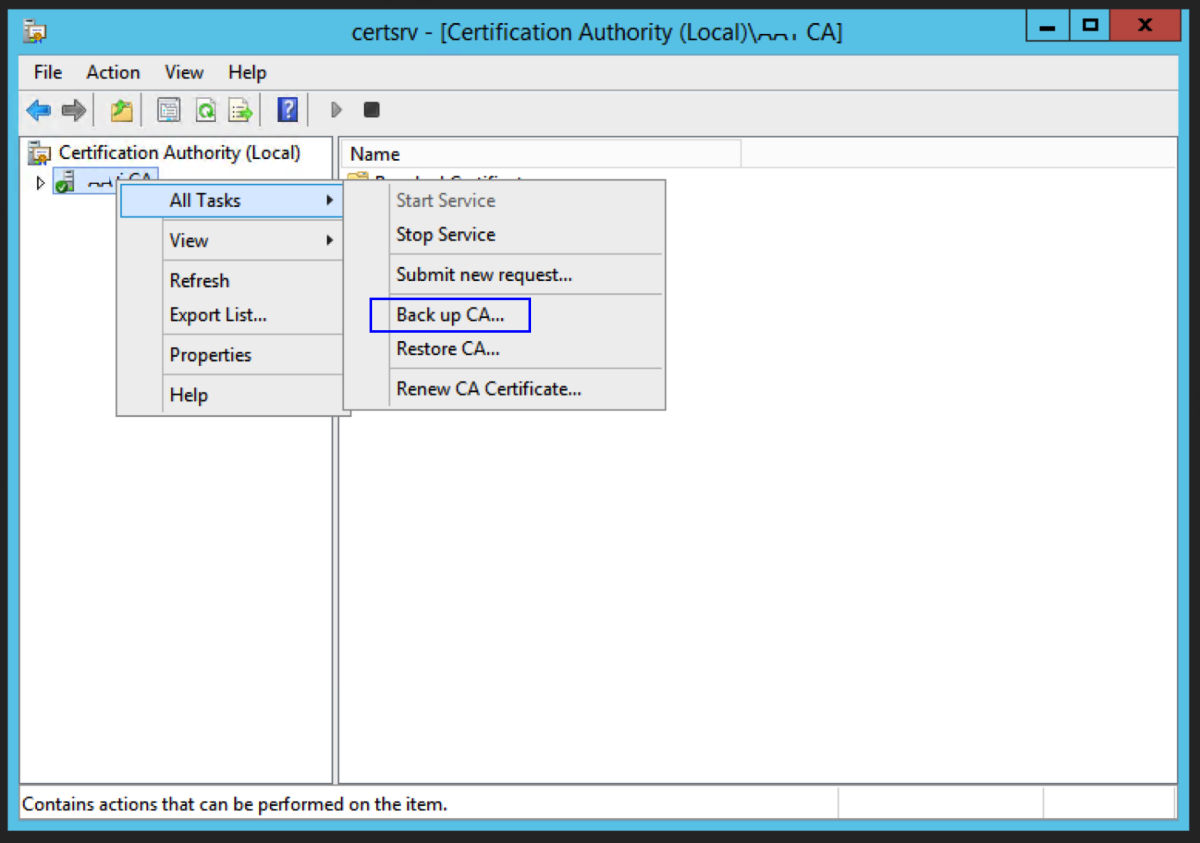
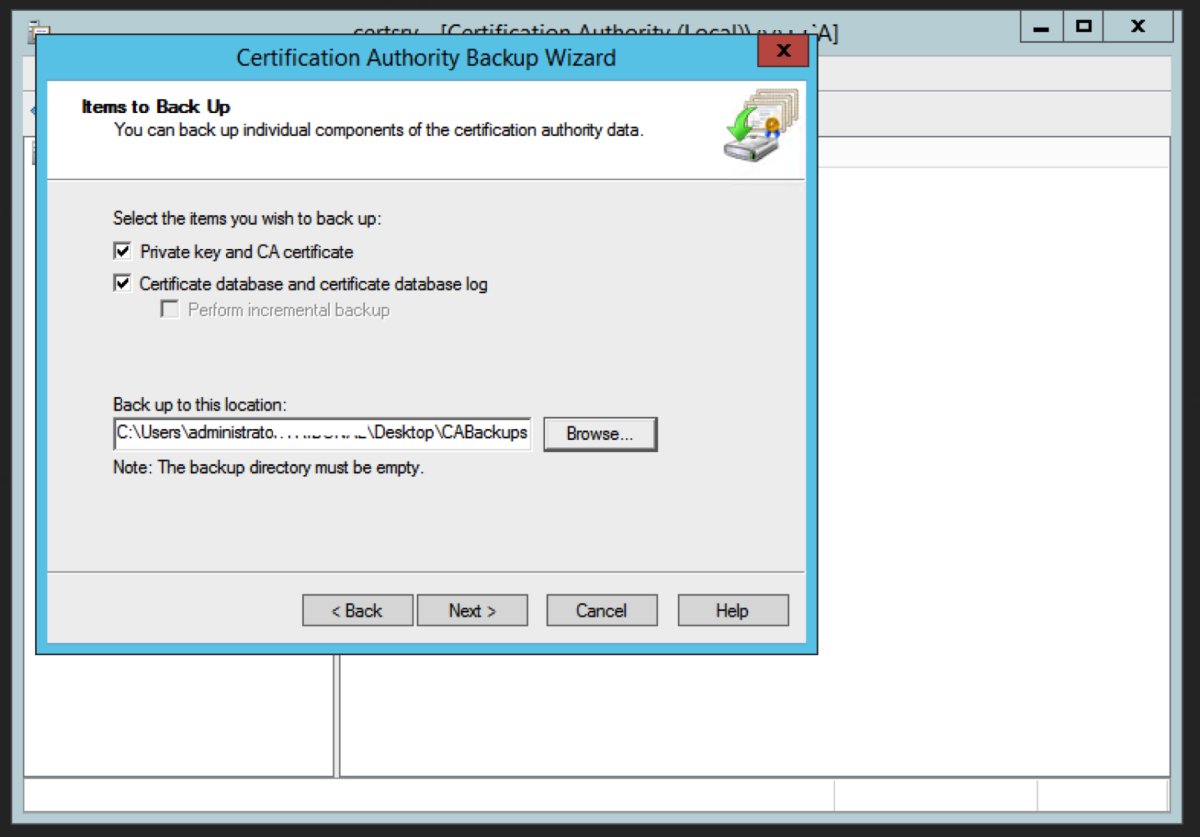
Open up the Certification Authority application. Right Click on the name of the certificate authority and select Backup CA. Select Private Key and CA Certificate, and Certificate database and certificate database log, and select a location to store the backup files. Hit Next. Enter the password. This password will be used later to restore the root CA certificate and backup files. Hit Next.
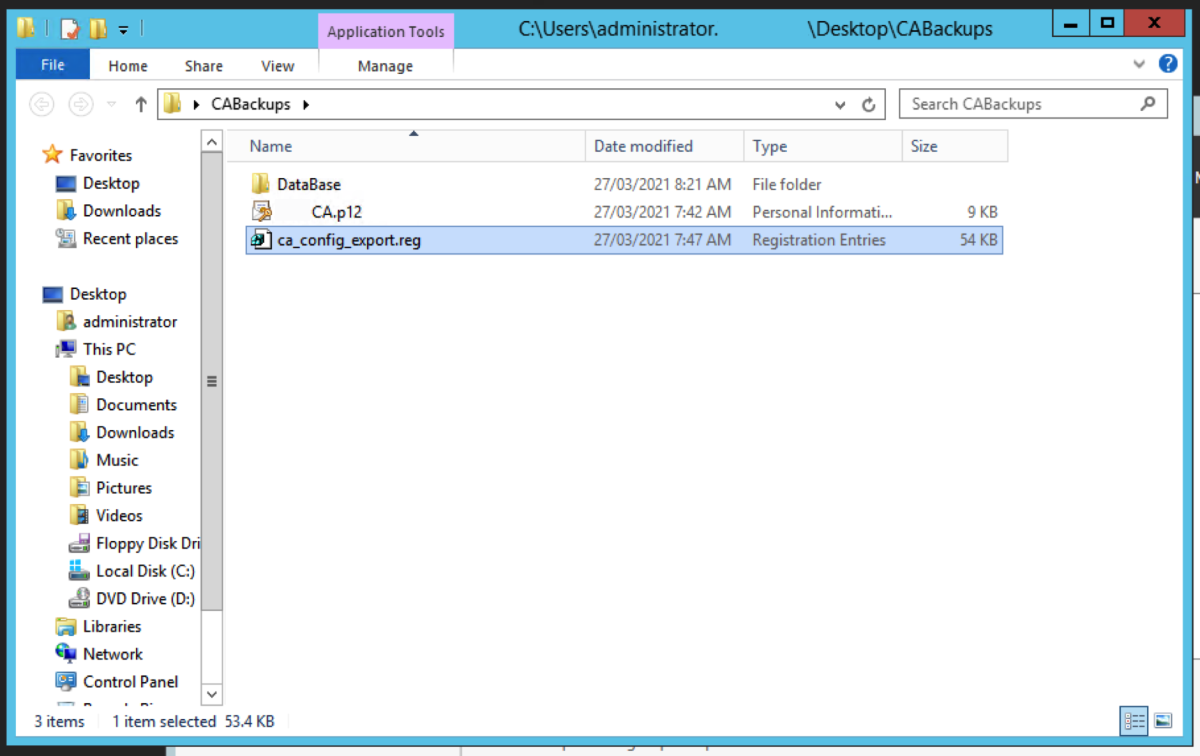
Back up the CA Registry Key
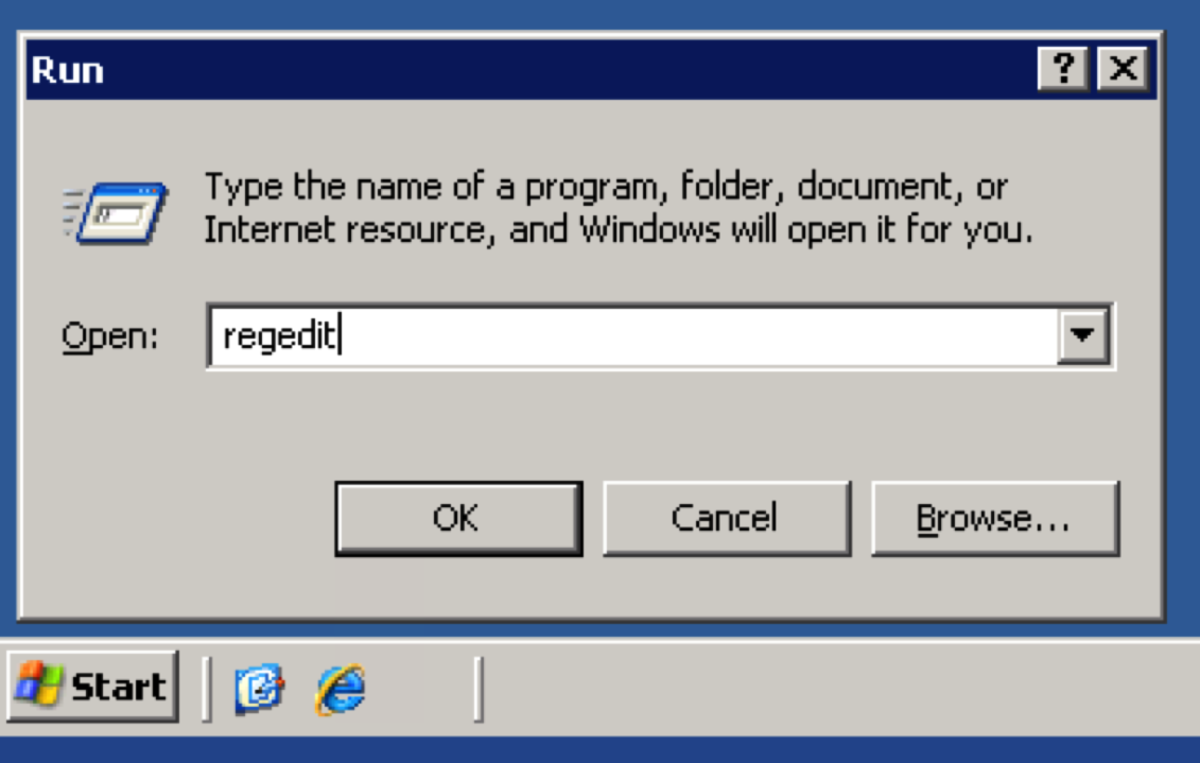
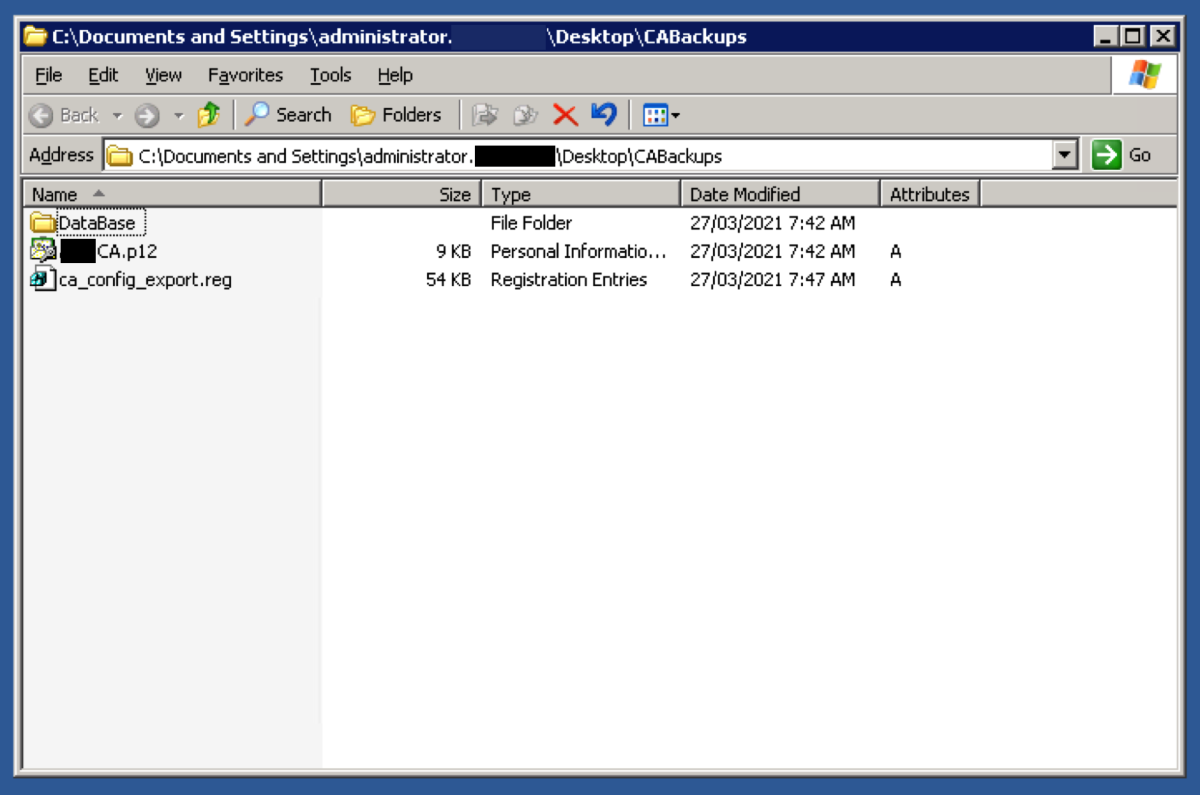
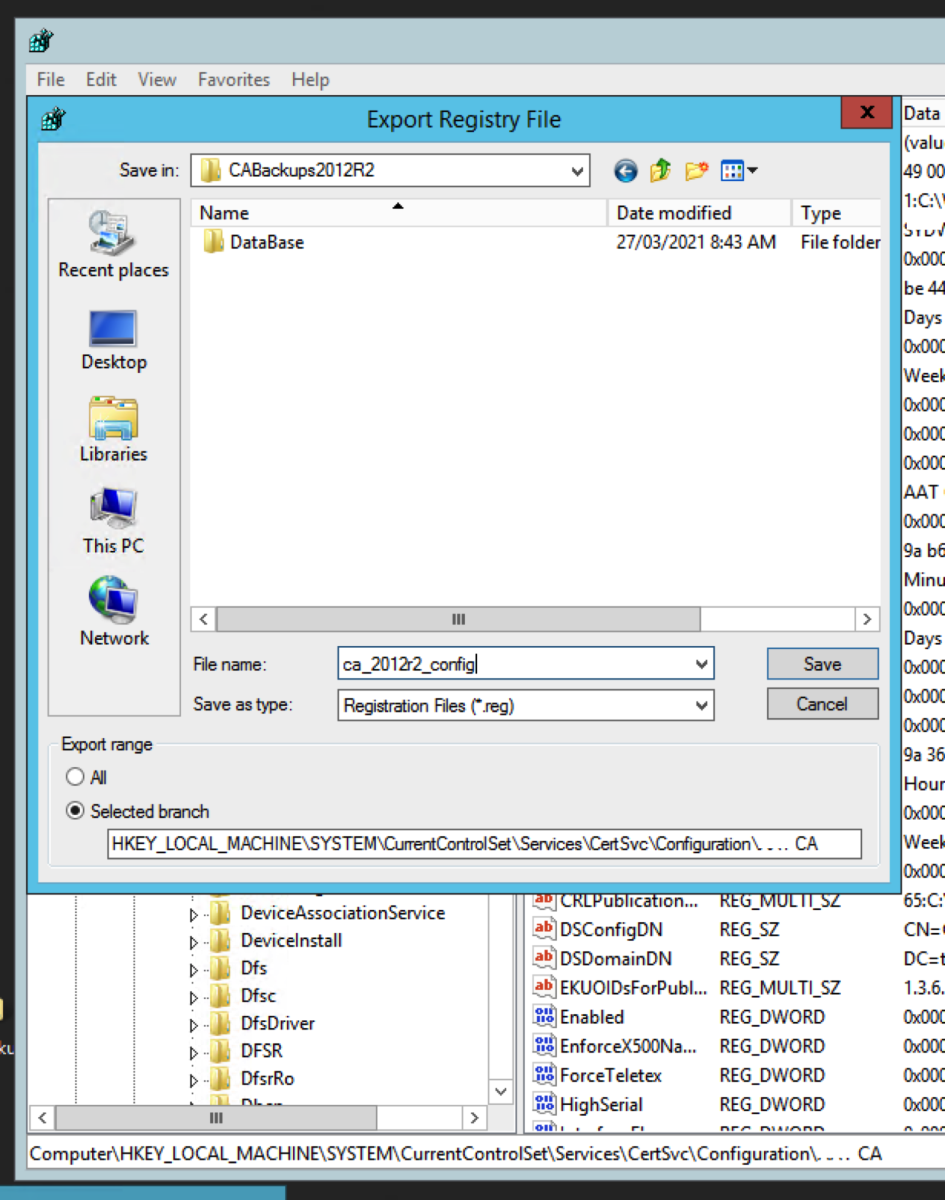
Use Regedit to export the registry key for the certificate authority service. Navigate to : HKEY_LOCAL_MACHINE\SYSTEM\CurrentControlSet\Services\CertSVC\Configuration Right click the key with the name of the root CA and select Export. Type in a name to save the file. For convenience, I will store the exported registry file in the same folder as the CA backup files. We should have something like below in the folder that has our CA backup files and registry export.
Uninstall the CA Role
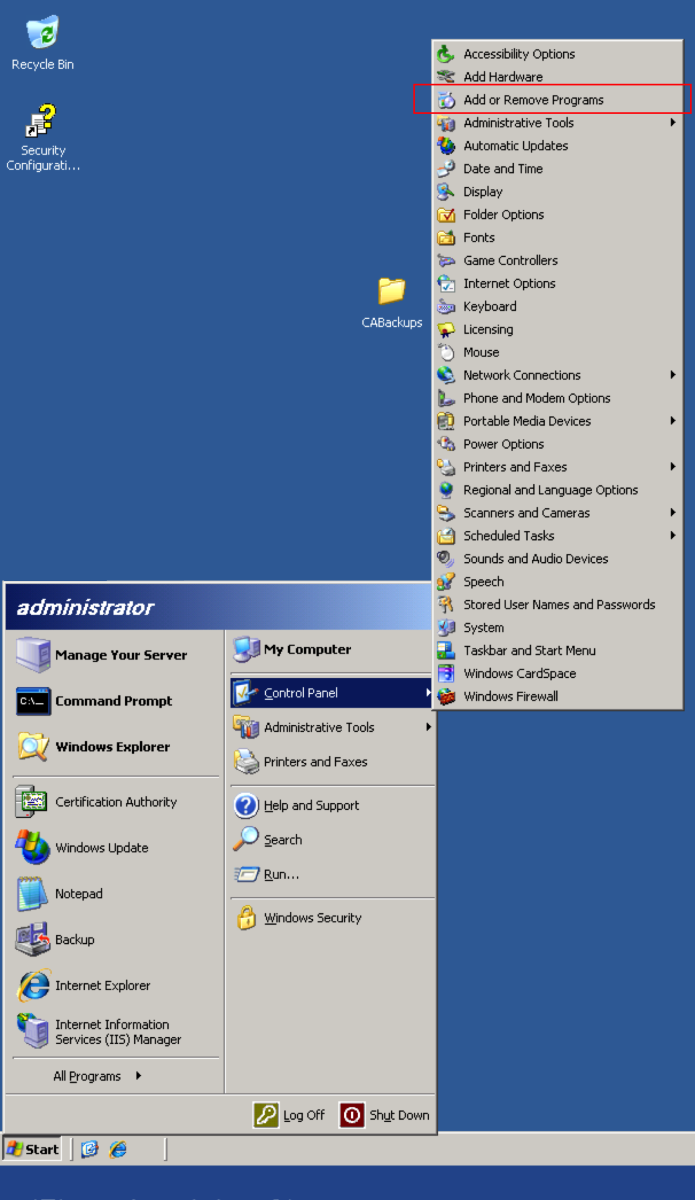
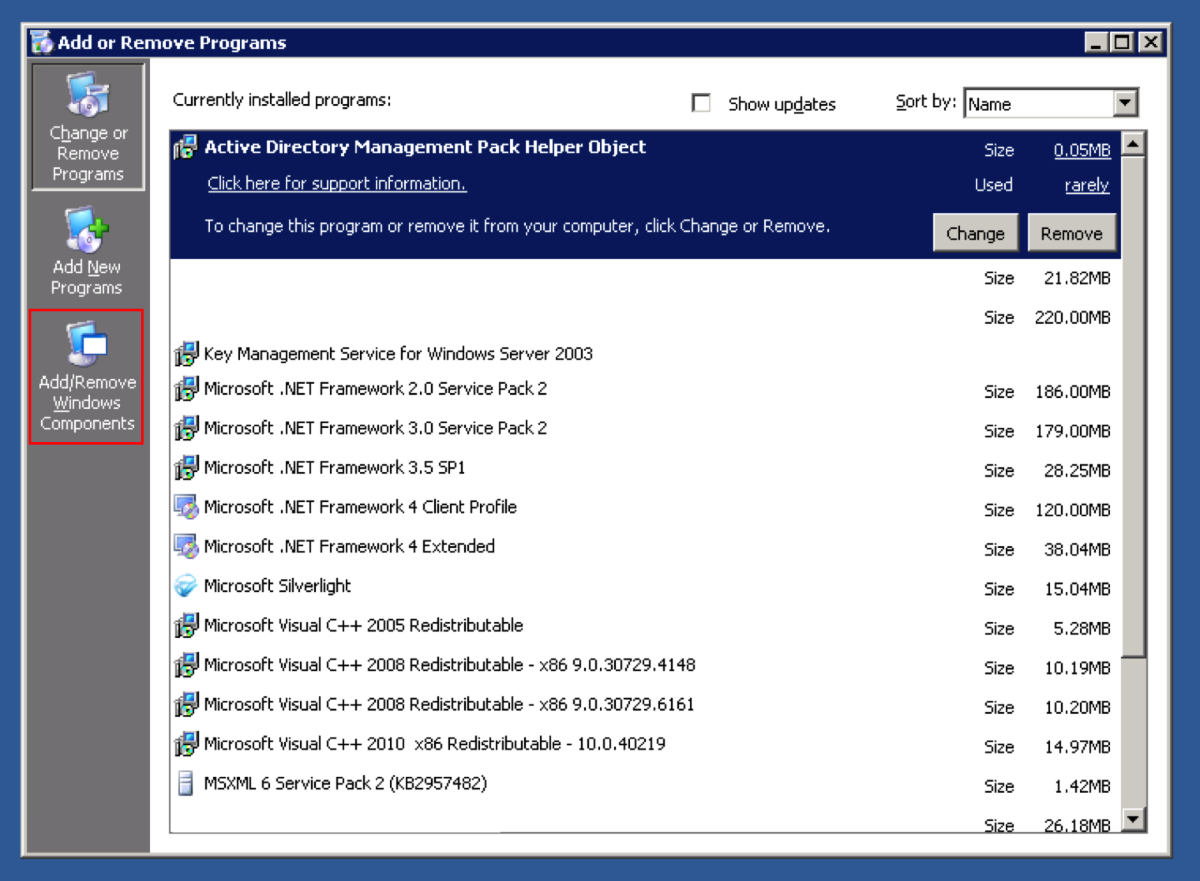
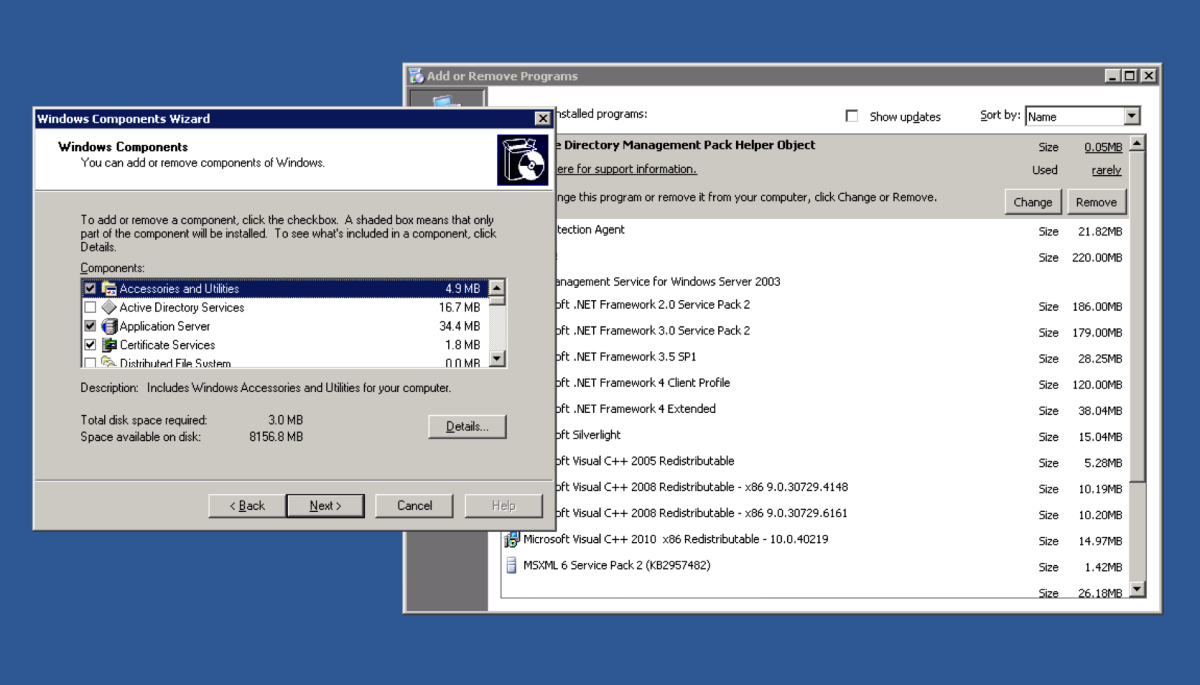
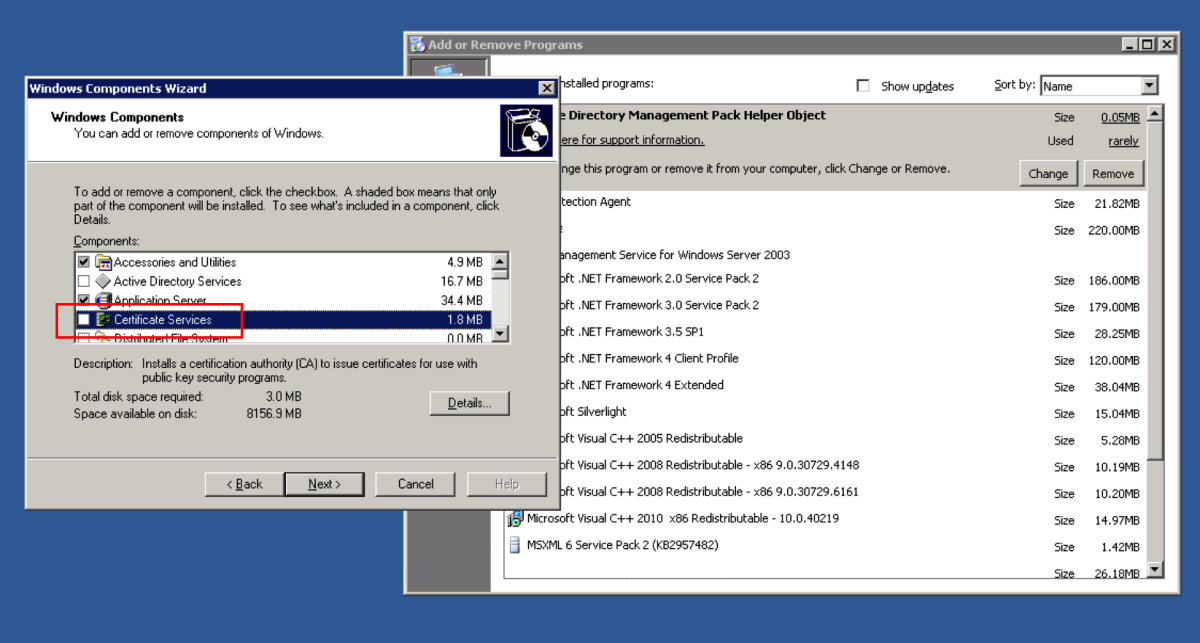
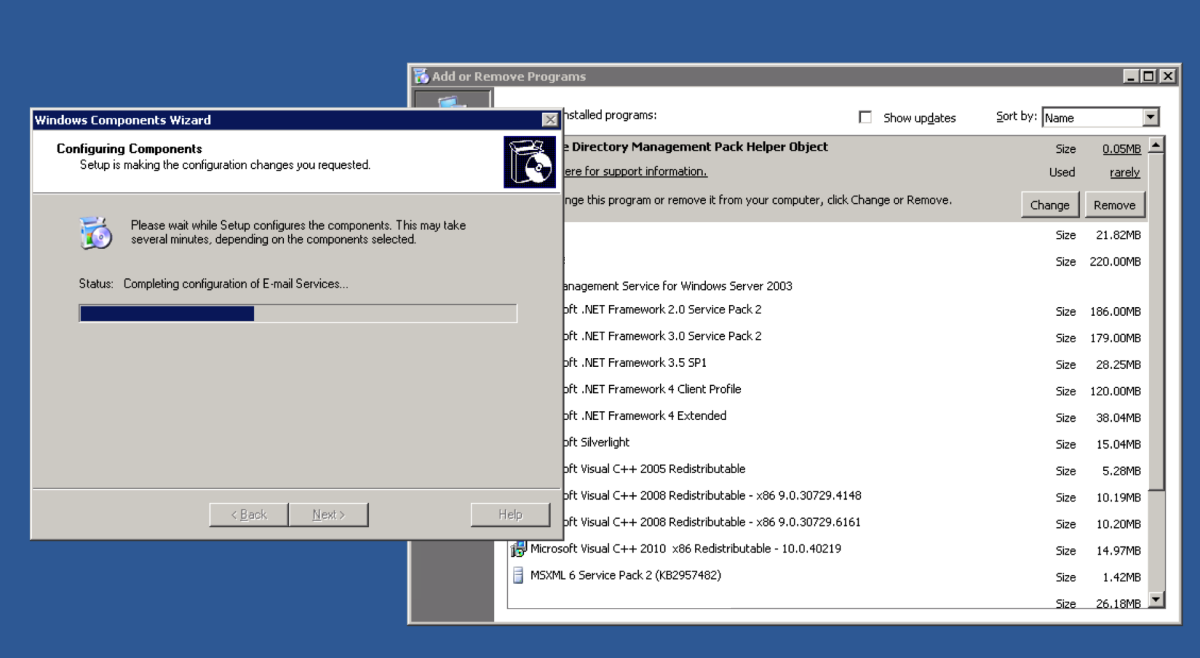
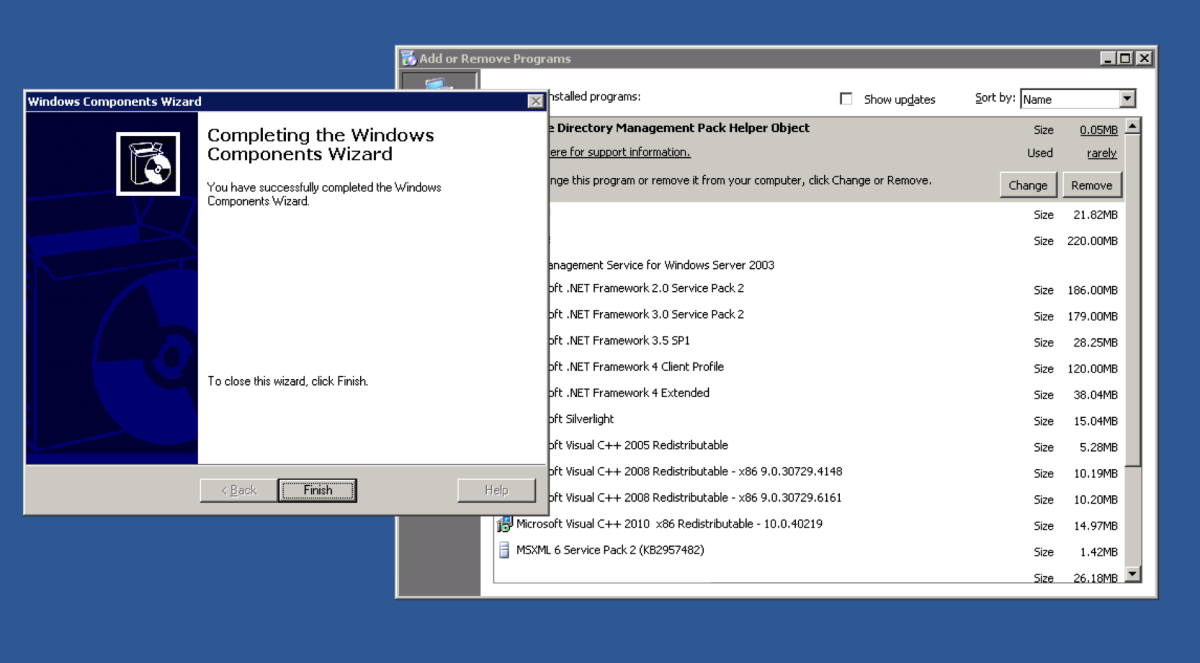
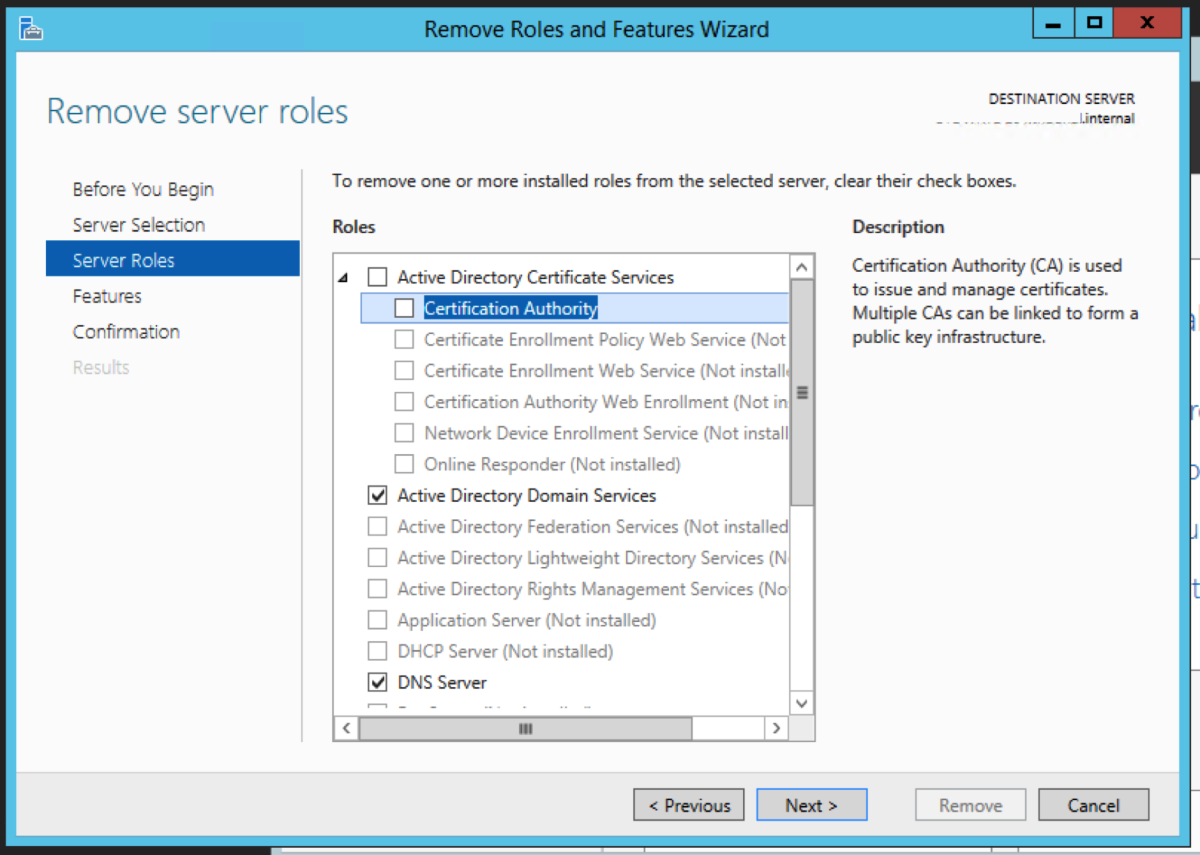
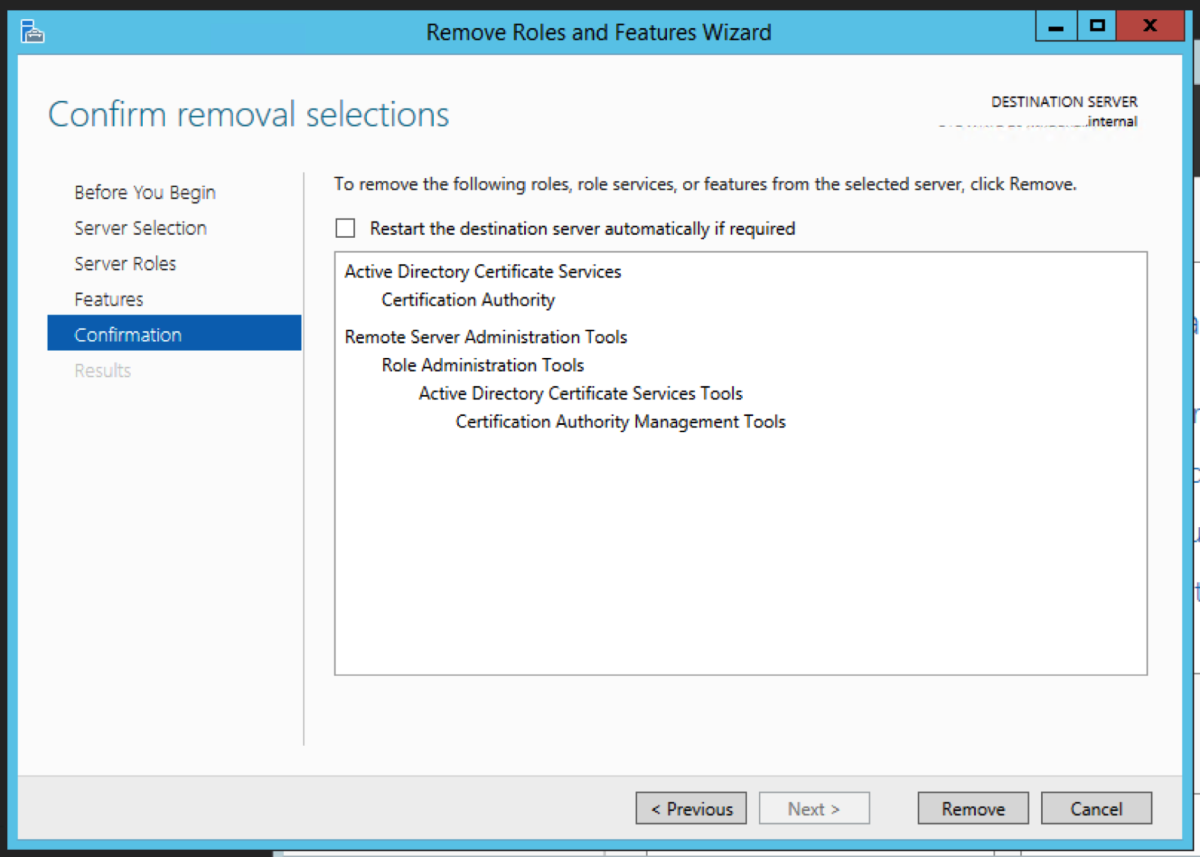
We now need to remove the Certificate Authority role from the server. In Windows 2003R2, we need to navigate to Control Panel->Add or Remove Programs. Select Add/Remove Windows Components Untick Certificate Services, and click Next.
Install the CA Role on the Destination Server
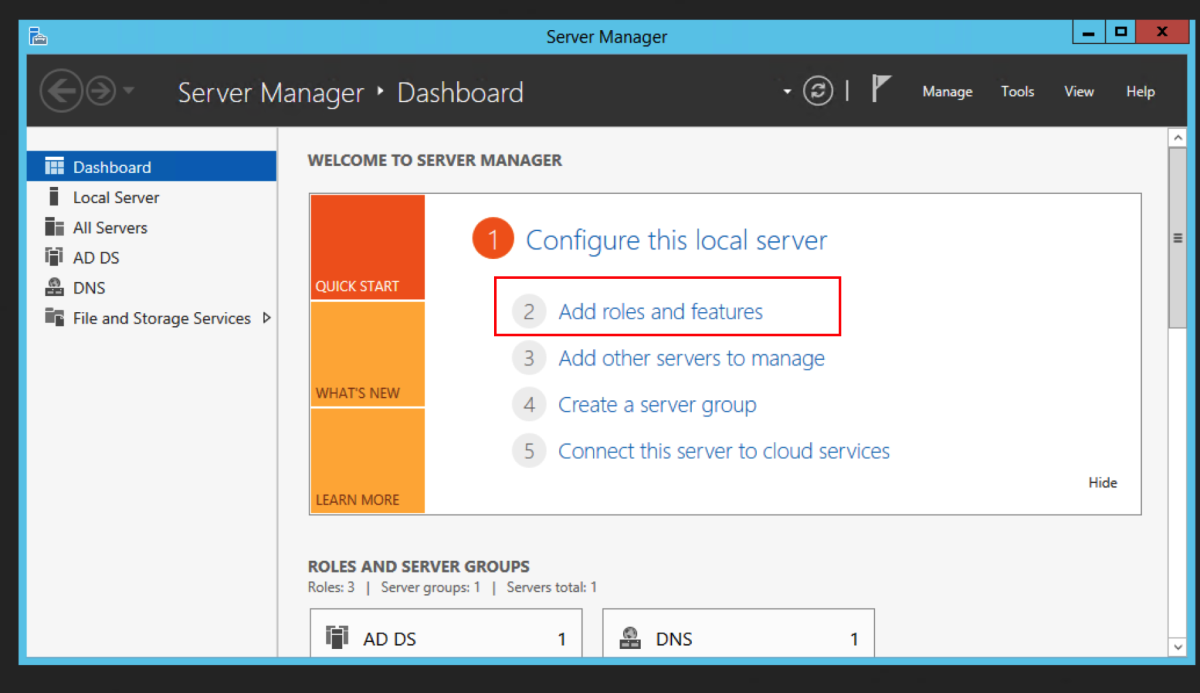
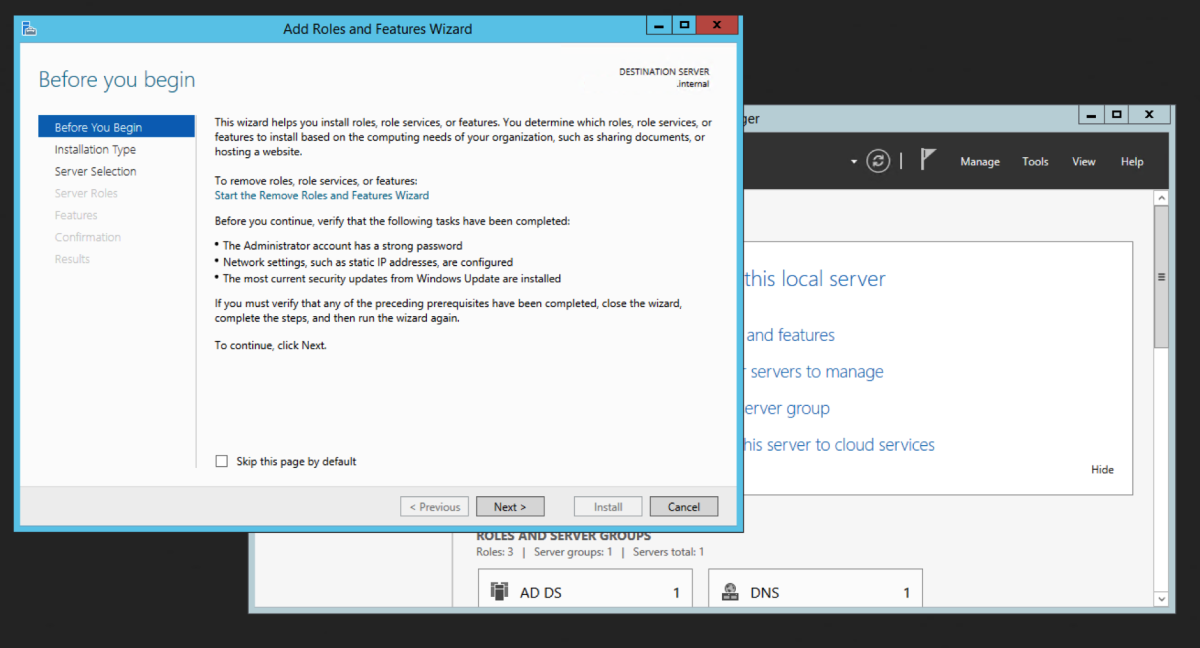
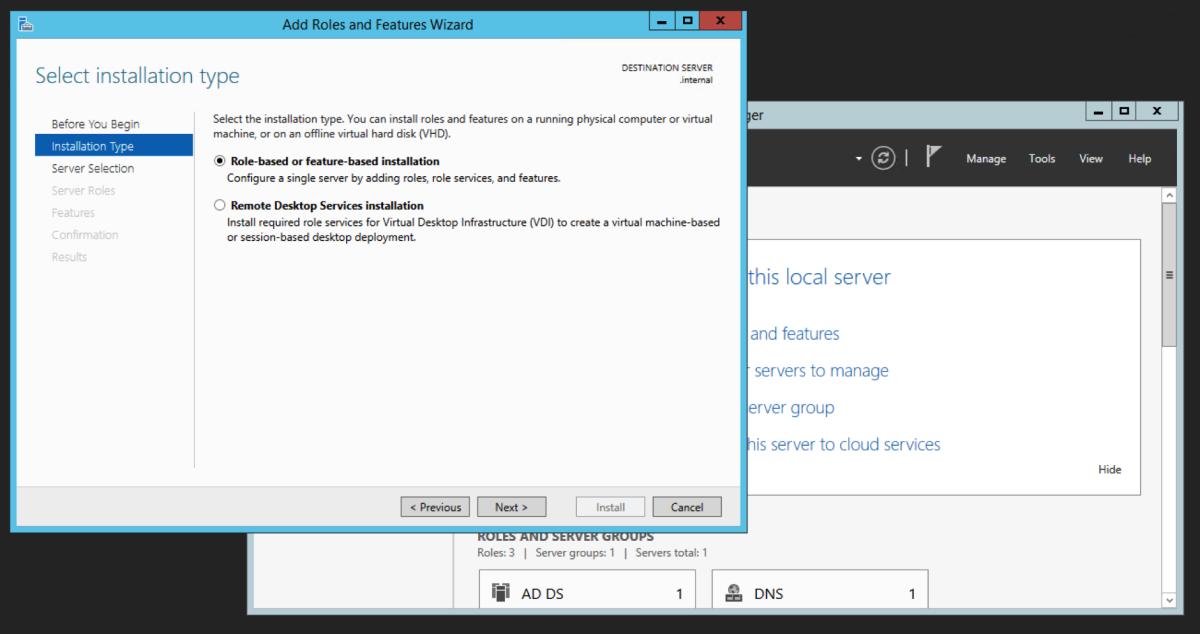
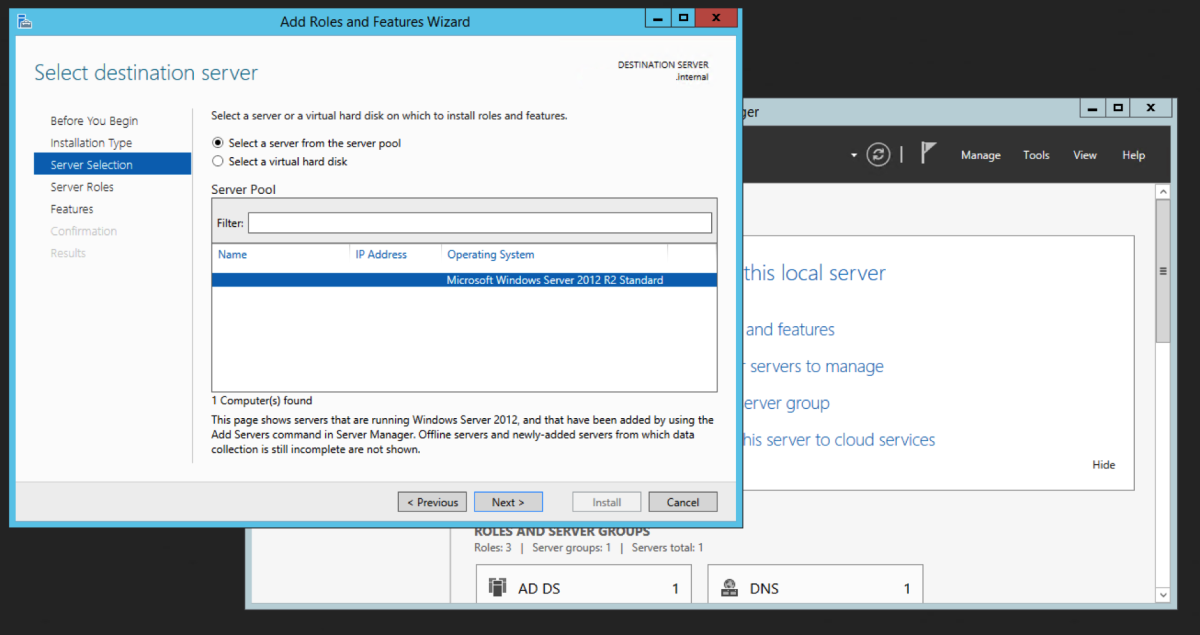
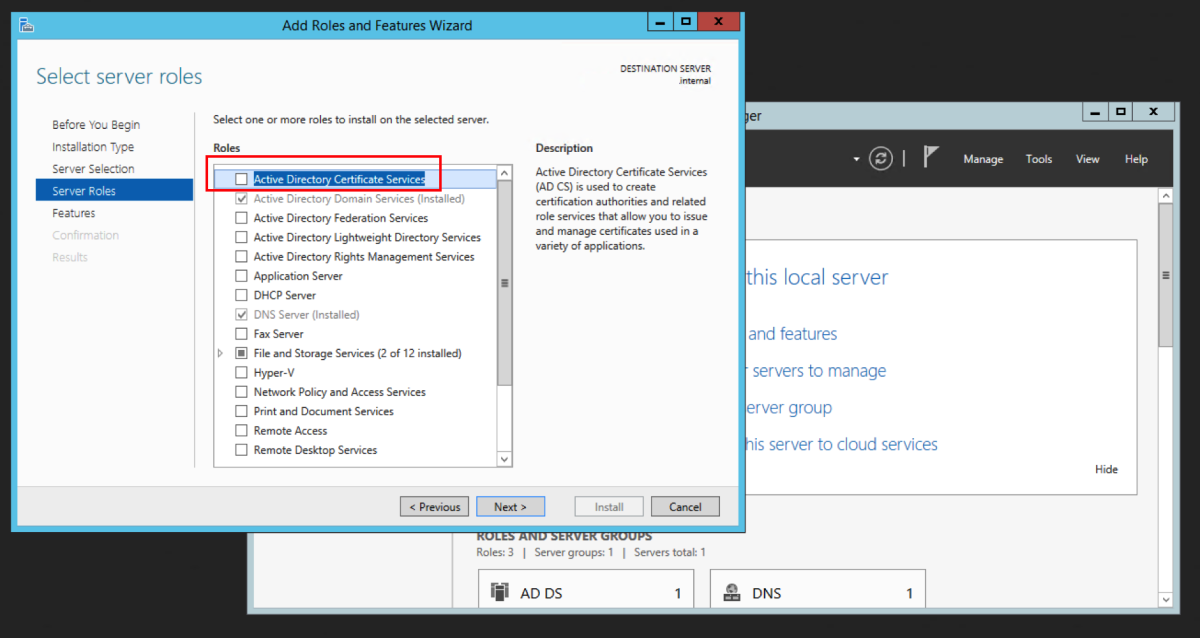
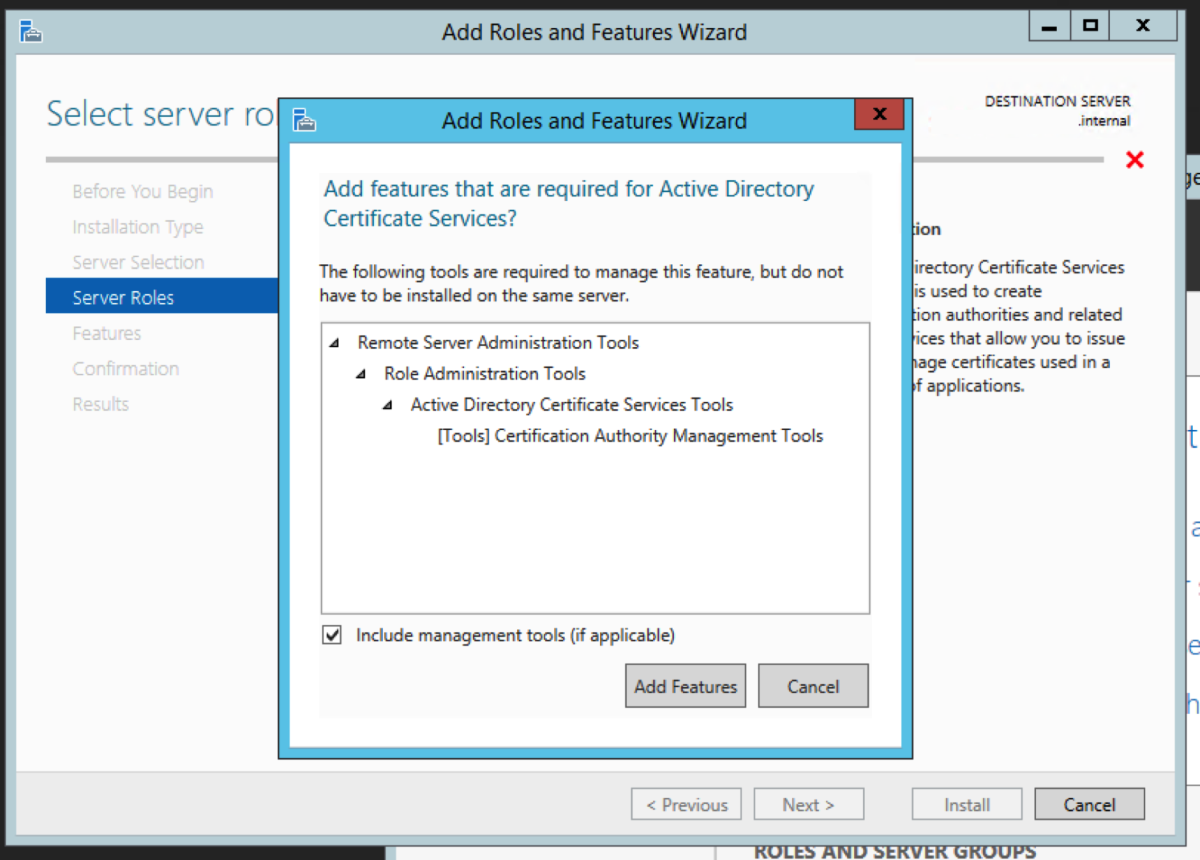
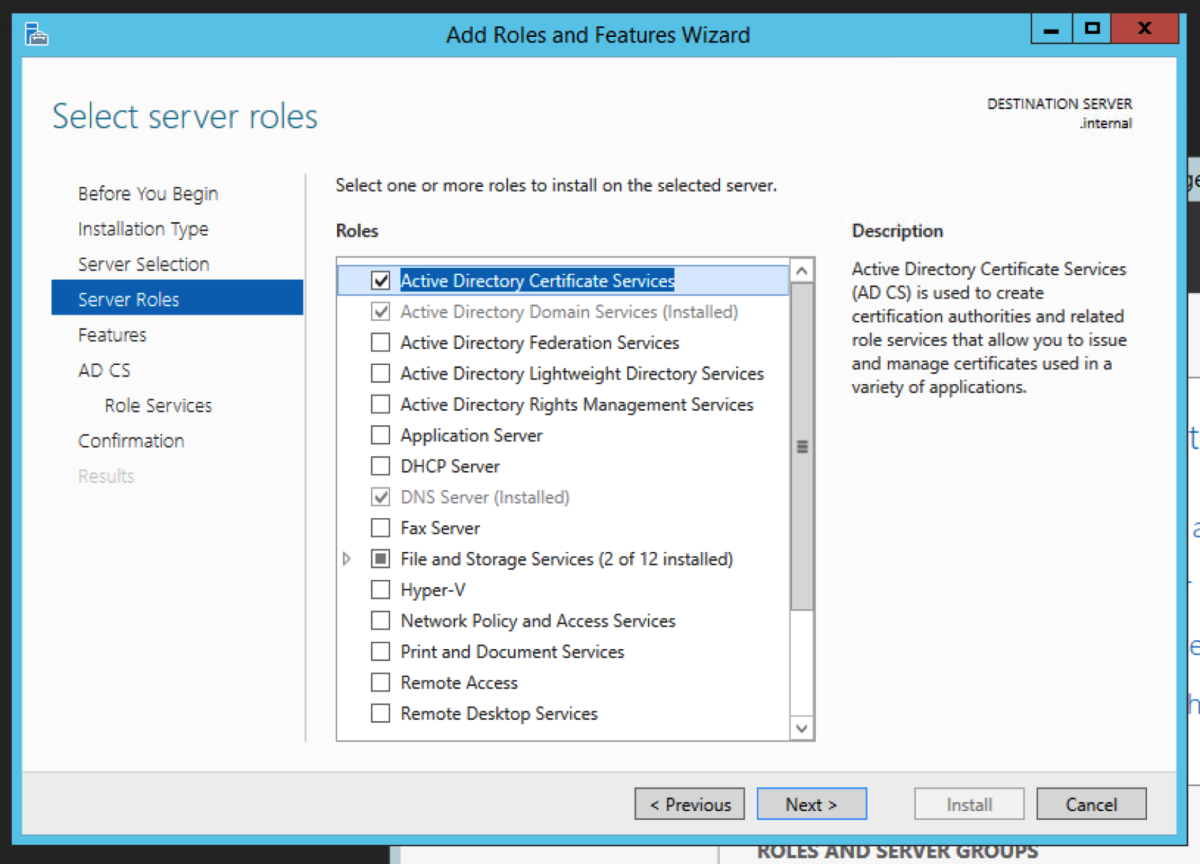
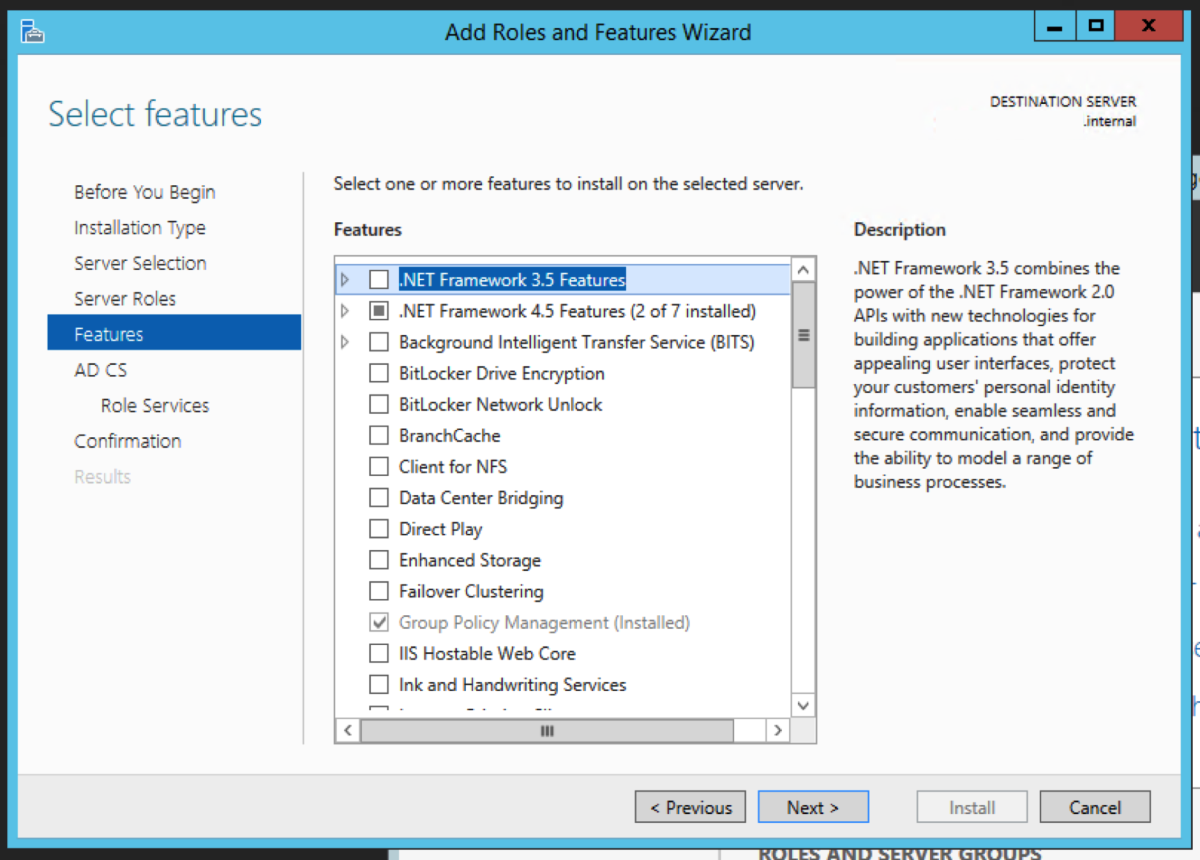
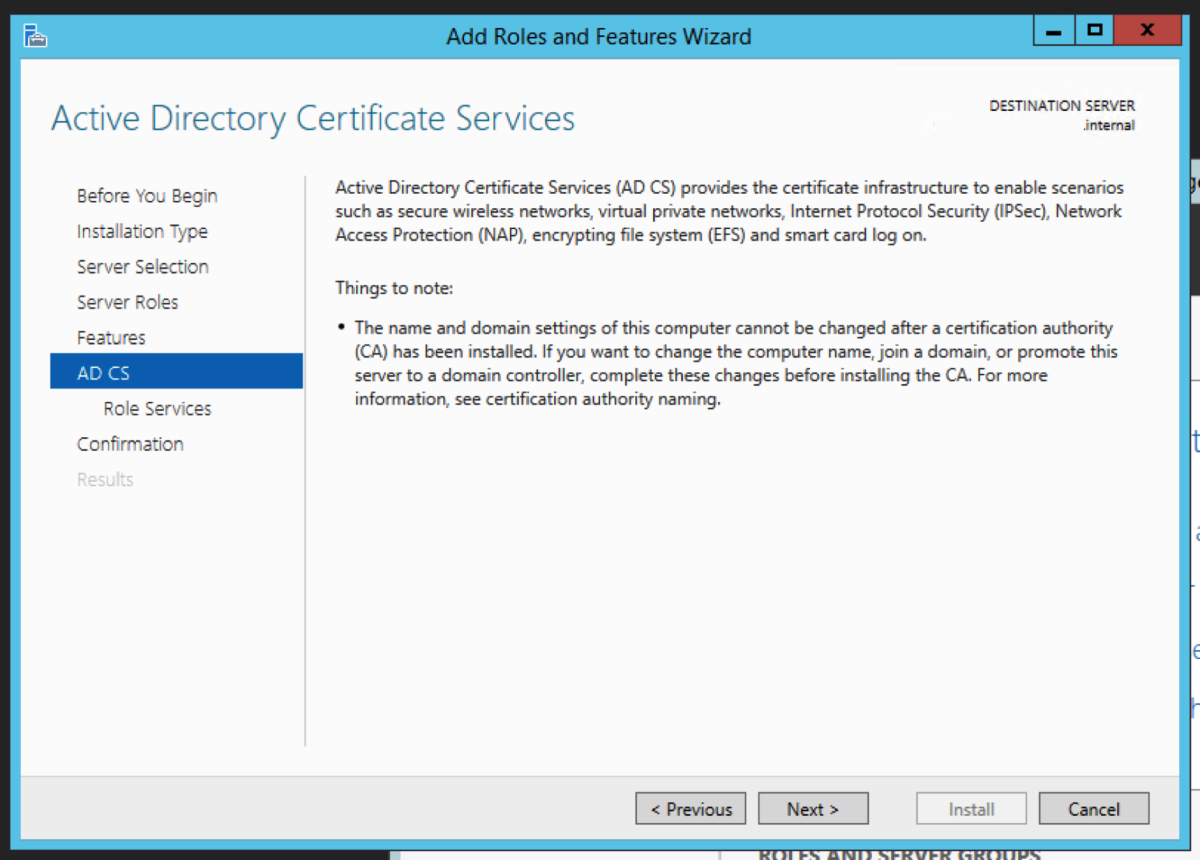
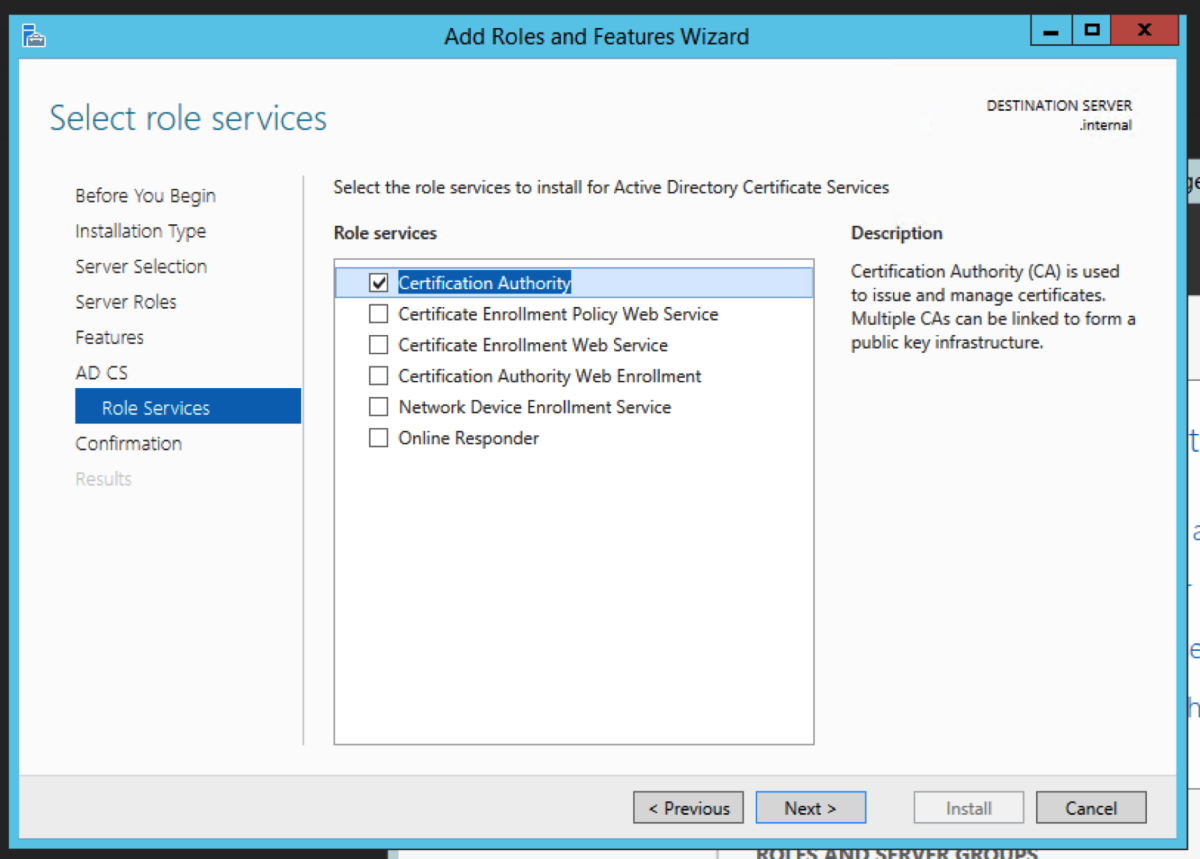
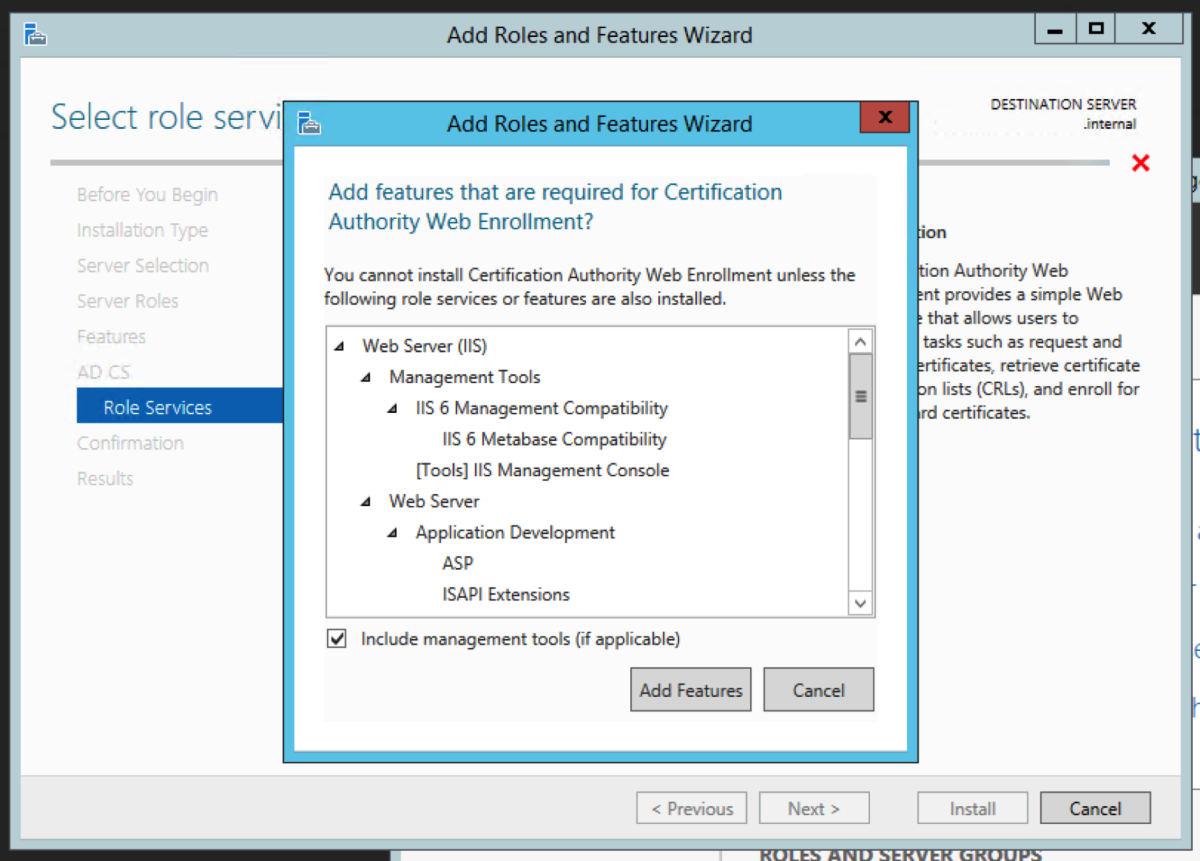
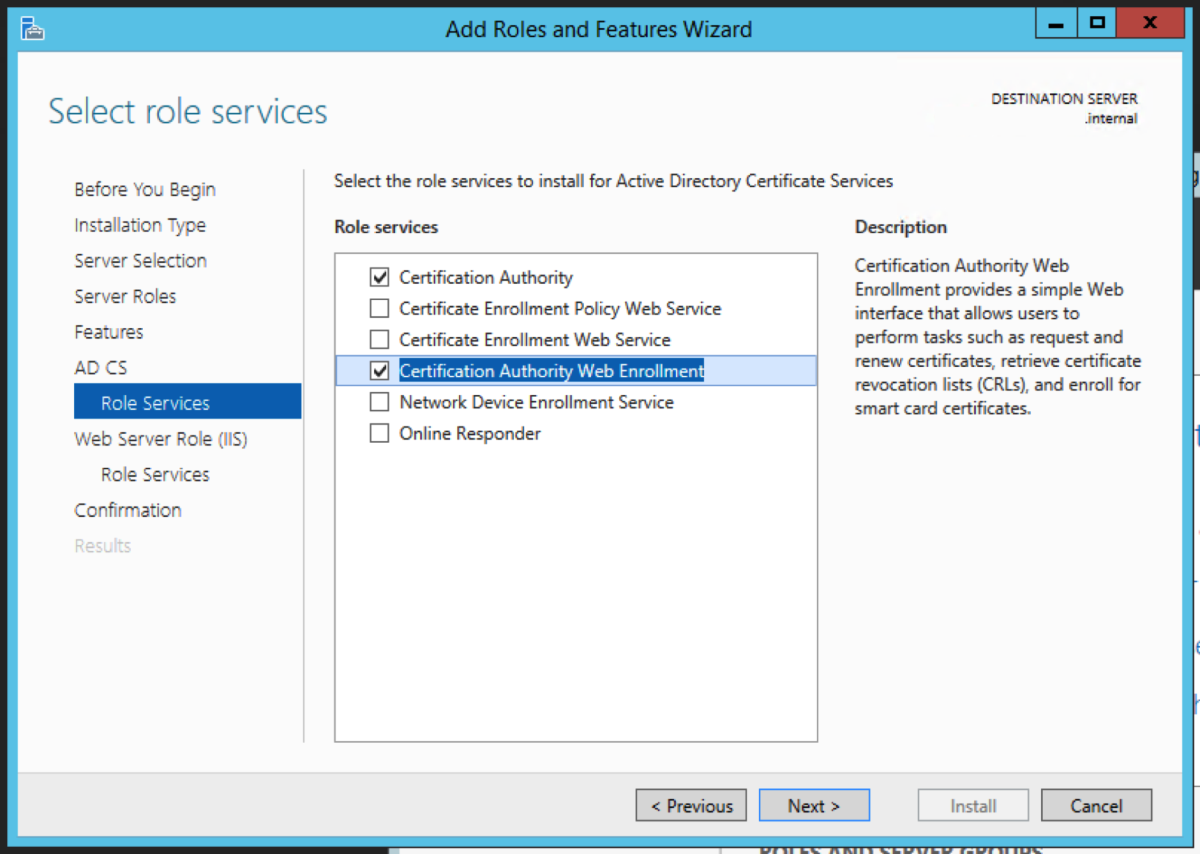
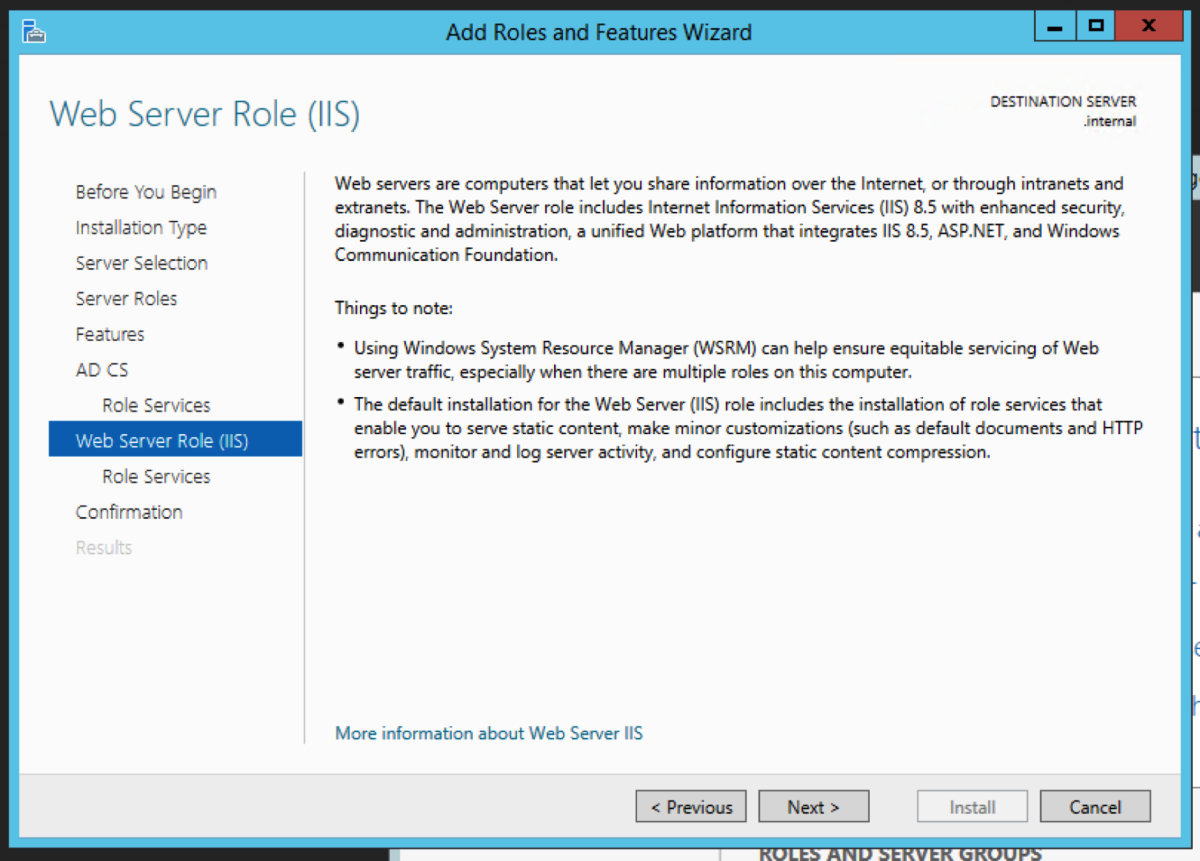
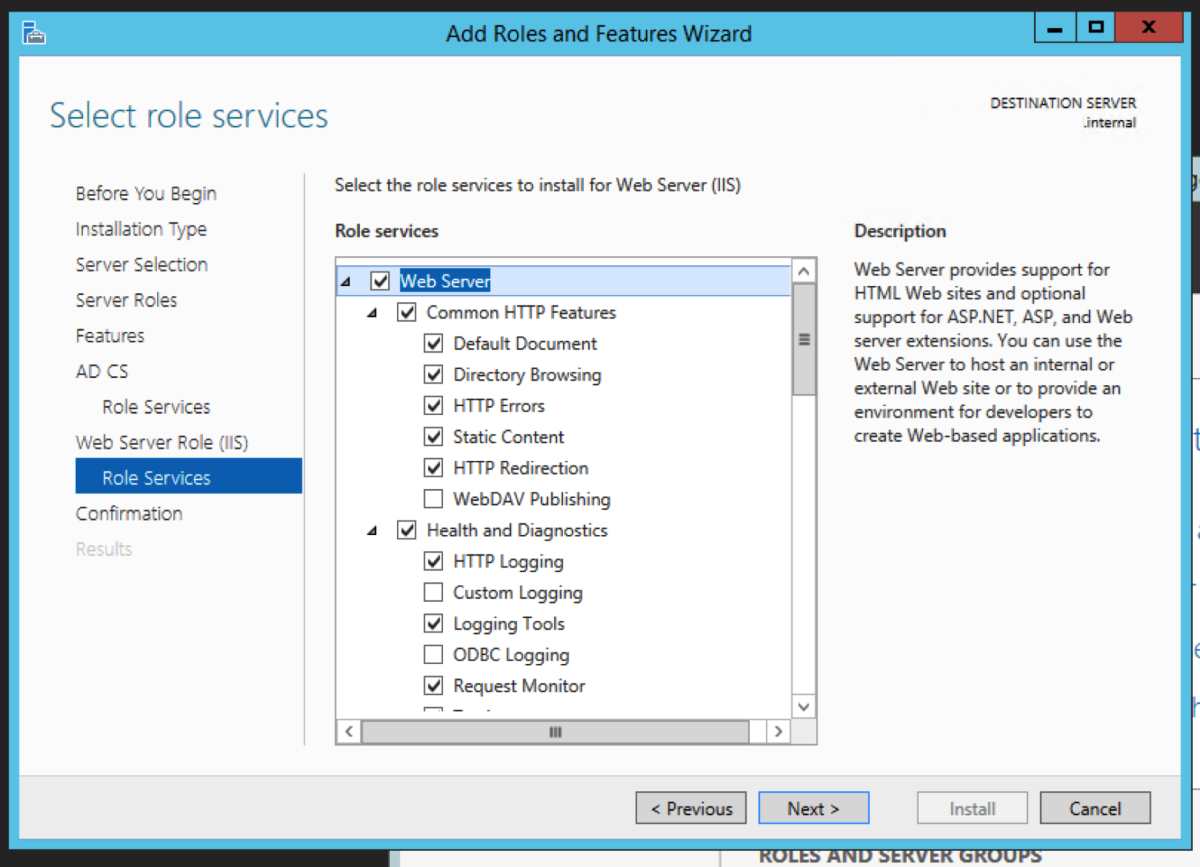
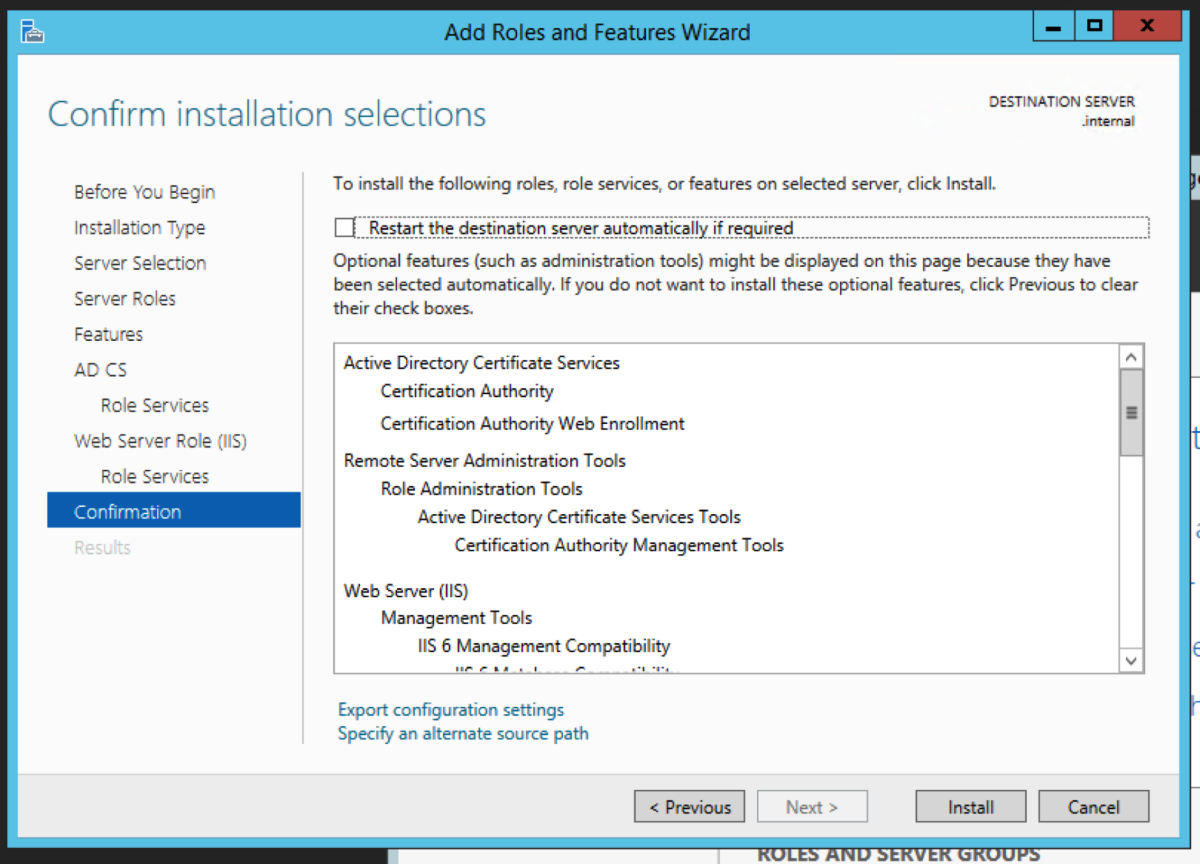
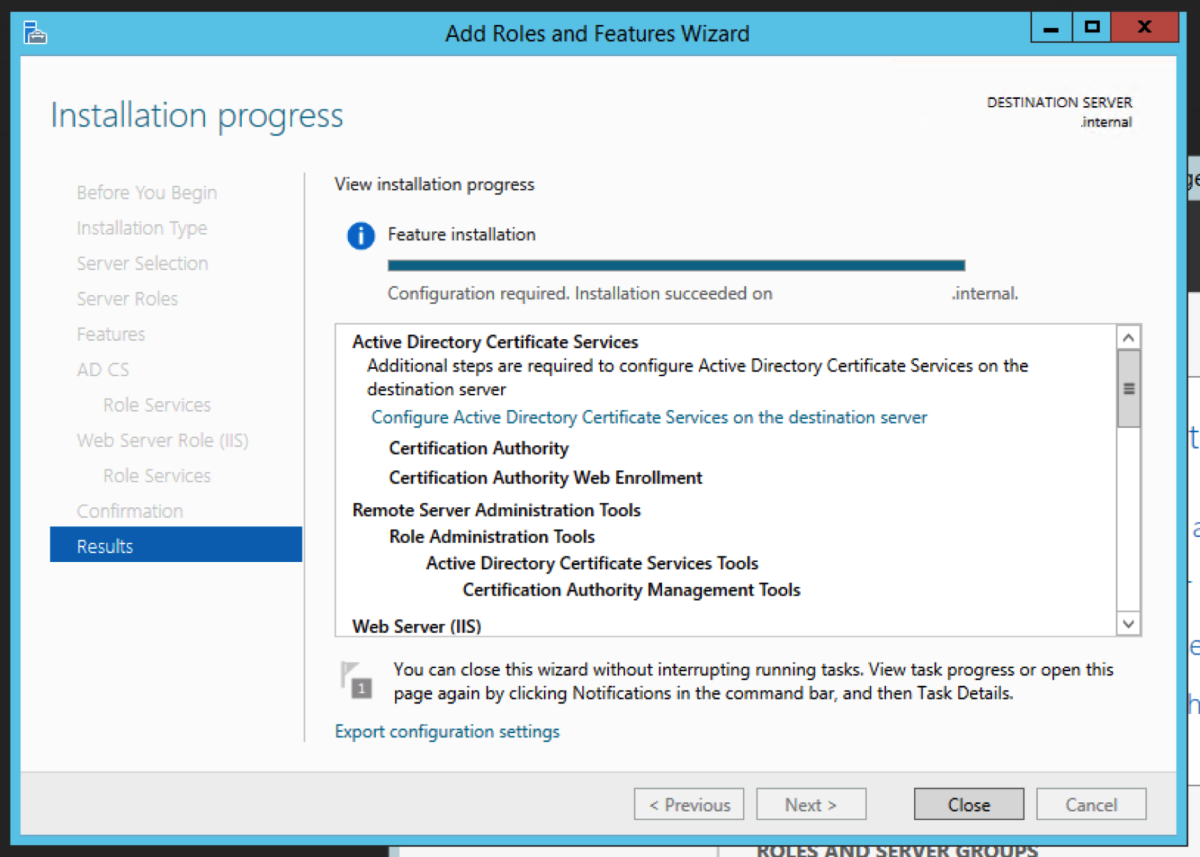
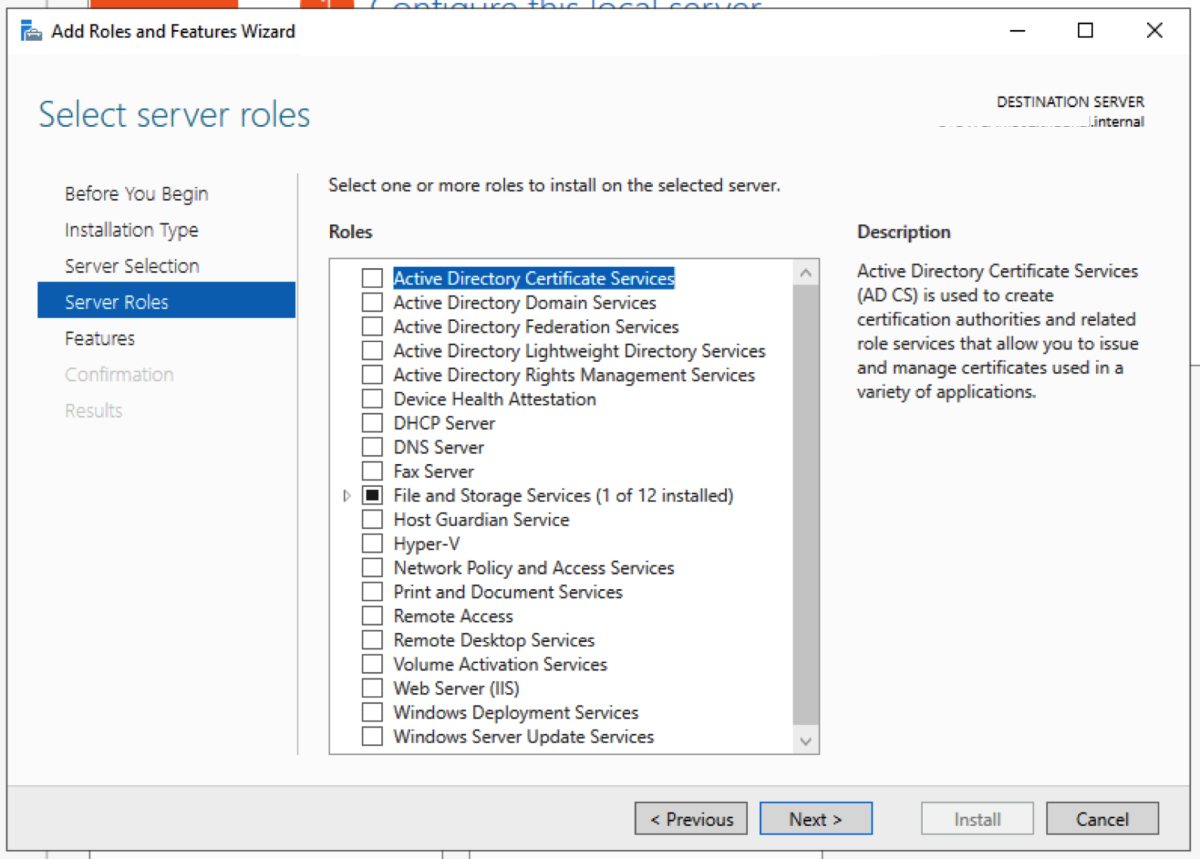
The intermediate server we are going to pick to migrate to is the Windows Server 2012R2 server. We could have picked to migrate to any operating system from 2008R2 to 2016 directly from 2003R2. Open Server Manager, and select Add roles and features. Select Role-based or feature-based installation. Then click Next. Select Active Directory Certificate Service Click Add Features when you get this prompt after the select Active Directory Certificate Wizard Select Certification Authority. The Add Roles and Features Wizard will prompt to ask if you want to add additional required roles and features. Select Add Features. For an intermediary migration, we don’t need to select any other role services. However, for this tutorial, I will select the Certification Authority Web Enrollment role service as well. Click Next. Accept the defaults and click Next. Click Install.
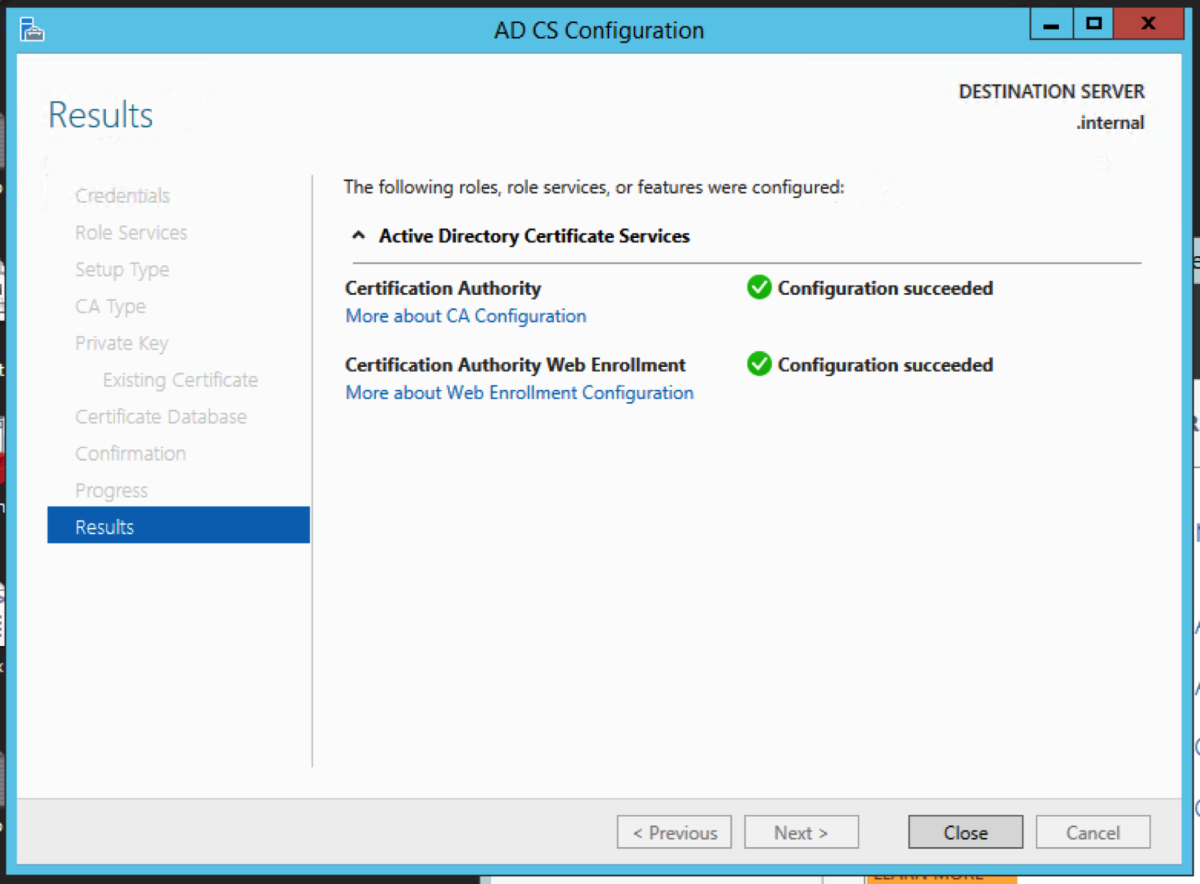
Configure the CA
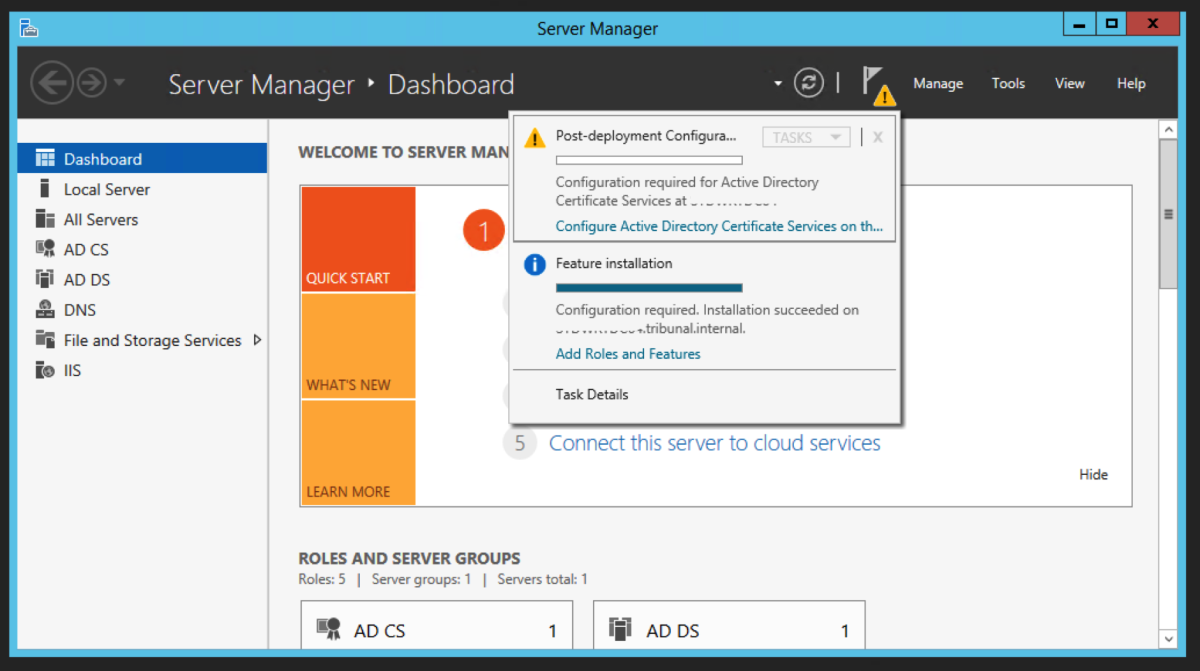
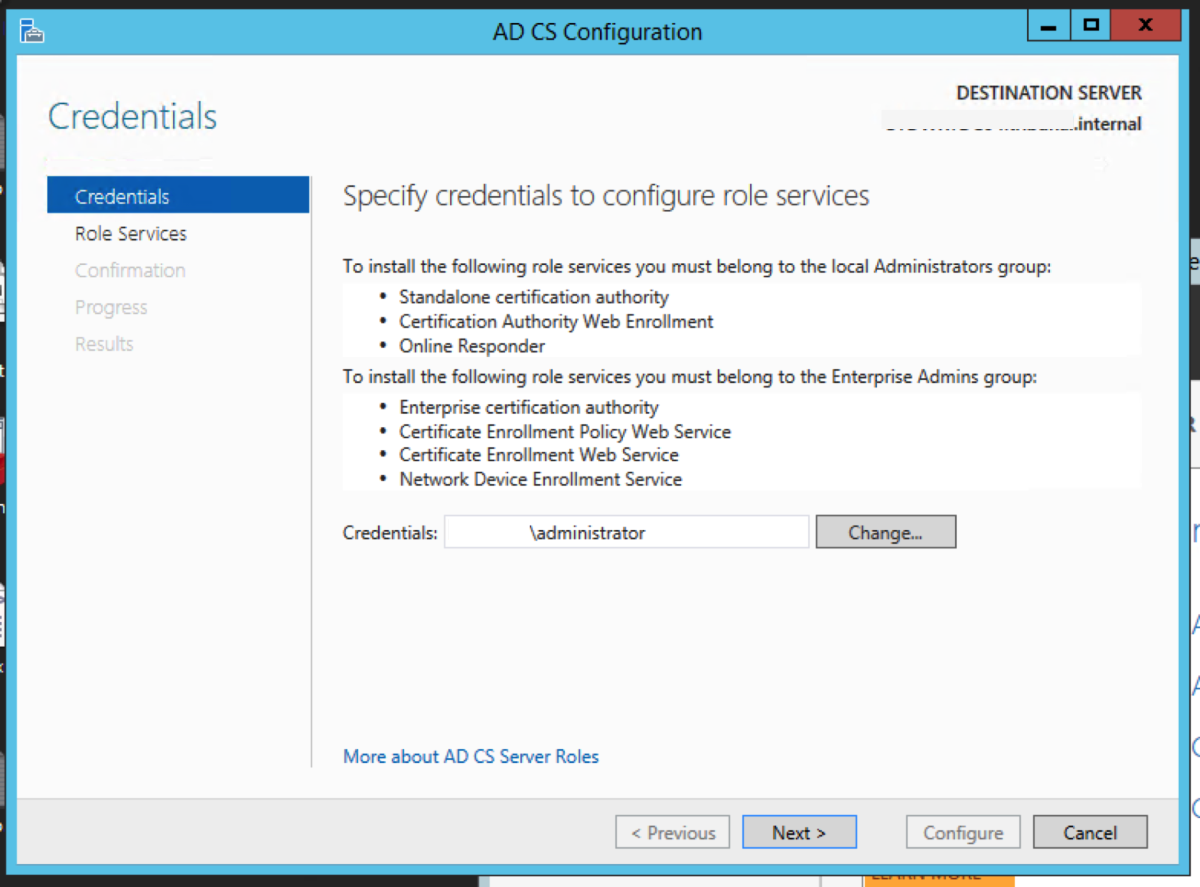
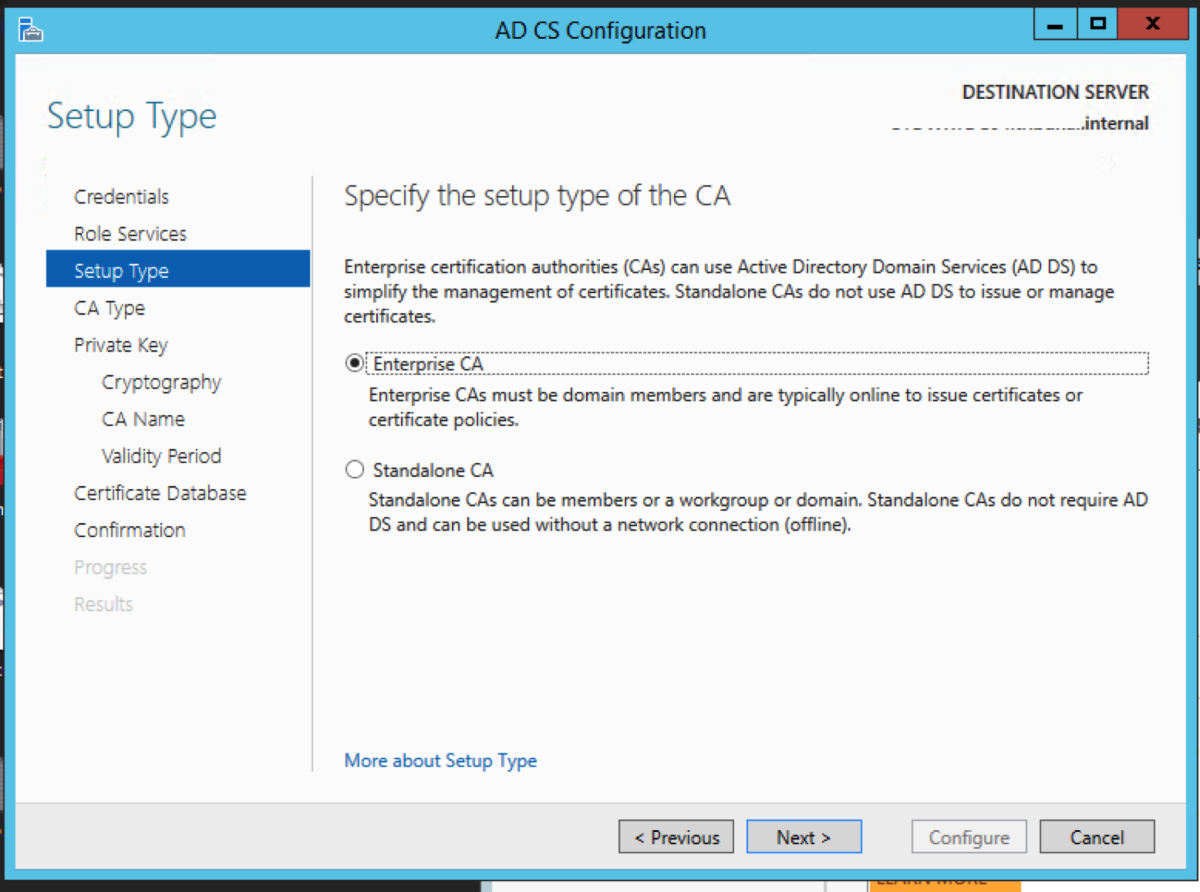
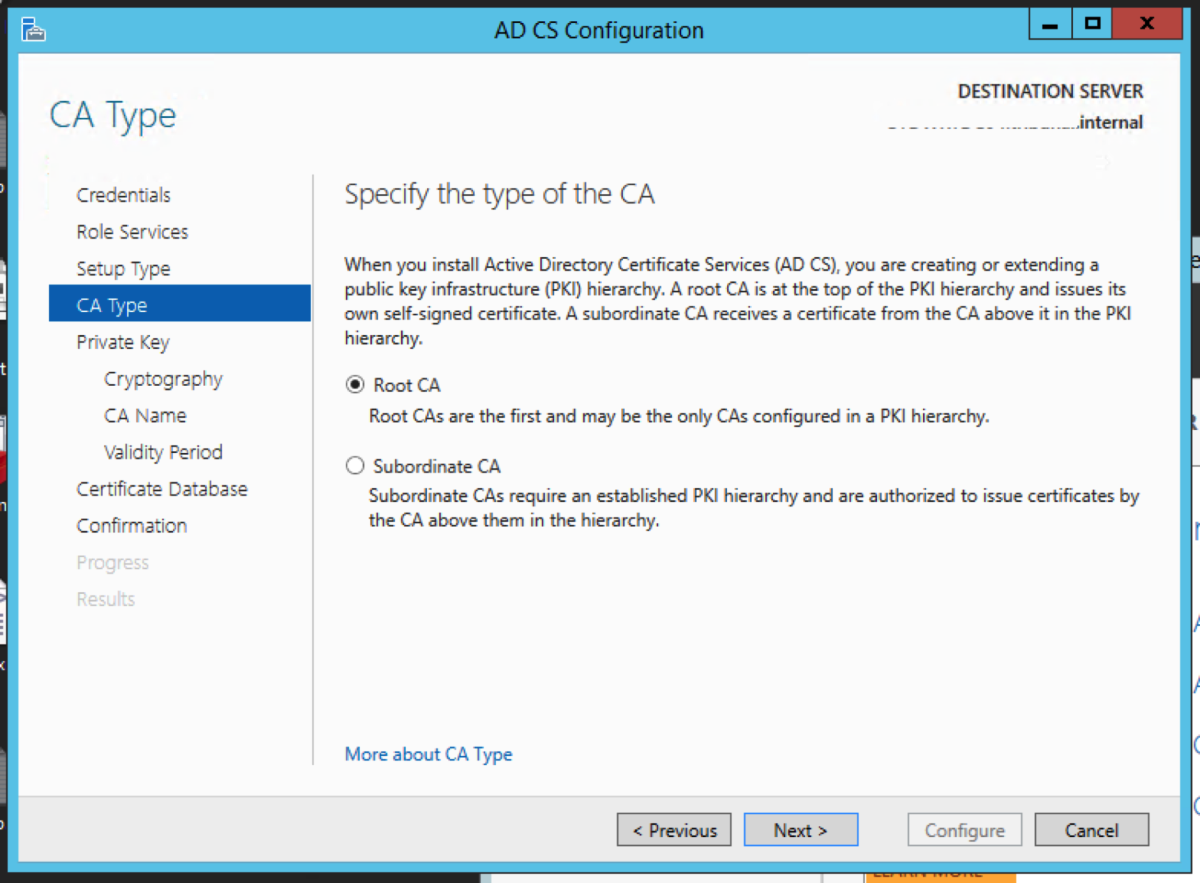
Server Manager will now have a yellow exclamation mark. It wants us to configure the Active Directory Certificate Services which we have just installed. Click on the link in the message. For the credential, enter the credentials that have Enterprise Administrator rights. Click Next. Select the role services, and click Next. Select Enterprise CA. Click Next. Select Root CA. Click Next.
Import the CA Certificate
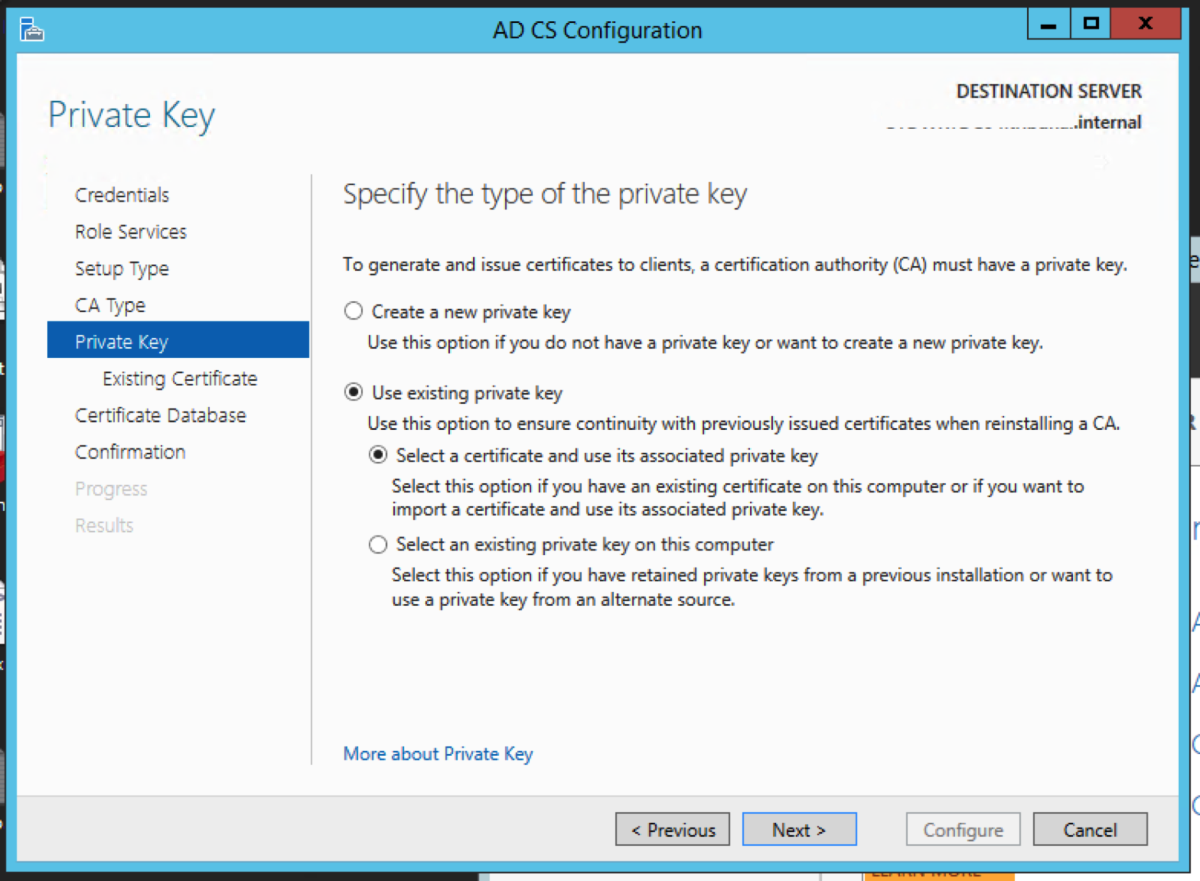
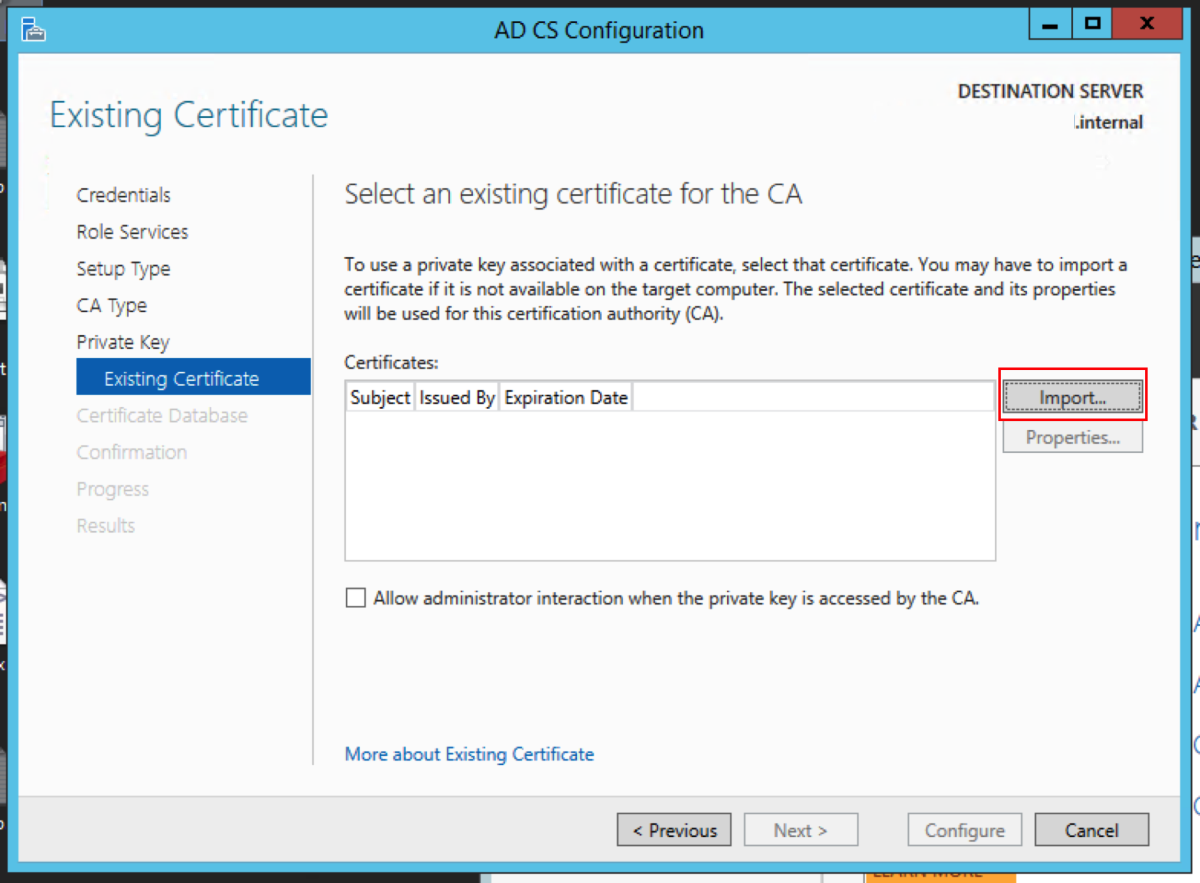
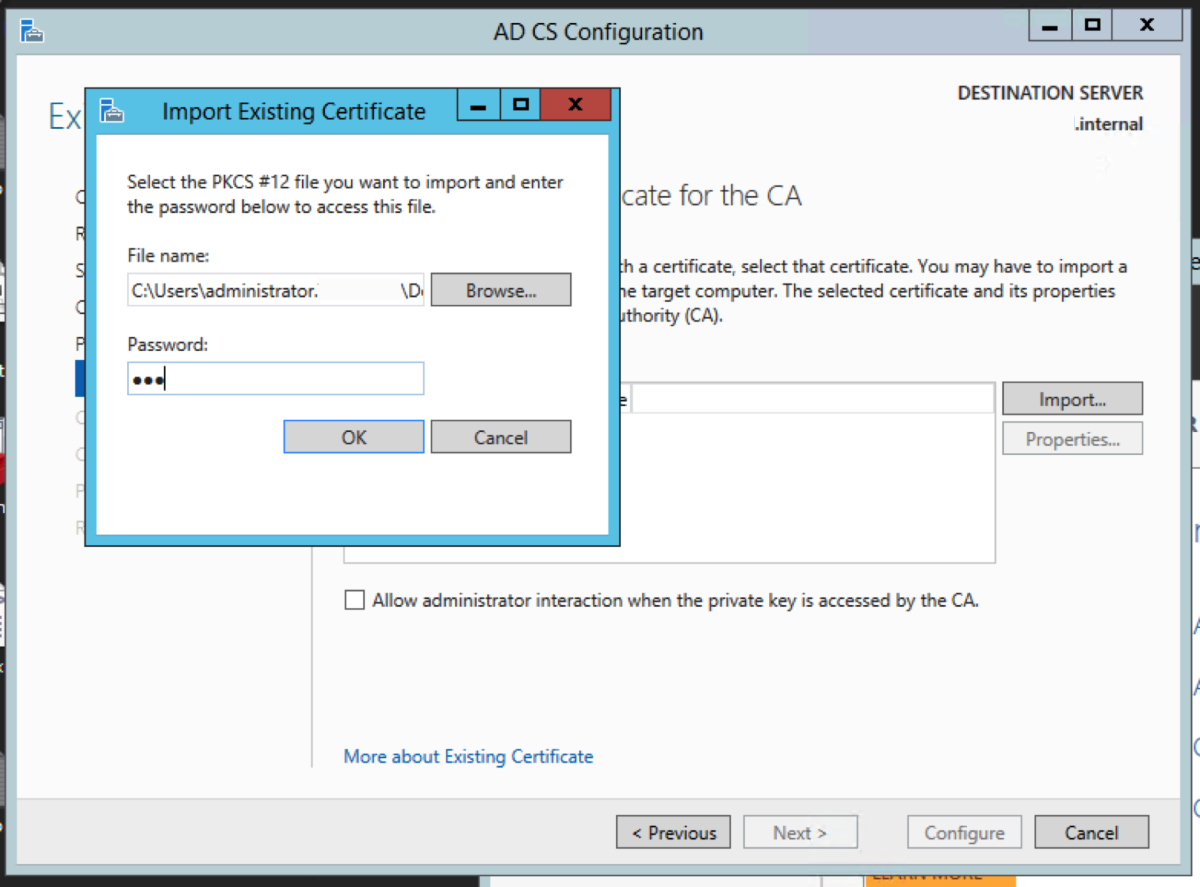
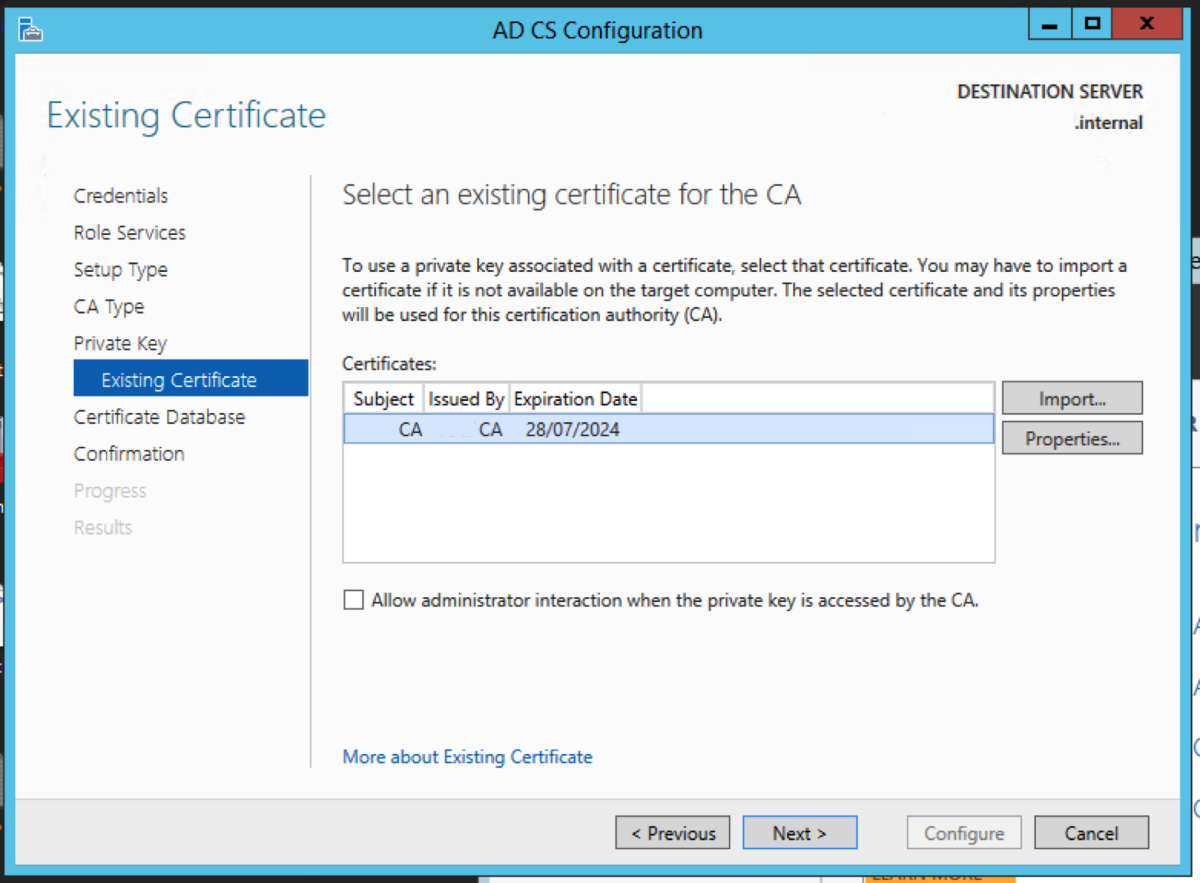
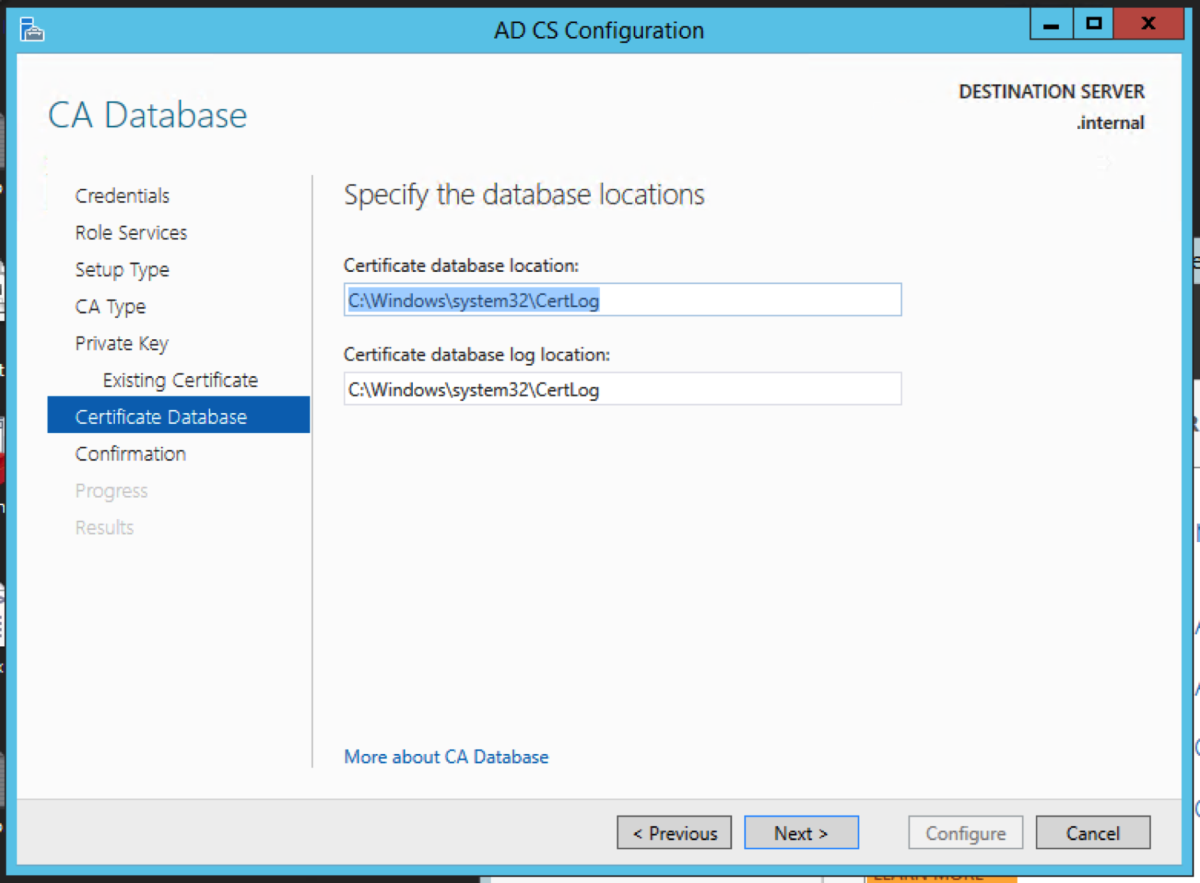
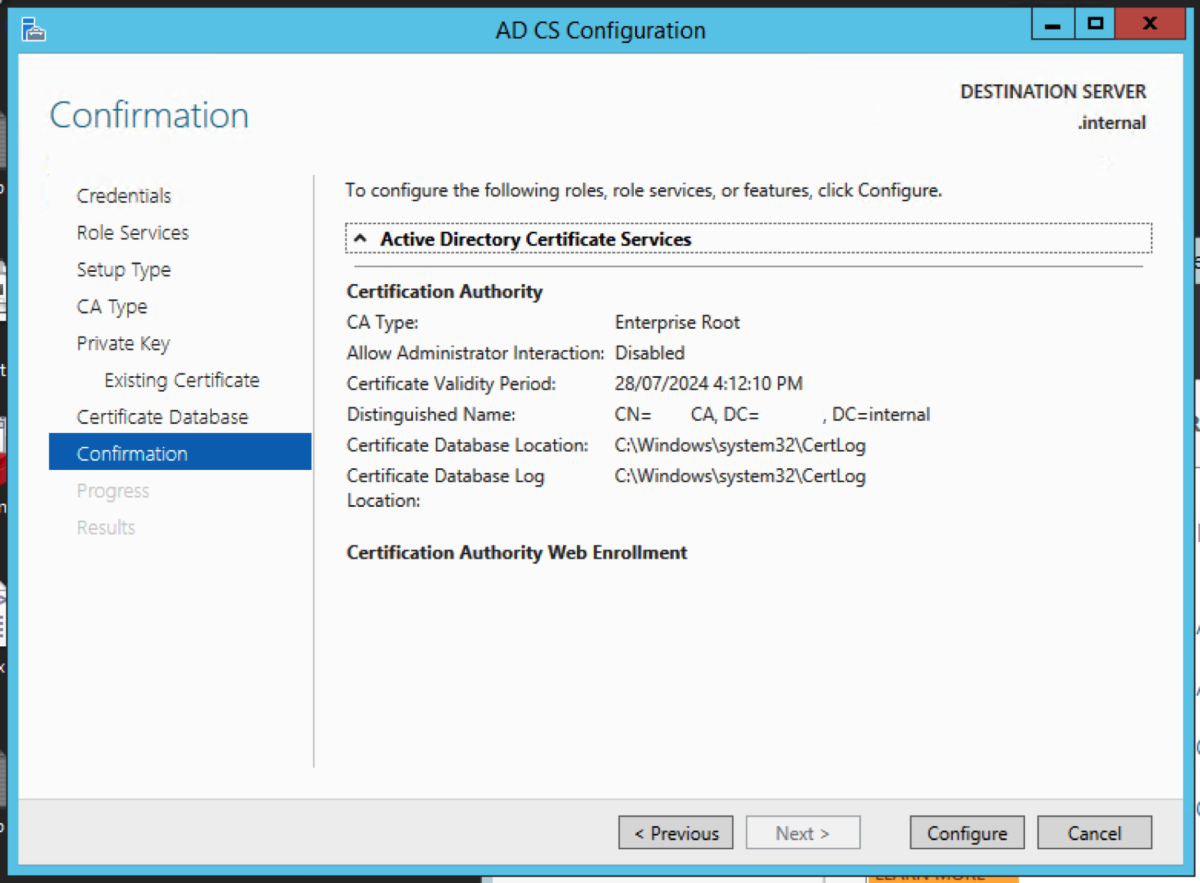
Choose Use existing private key, and choose Select a certificate and use its associated private key. Click Next. Click Import. Navigate to the certificate in the folder that contains the CA backups, and enter the password we had used earlier. Select the certificate, and click Next. Accept the default locations. Click Configure. Click Close.
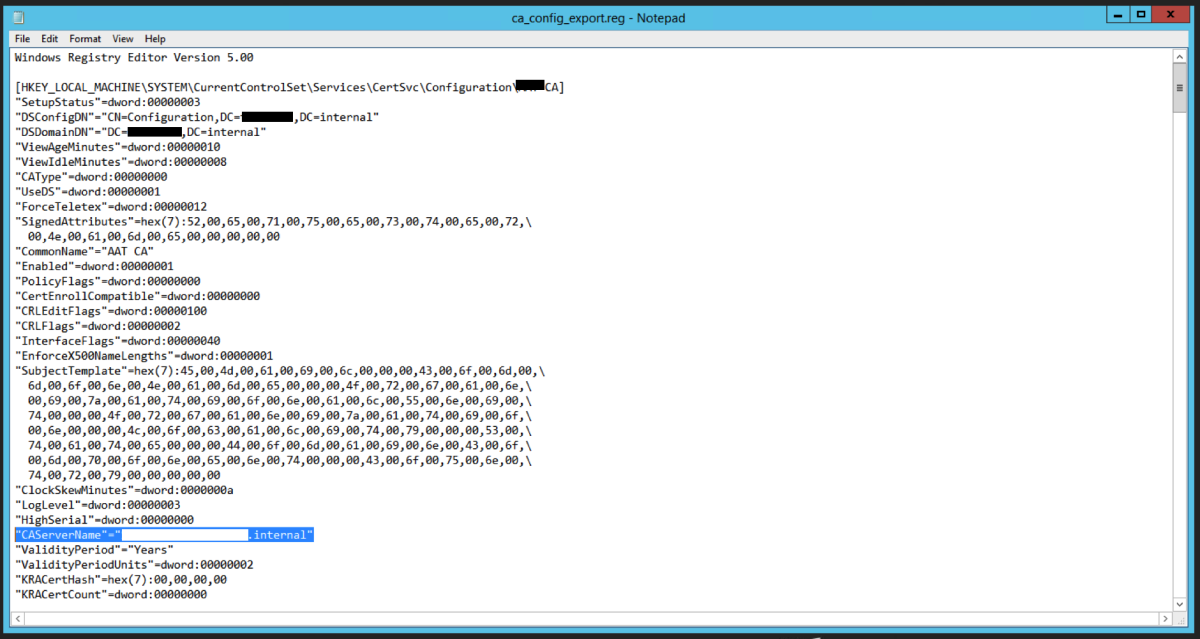
Modify the Exported Registry Key
We will need to import the registry key next. Modify the registry key using NOTEPAD. Locate CAServerName and change it to the name of the server where we are currently migrating to.
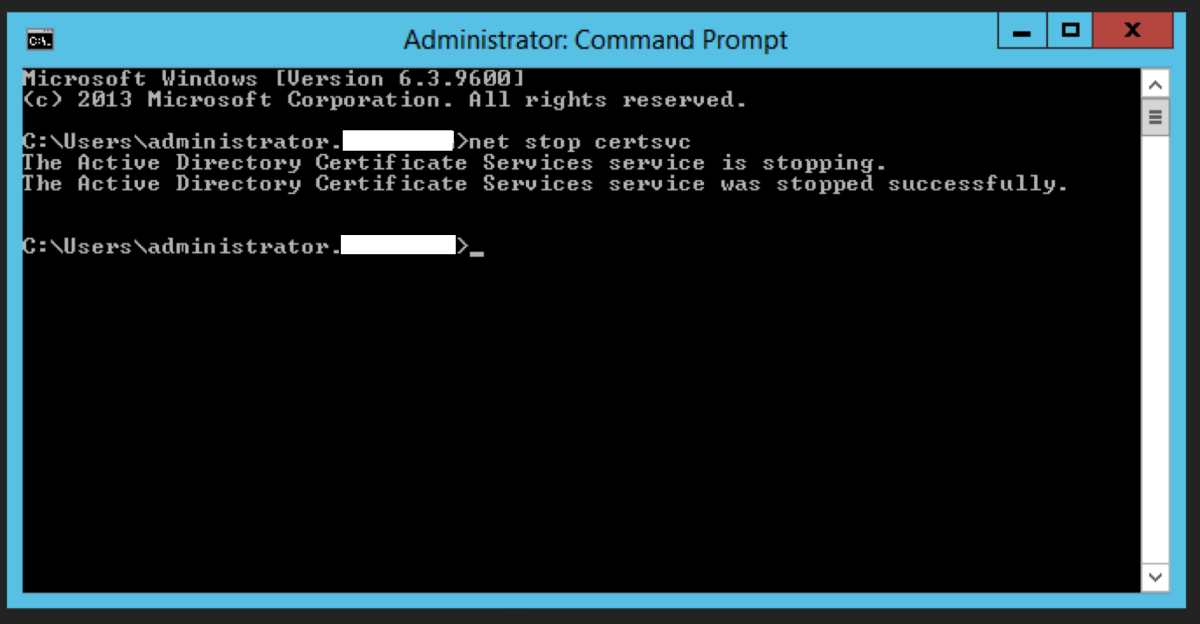
Stop the CA Service
Stop the CA Service.
Import the Modified Registry Key
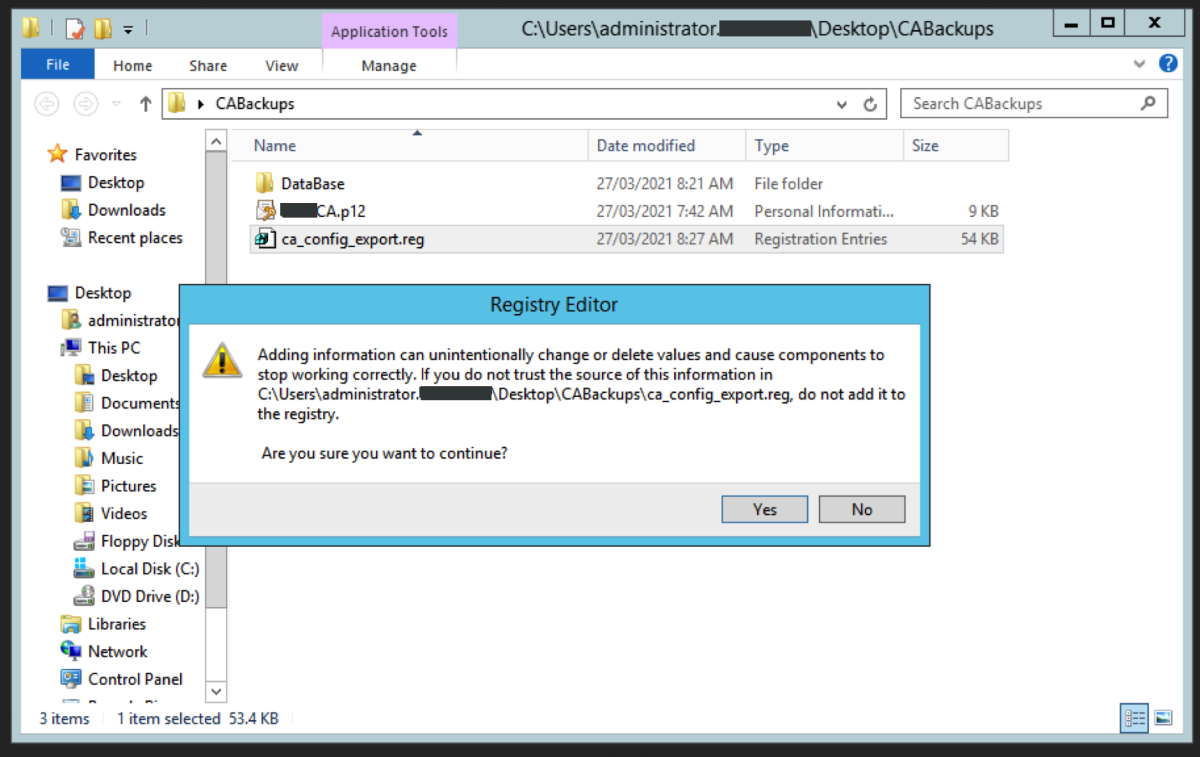
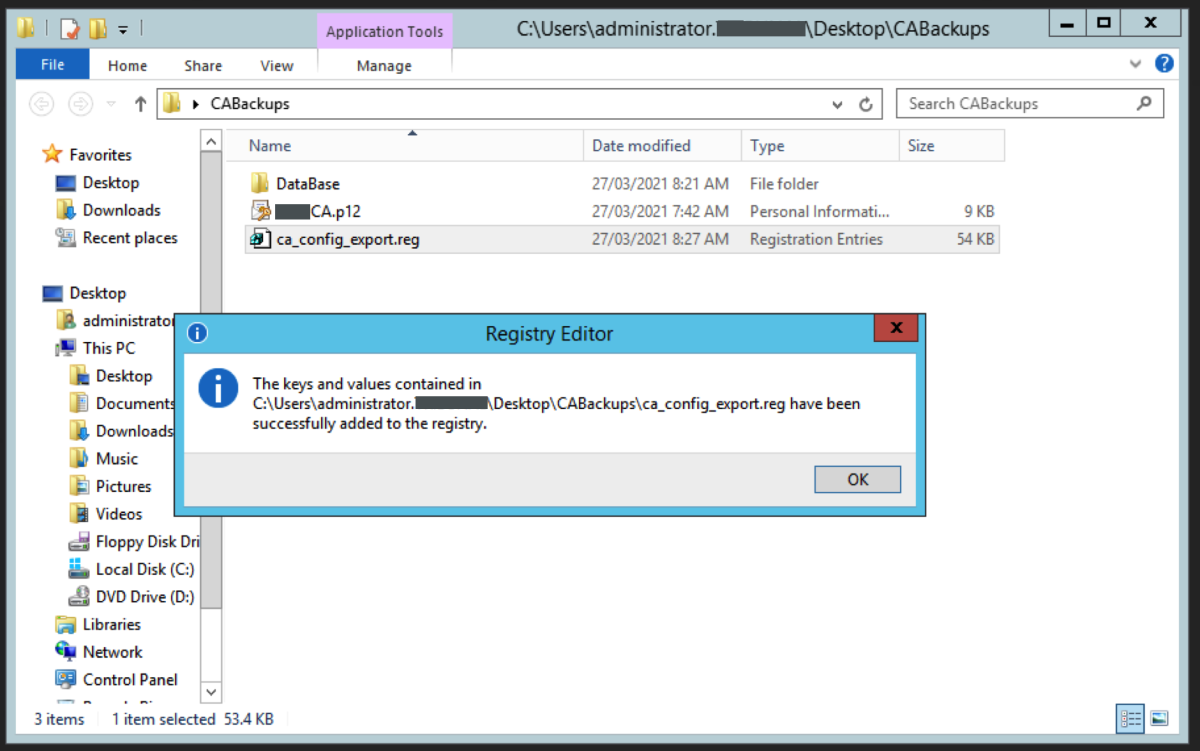
Double click on the exported registry key. A message will appear. Click Yes to continue.
Restore the CA Database
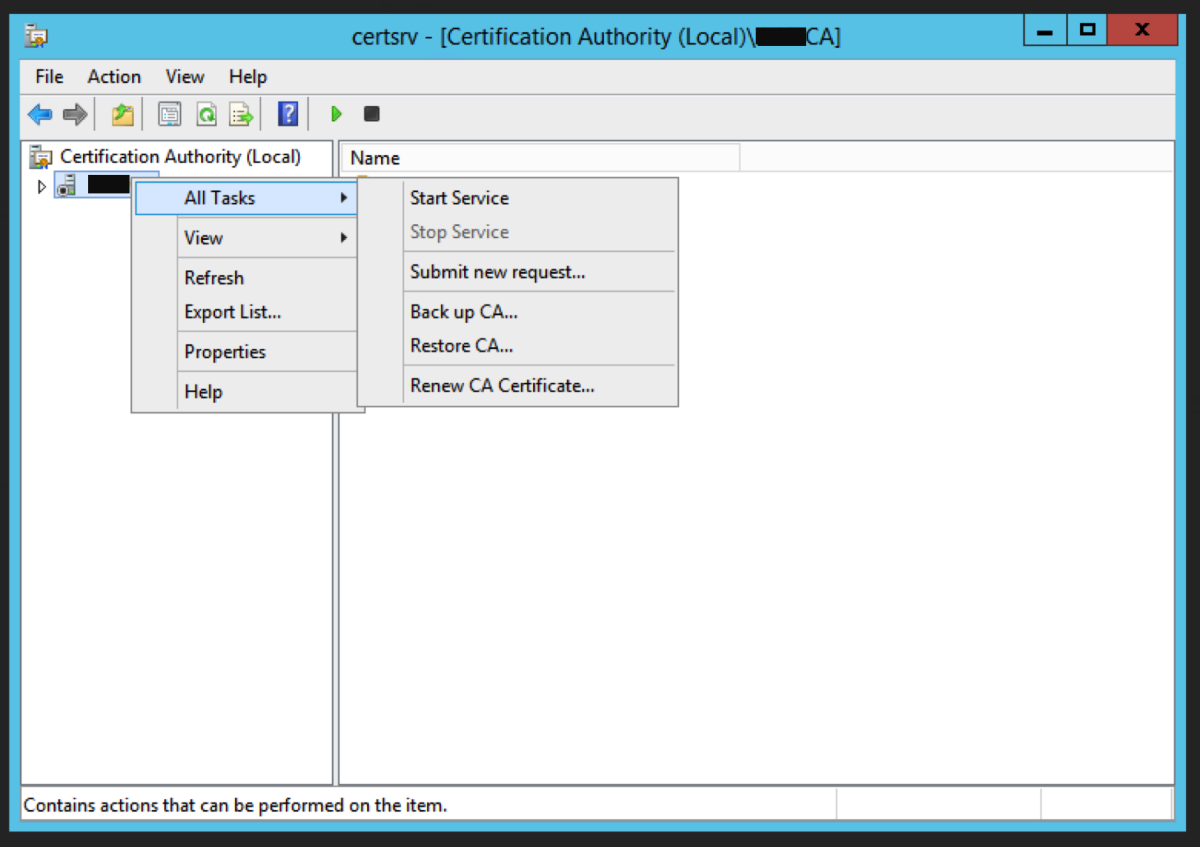
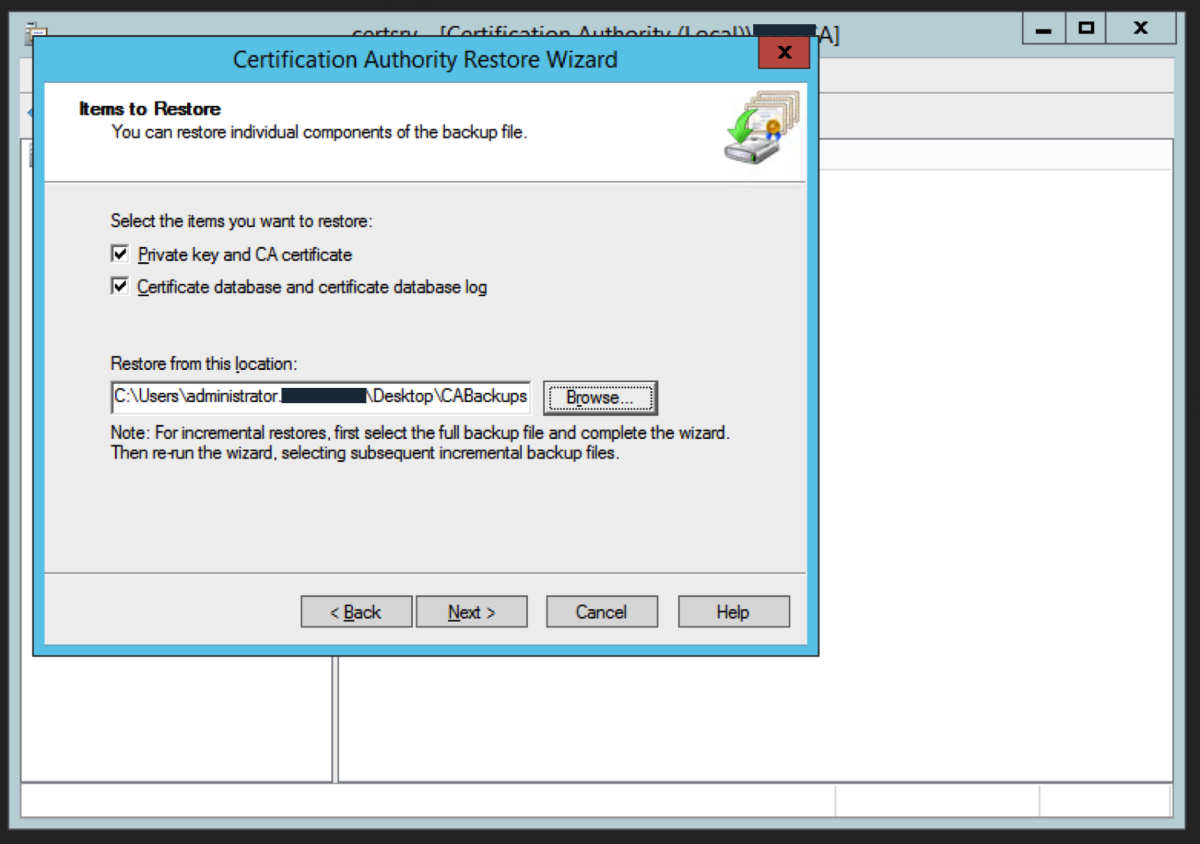
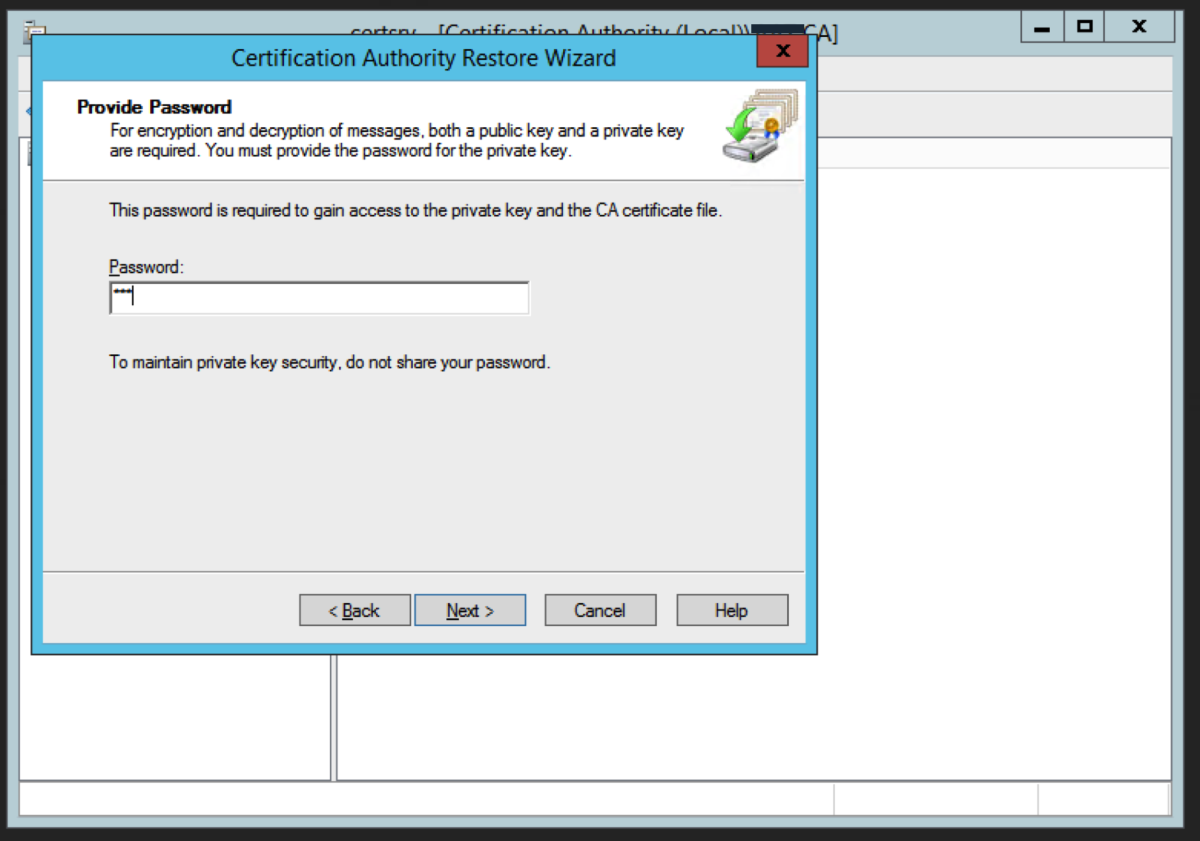
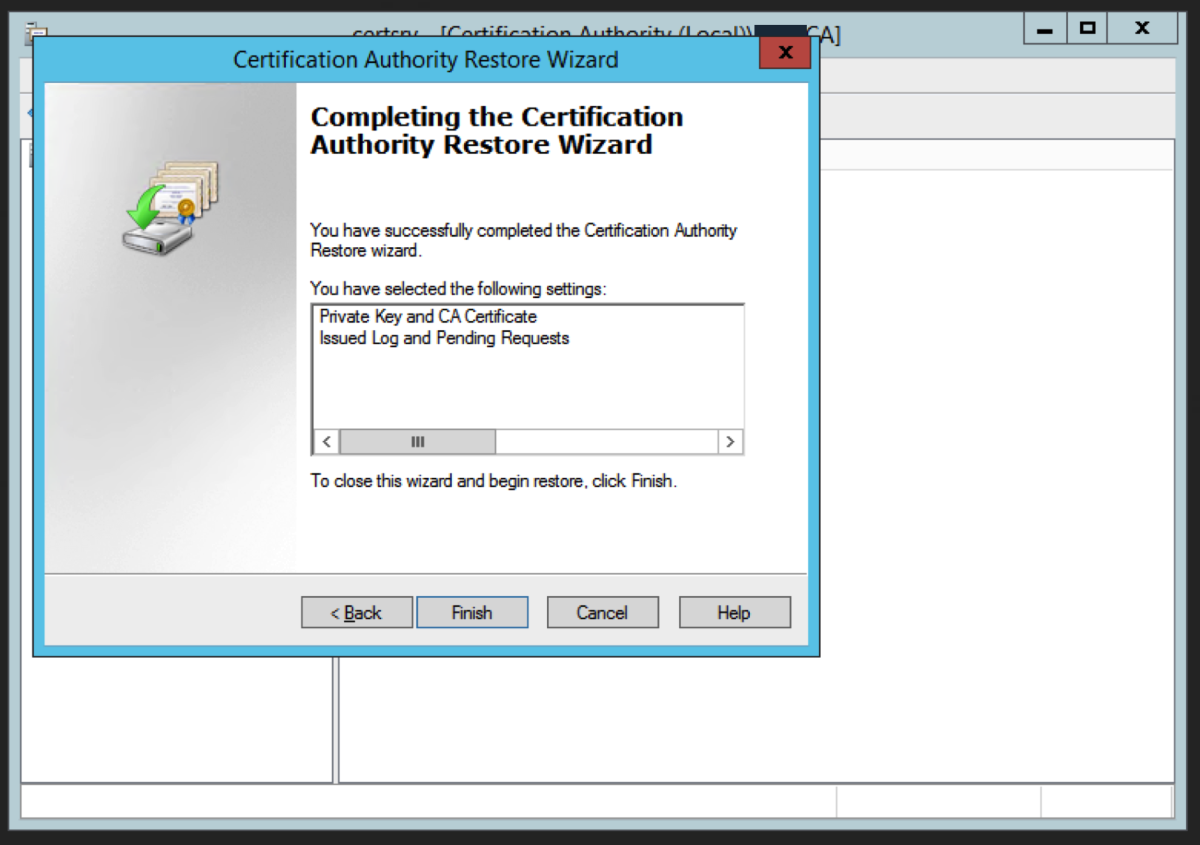
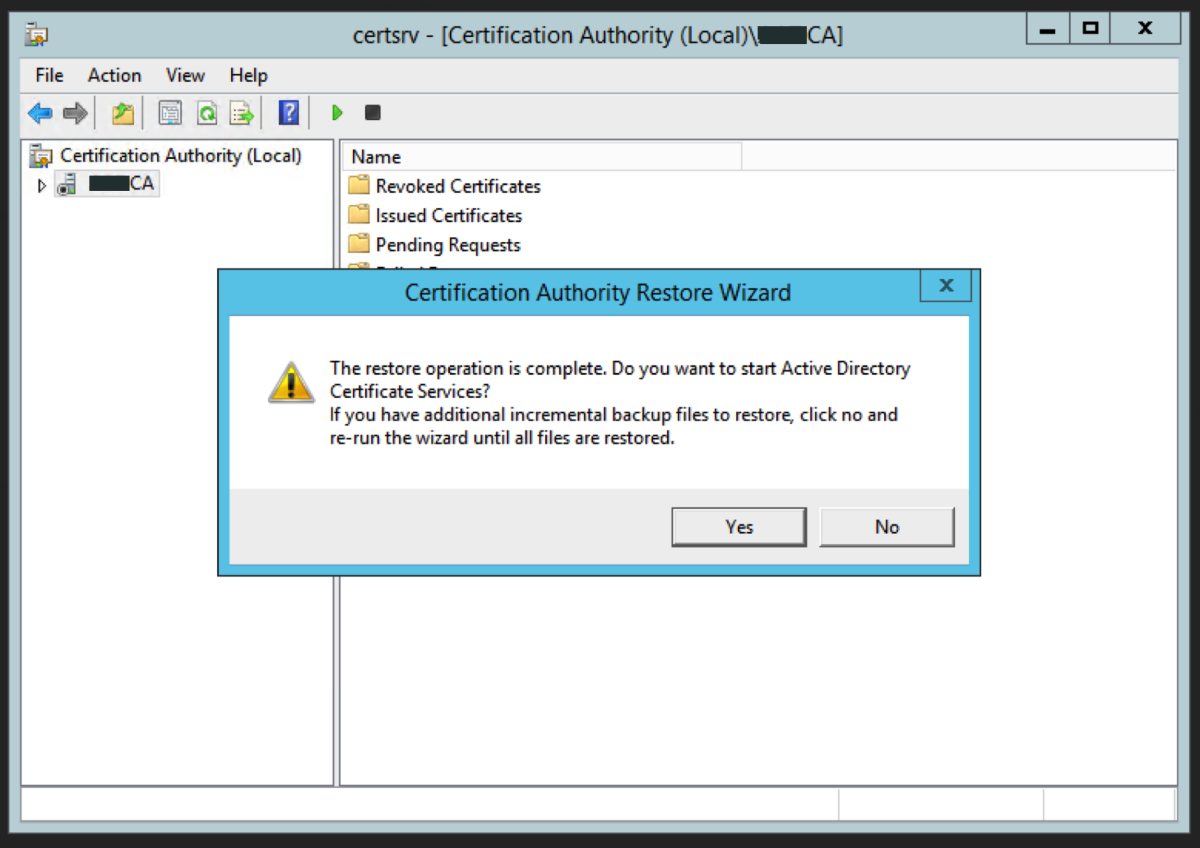
We now need to restore the CA backups. Right click on the CA name and select All Tasks -> Restore CA Locate the backup folder using Browse and click Next Enter the password we used earlier. Click Next. Click Finish. Click Yes to the prompt about starting up Active Directory Certificate Services. This now completes the migration to the intermediate server.
Migrating the CA From the Intermediate Server to the Final Destination Server
The preceding steps will need to be repeated to migrate from the intermediate server to the final destination server. I will only show a brief outline of this last phase in this tutorial, because aside from the GUI differences between 2003R2 and 2012R2, the steps are the same.
Backup the CA on the Intermediate Server
We need to backup the CA database and export the CA registry key. Then we uninstall the CA role.
Uninstall the CA on the Intermediate Server
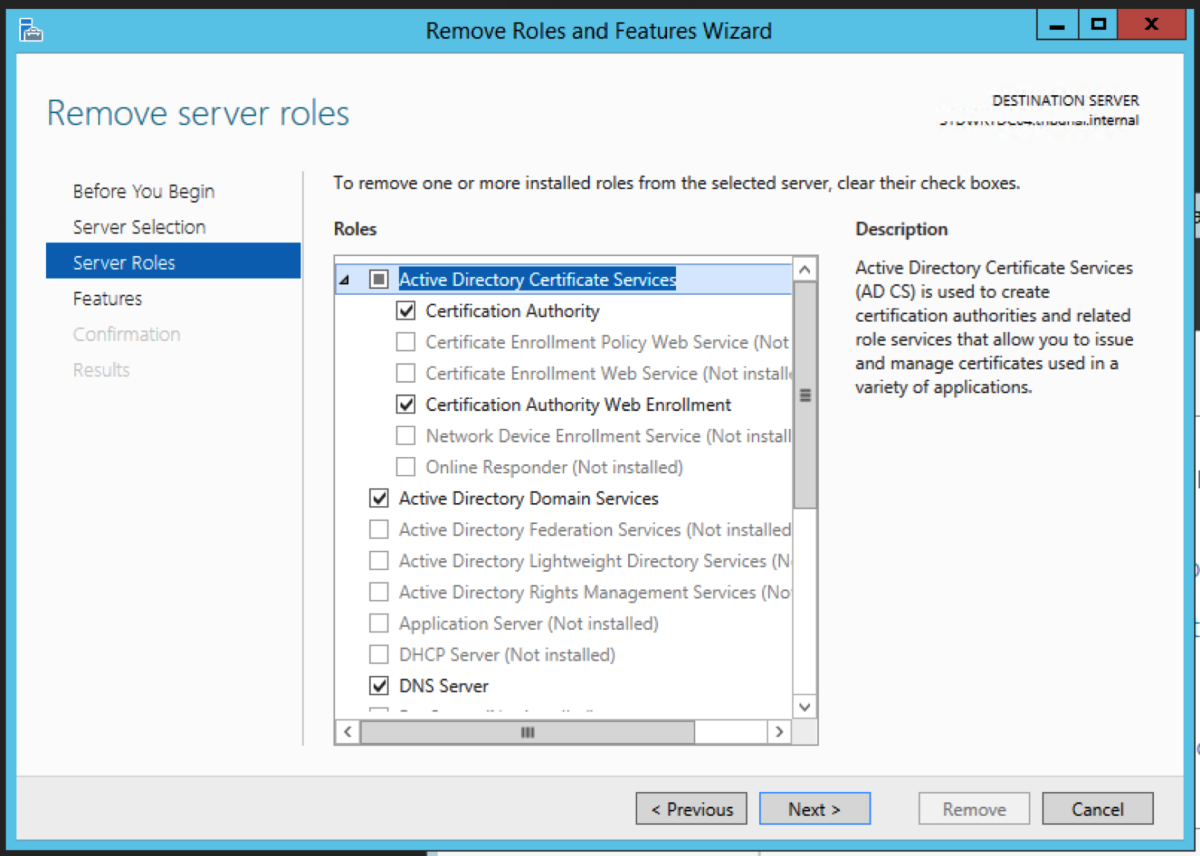
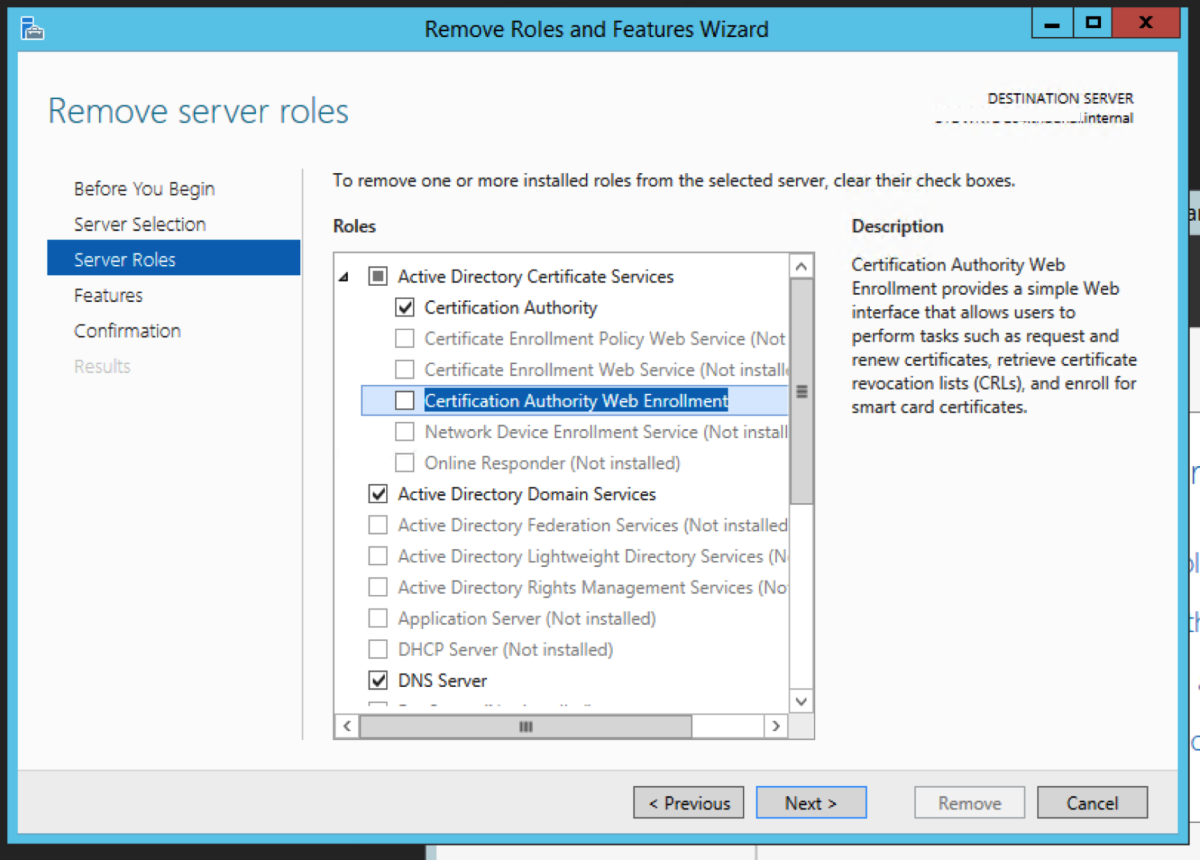
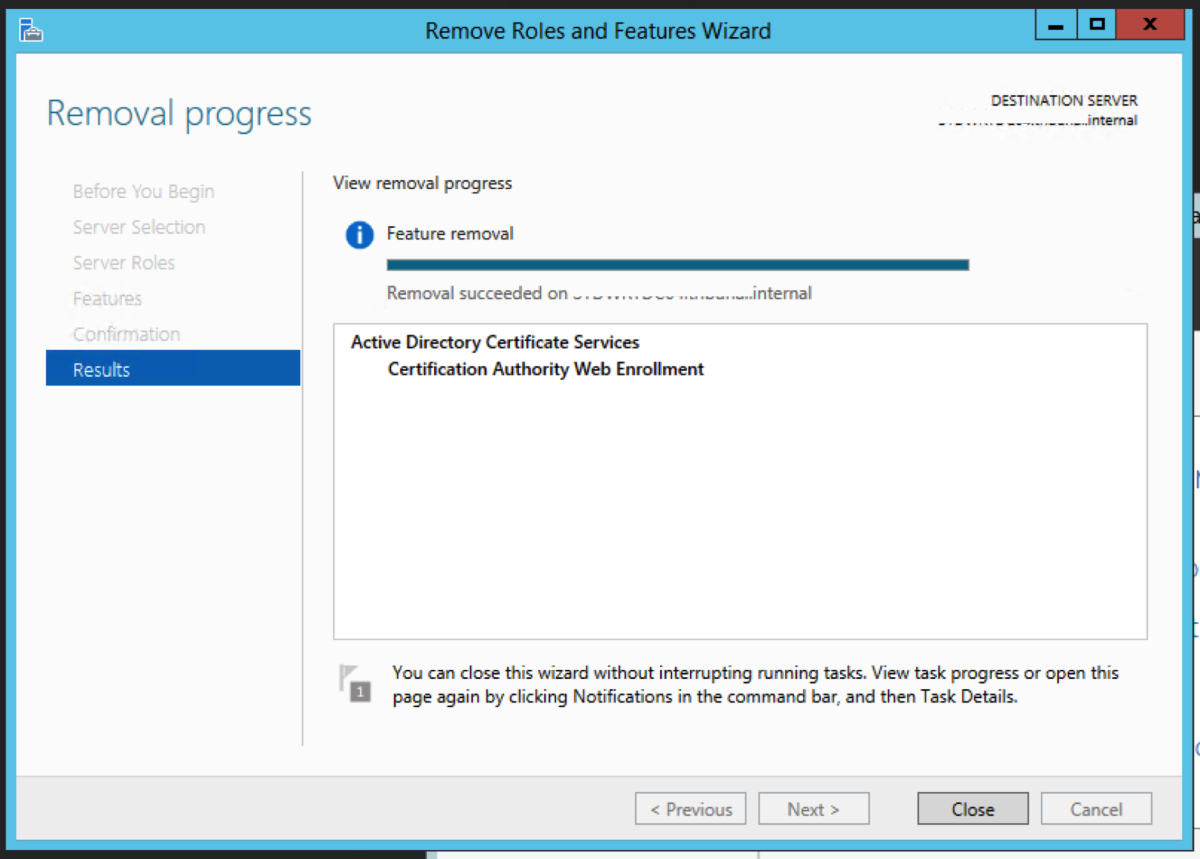
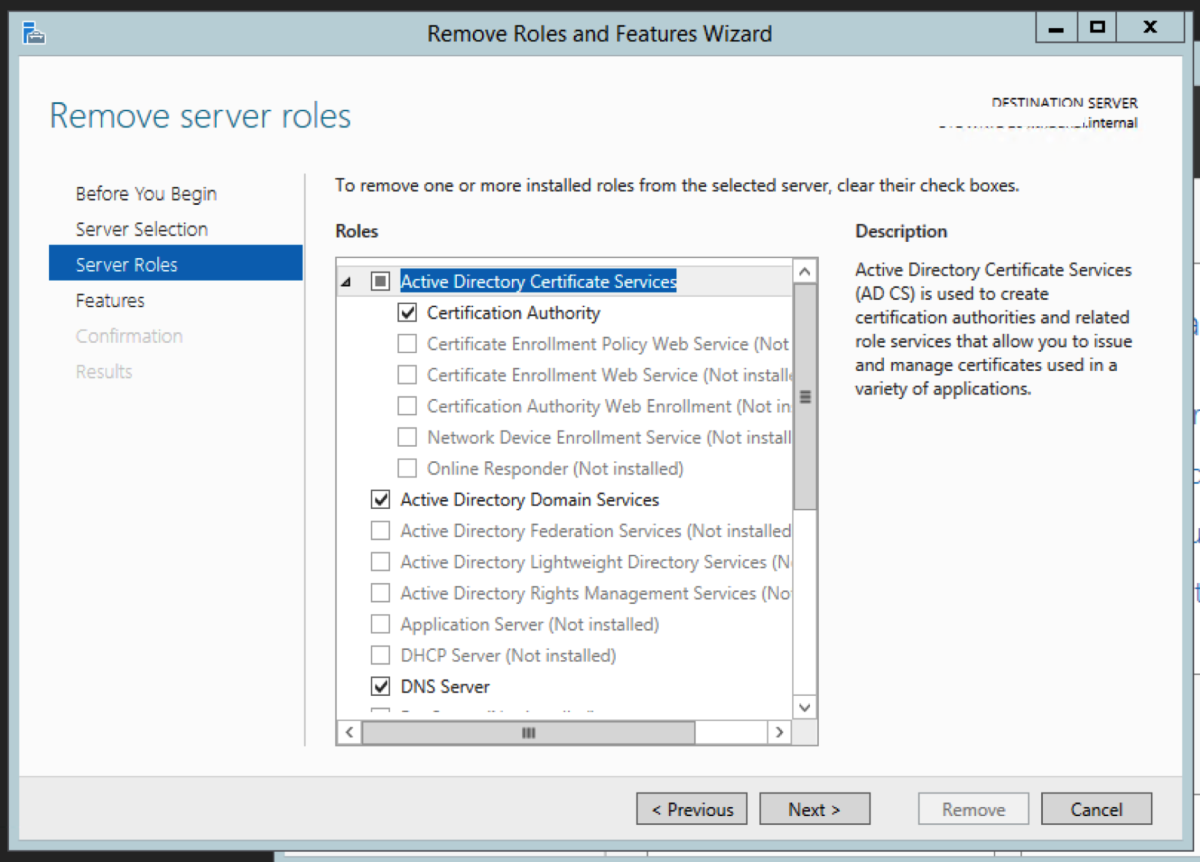
You need to uninstall the Certificate Authority Web Enrollment role service first. After that has been uninstalled, you can then proceed to uninstall the Certification Authority role service.
On the Final Destination Server
Follow Steps 1 to 8 from the Summary section for actions to perform on the destination server. Use the screen shots in the previous steps that were performed on the intermediate server as the GUI for the Add Server roles are close to being identical between 2012R2 and 2019.
Conclusion
The migration steps are straightforward. However, there is one GOTCHA that is there every time I have done one of these.
GOTCHAS
There is one gotcha that I have not seen in other articles about migrating root CAs, yet is there on all the occasions that I have done the CA migrations.
Most CA installations use the default settings during installation. This means that the CRL URL are pointing to the server name that the CA was installed to. When you migrate to the new server, any newly issued certificates will have the new CRL URL location, which points to the new server.
However, existing certificates, while valid, will still be looking at the old CRL URL to obtain the certificate revocation list.
After migration, any services that use a certificate will still function even if you haven’t re-issued a new certificate to the device or service. However, after about a week, the certificate revocation list will be stale, and a service is usually configured to not use a certificate if it can’t access or retrieve an updated certificate revocation list. This usually means the service will stop working.
You got two options in this situation. Re-issue a new certificate to the device or service, or set up the CA so that it publishes the certificate revocation list to the original CRL URLs as well.
Another gotcha I saw a few times is that any new templates you create do not get published, so you are not able to issue a new certificate template.
I had to Google this issue, and it was the flags attribute was no longer set to 10 for the following AD object CN=Enrollment Services, CN=Public Key Services, CN=Services, CN=Configuration,DC=