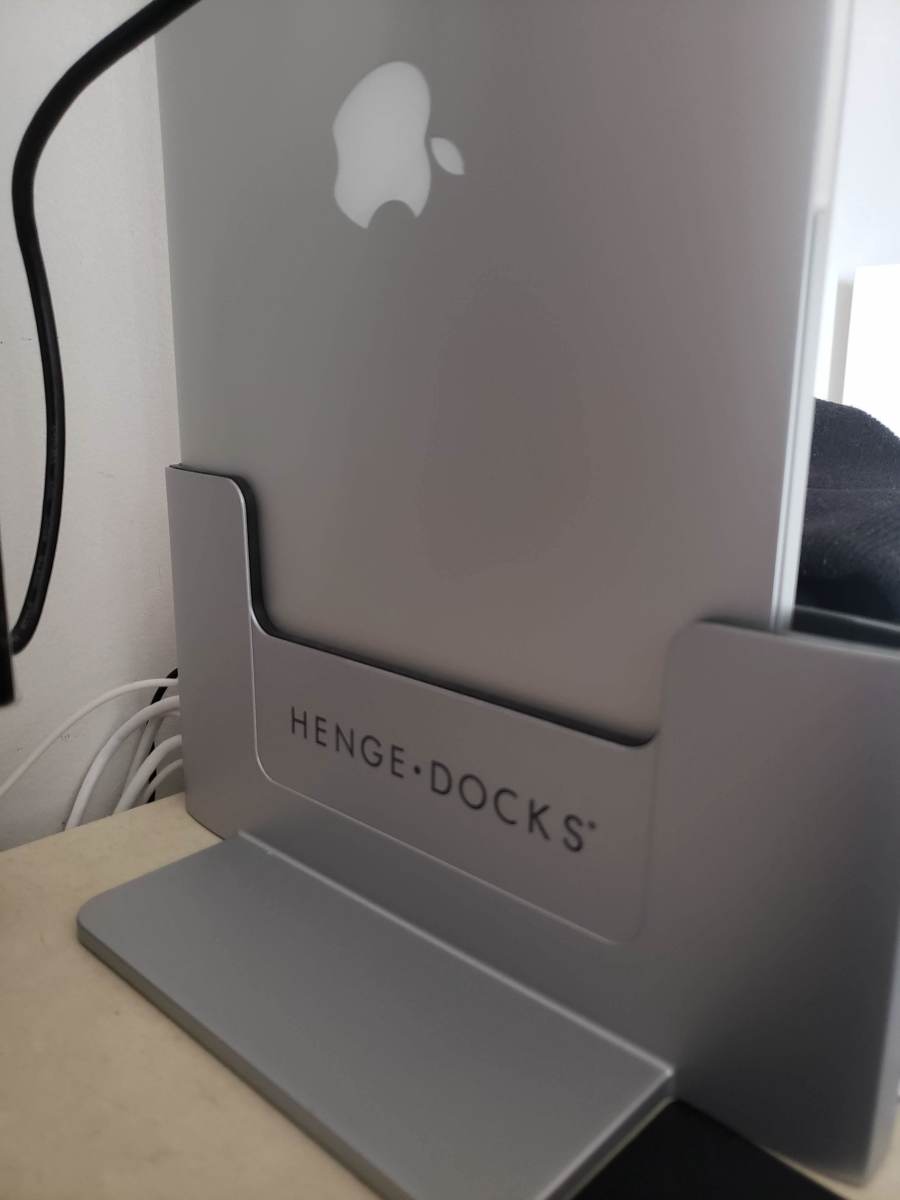
Mount: Henge Docks
There are many laptop mounts on the market. Some are generic while others tailor specifically to the respective MacBook Pro or Air models. My personal favorite is the Henge Docks. I’ve been eyeing this for quite some time and I finally got my hands on it. The Vertical Dock is sold for $189 so it’s by no means cheap. However, I’d say it’s well worth it. Note: My Henge Dock is actually intended for the 15-inch model. However, the position of the ports on the 13-inch and 15-inch are the same. Since I got a deal for the 15-inch dock, I instantly snagged it. The Henge Vertical Dock is a great solution provided that you have an external monitor. I won’t talk too much about my monitor (Samsung) setup as this really depends on you and your desired price range. I won’t push for the idea that there is a ‘best" monitor on the market. When paired with an external monitor, the Vertical Dock is a real space saver. I dare say it looks almost futuristic. The metal chassis offers a sleek, yet sturdy platform. Since the majority of my MacBook Pro is exposed, this is very effective for dissipating heat.
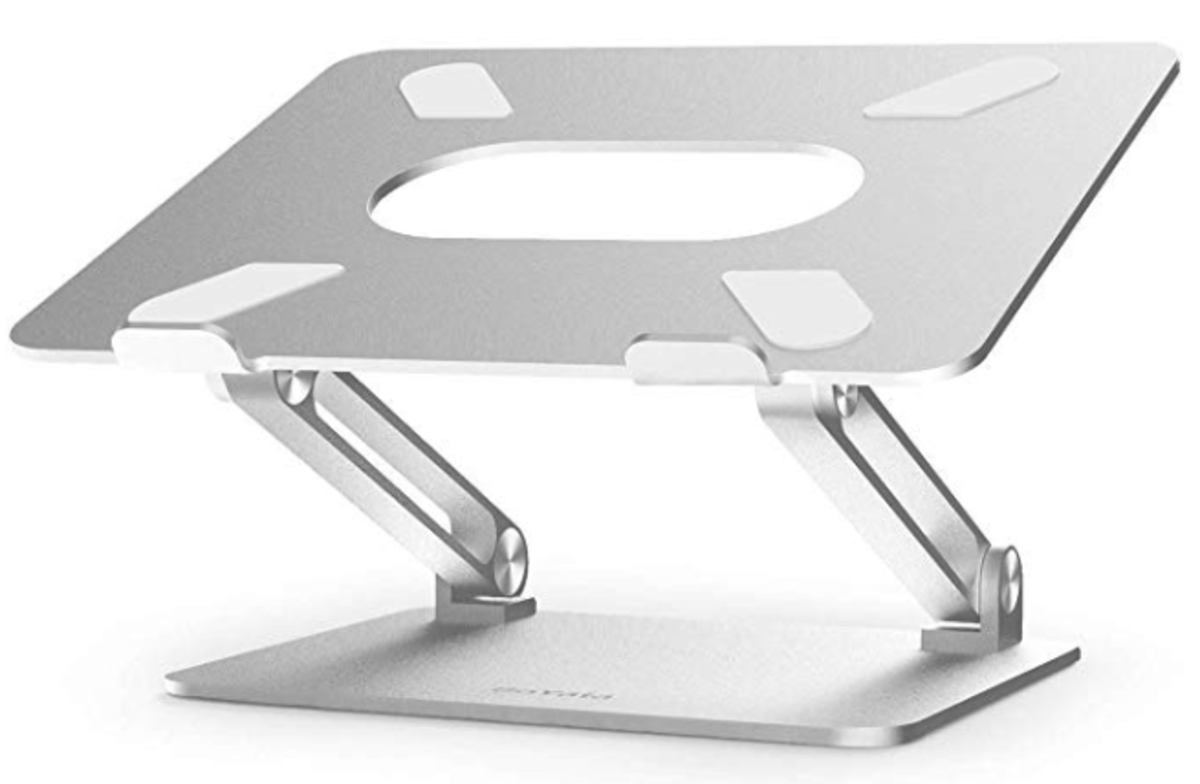
Mount: Alternatives
The second type of mounts are designed for those that do not wish to use an external monitor. These are generic laptop mounts that will elevate the screen to eye level. While they are great for reducing neck pains, you are still limited to the screen real estate of your device. Like the Henge Vertical Dock, there is another hidden cost. You will need to pair a separate keyboard and mouse. While I don’t have a strong recommendation for a mouse, I do have a preferred keyboard in mind.
Keyboard: Keychron K2
This keyboard is my daily driver and I love it for a multitude of reasons. For one, this mechanical keyboard was designed with a MacBook user in mind. Out of the box, the keycaps are configured to replicate the keyboard on my MacBook. One of my gripes about getting a mechanical keyboard was the configuration necessary to make it “Mac” friendly. Luckily, I didn’t have to worry about any of that with this keyboard. The benefits don’t just stop there. I figure it’d be best for me to list out the top features.
Compact core keyboard: This ten-keyless keyboard preserves all the keys found on a MacBook in a small form factor. Flexible connectivity: Whether you prefer a wired or Bluetooth connection, the K2 offers it all. With an internal 4,000 mAh battery, you can expect all-day wireless connectivity. Switches: Offered in Blue, Brown, or Red switches, you should be able to an option that suits you.
From my research, I haven’t found any keyboard that comes closest to the Keychron.
Orico Components
As we move away from my preferred MacBook Pro mount and keyboard, I do have a few accessories from Orico that I use regularly. Orico is probably most known for their (hard disk) drive accessories, but they do offer a few products that I have found very useful for general cable management.
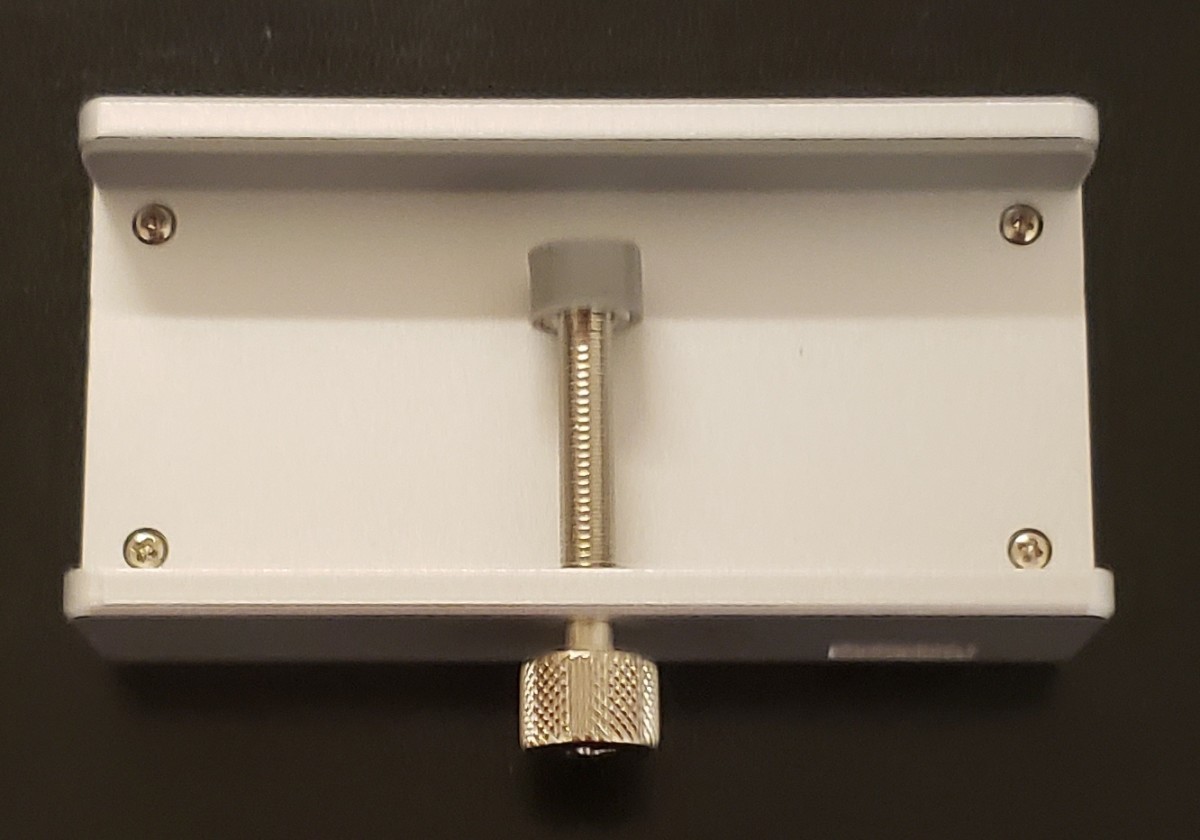
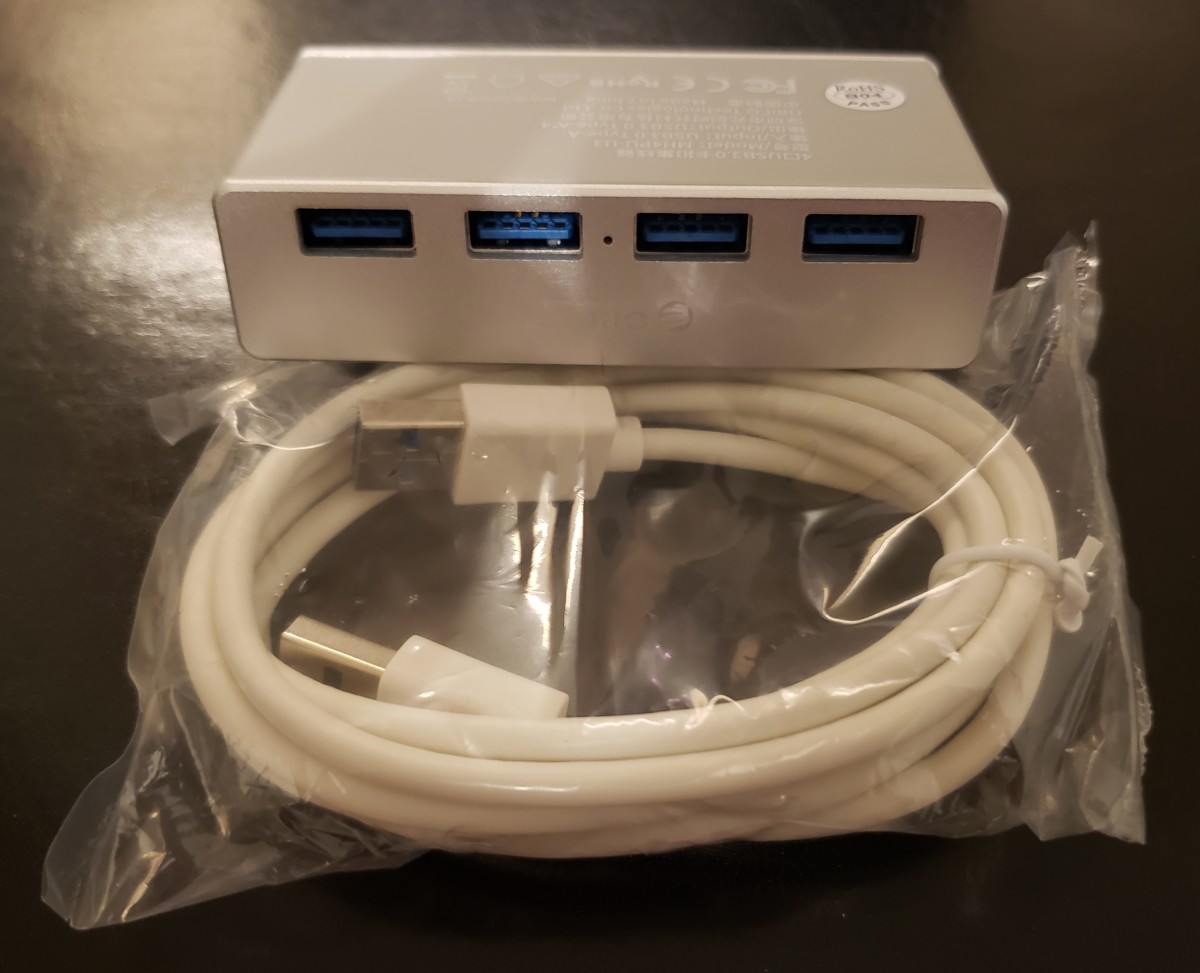
Orico 4-Port Clip Type Hub
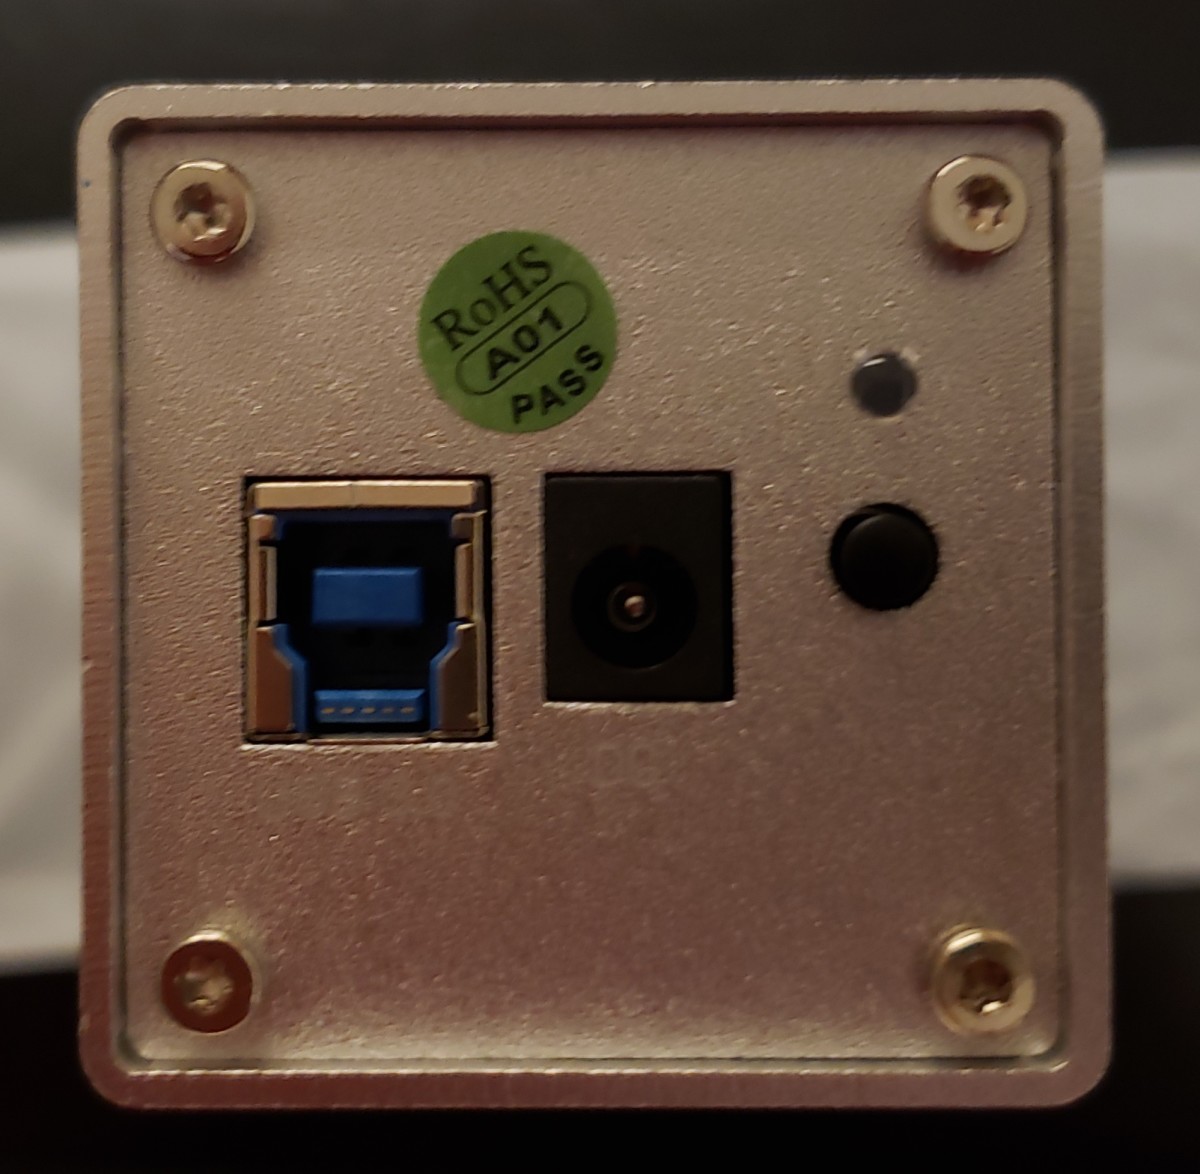
This is probably my favorite tool right now. They call this the “Clip Type” hub and here’s why. The upper and lower edges stick out. When you tighten the “clamp”, you are essentially tightening this hub along a thin edge. Orico advertises this as a monitor attachment. Since my Samsung monitor is slightly curved on the backside, I wasn’t able to secure this hub tightly. Instead, I have this installed on the edge of my desk to manage the wiring of the Henge Dock. Let’s start off with the view of the back as it probably makes more sense for the setup process. The back only has one port and it only needs one. This port is designed to be connected with laptop’s output. I connect this with my MacBook’s USB port. Over on the other side, you get a split for four more ports. This is incredibly useful if you have a MacBook with a smaller internal storage. I use one of the ports for my mouse and the other ports for flash drives or external hard drives.
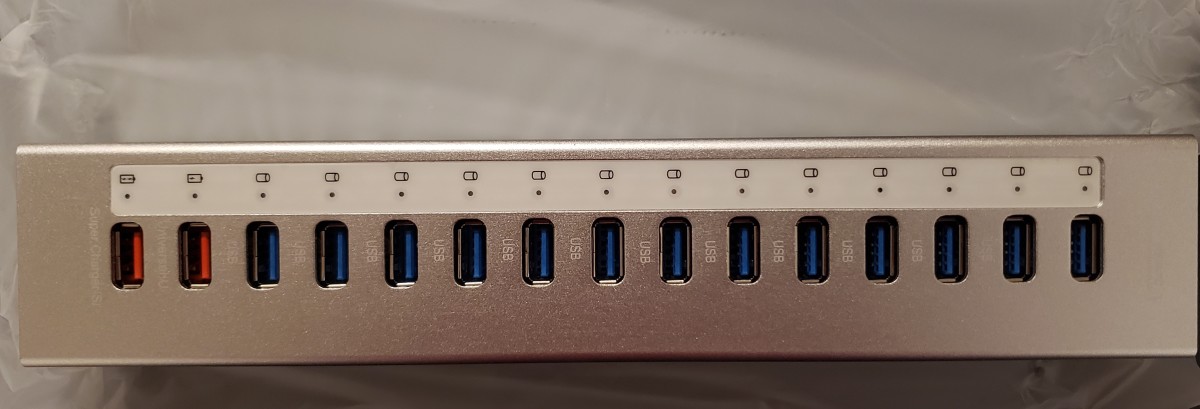
Orico 13-Port Hub
This is an amazing accessory for any power user. I am currently not using 13-port hub as two of my hard drives are currently out of commission. Regardless, I still think this is a much needed accessory for any power user. With two ports designated for charging and all ports capable of data transfer, you’ll never run into the limitation of connecting too many drives. What I especially like about this unit is that it’s USB 3.0 by default. You don’t have to worry about sacrificing transfer speeds at all. Unlike the previous hub, a separate power adapter is required. I’m very glad that Orico added a power button so this hub isn’t continuously drawing power even when it’s not in use. Admittedly, a minor complaint of mine is the placement of these ports along with the power button. It’s at the top of the hub instead of the bottom. In other words, it’s farther from the two designated charging ports. This will require me to reach to the opposite end to turn on the hub before I can charge my device. This is by no means a dealbreaker, but it’s a small point for consideration when setting up your hub.
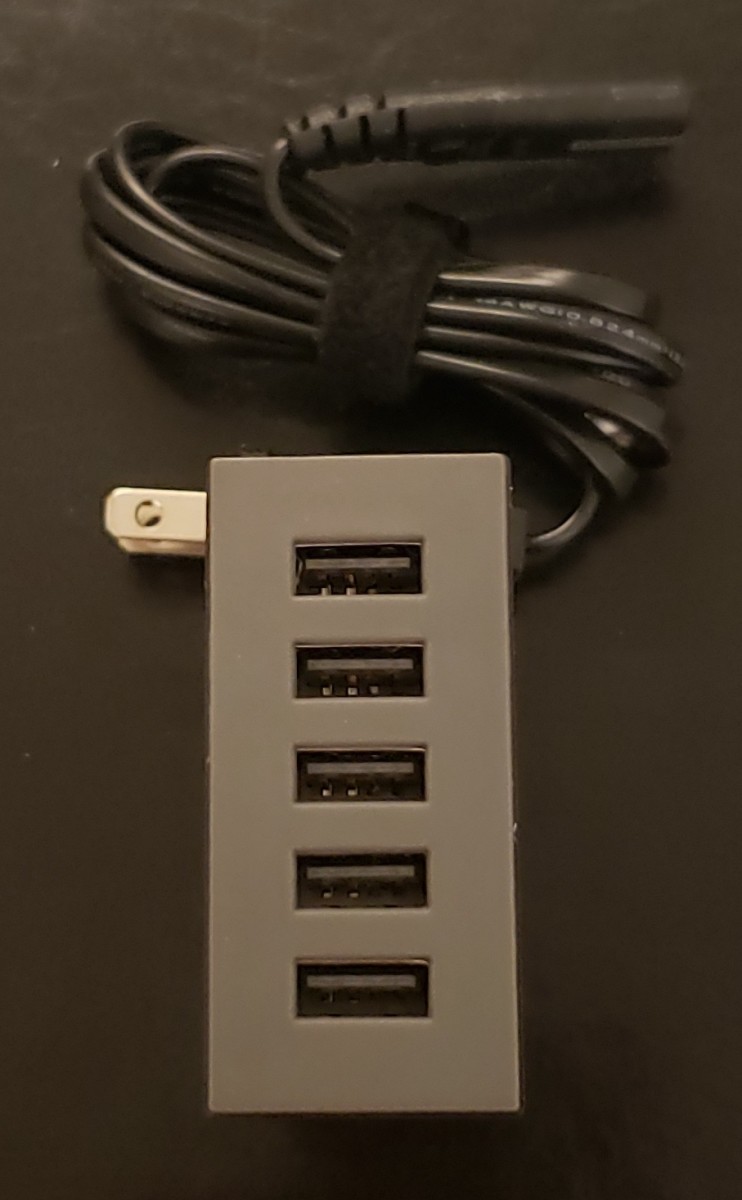
Multi-Port Charger Alternatives
Since the 13-port hub only has two dedicated charging ports, it’s understandable if you need a multi-charger solution. The market is pretty saturated with these and I haven’t seen any key differentiators for quite some time. I own a few of these from different companies and I have found that their performances are similar. Some other reputable brands worth checking out in addition to the Orico multi-charger are Anker, Aukey, and Kinkoo. I would recommend going this route if charging from the USB hub isn’t an option. The Orico has recently become my daily driver after three of the five ports on my Anker multi-charger failed. It lasted a good three years so I wouldn’t classify it as a QC issue.
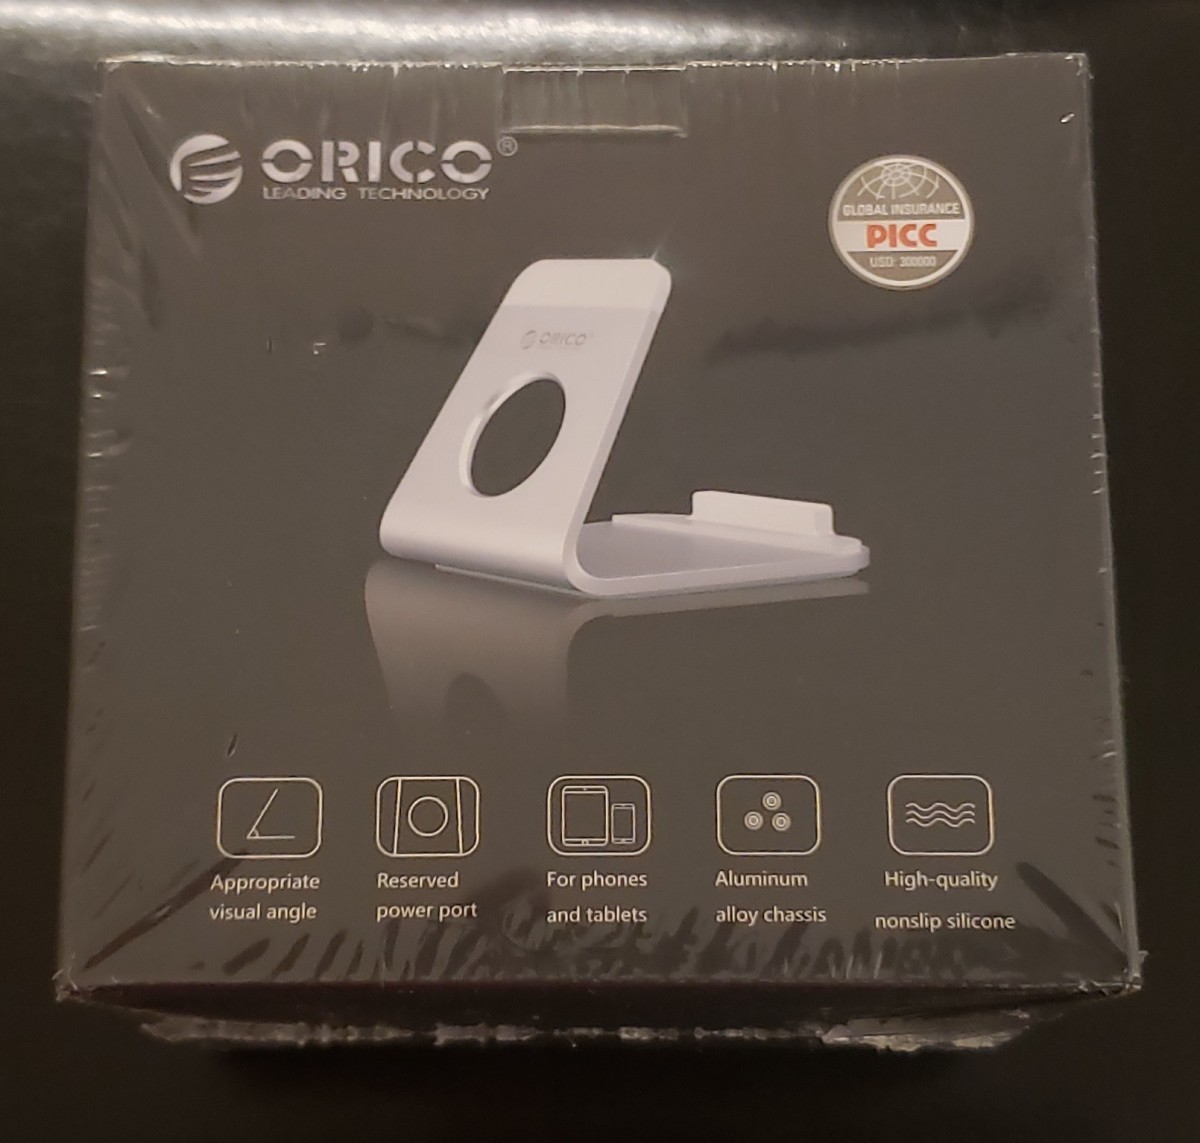
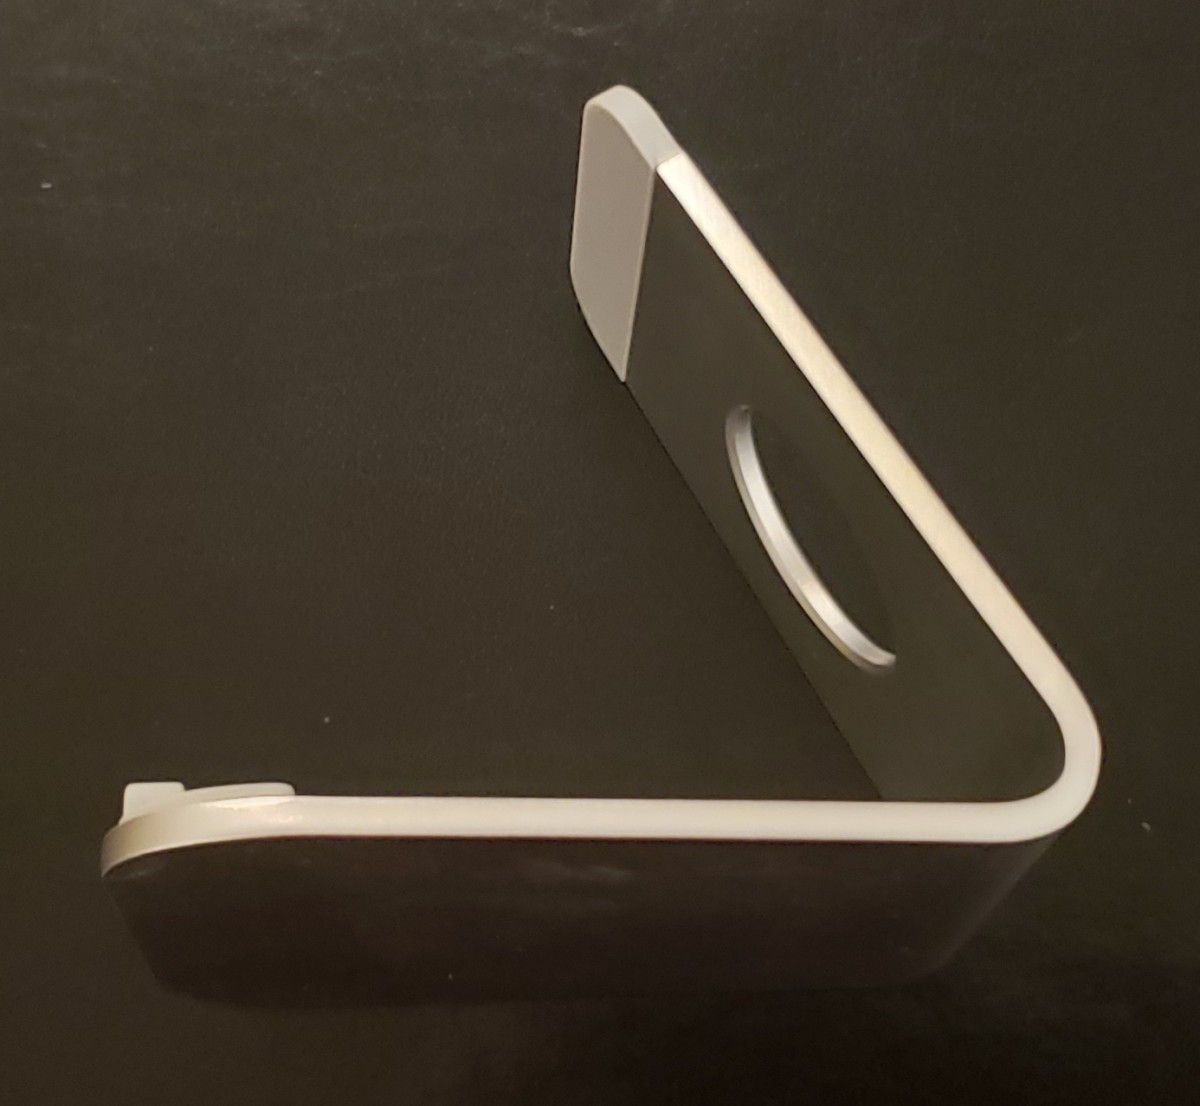
Orico Aluminum Stand
If you’re like me and you need to keep your phone or tablet by your desk, then I recommend investing in a stand. There are many stands on the market. Even Henge Docks offers the Gravitas mobile dock. If you take a look online, you’ll no doubt find hundreds, if not thousands, of these stands. However, the Orico stand appeals to me for one very simple reason: the unibody design. The problem with many stands on the market is that they have some kind of plastic attachment that you have to use. This attachment may have to be inserted or removed depending on the thickness of your phone case. To compound the problem, these stands aren’t practical because you can’t switch between a mobile phone and a tablet. Here’s where the Orico stand shines. The unibody design means I don’t have to keep track of or store the other plastic inserts. It’s practical because I can plop my phone or tablet down in any orientation. Since the stand is made out of aluminum, the rubberized tips will prevent your devices from being scratched.
That Is It for Now
This list pretty much summarizes the list of accessories I pair with my MacBook Pro. I think there’s something in store for everyone. If you have any additional gadgets or hubs that you use on a daily basis, feel free to let me know in the comments and I’d be happy to check them out. © 2019 Theo