Up to now, I’ve managed to suppress the urge to buy one of these gadgets. While a 3D printer could prove useful, they were expensive and reputedly challenging to assemble. And I anticipated a long and frustrating learning curve. But all that changed last month when Selpic asked me to test out their new Star A 3D printer. According to the manufacturer, this inexpensive device can be set up and put into action quickly and with minimal effort. Were they right? Read on and find out.
Description
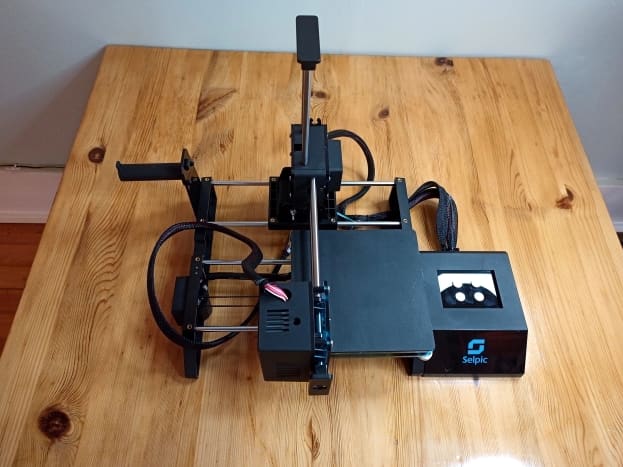
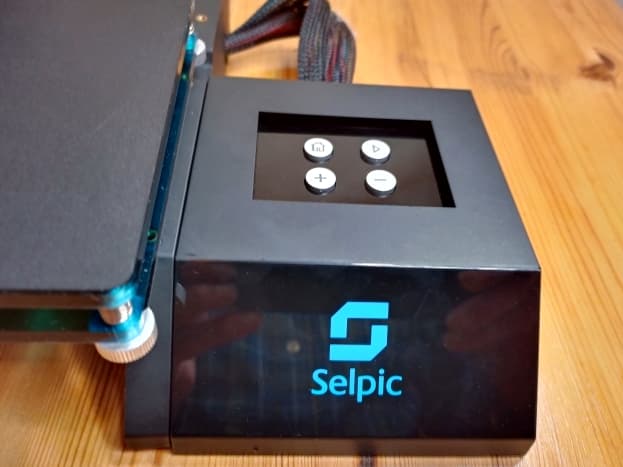
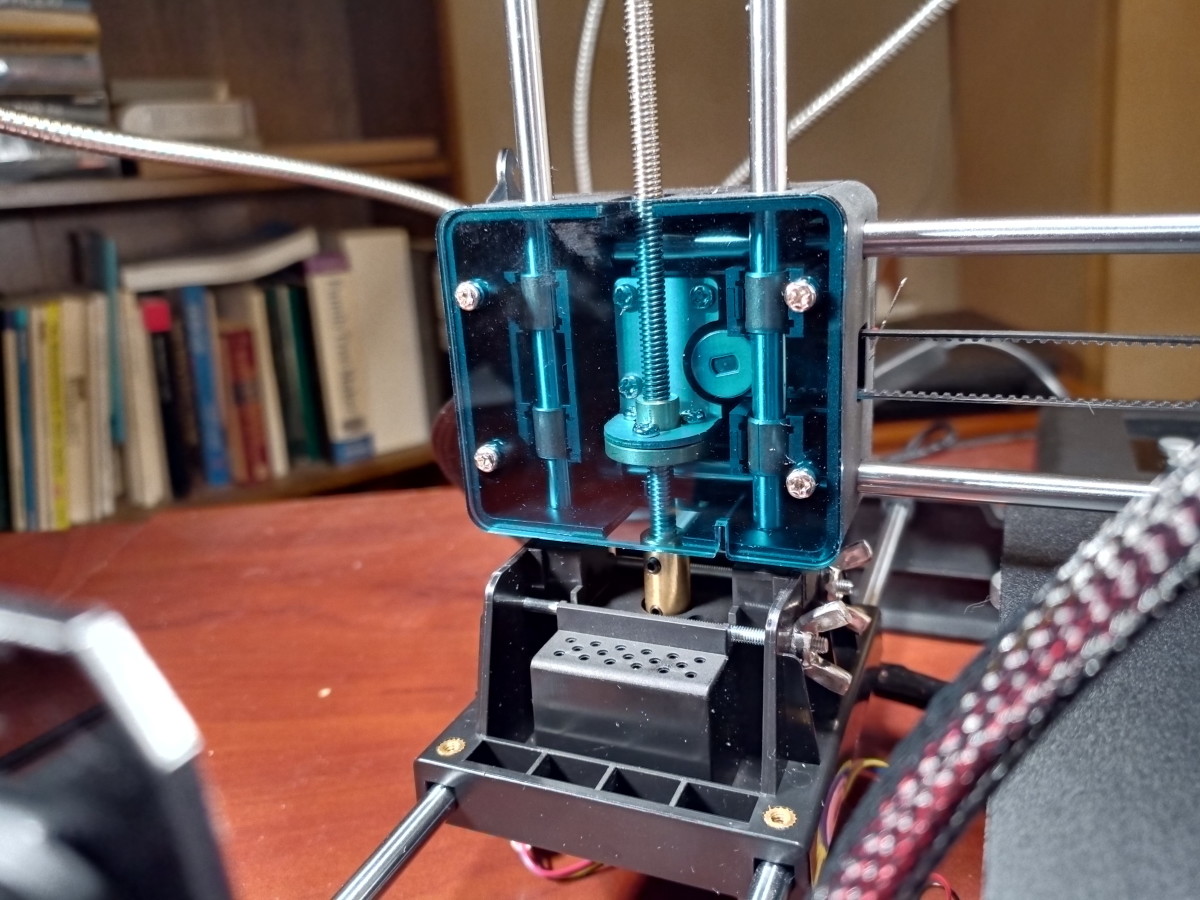
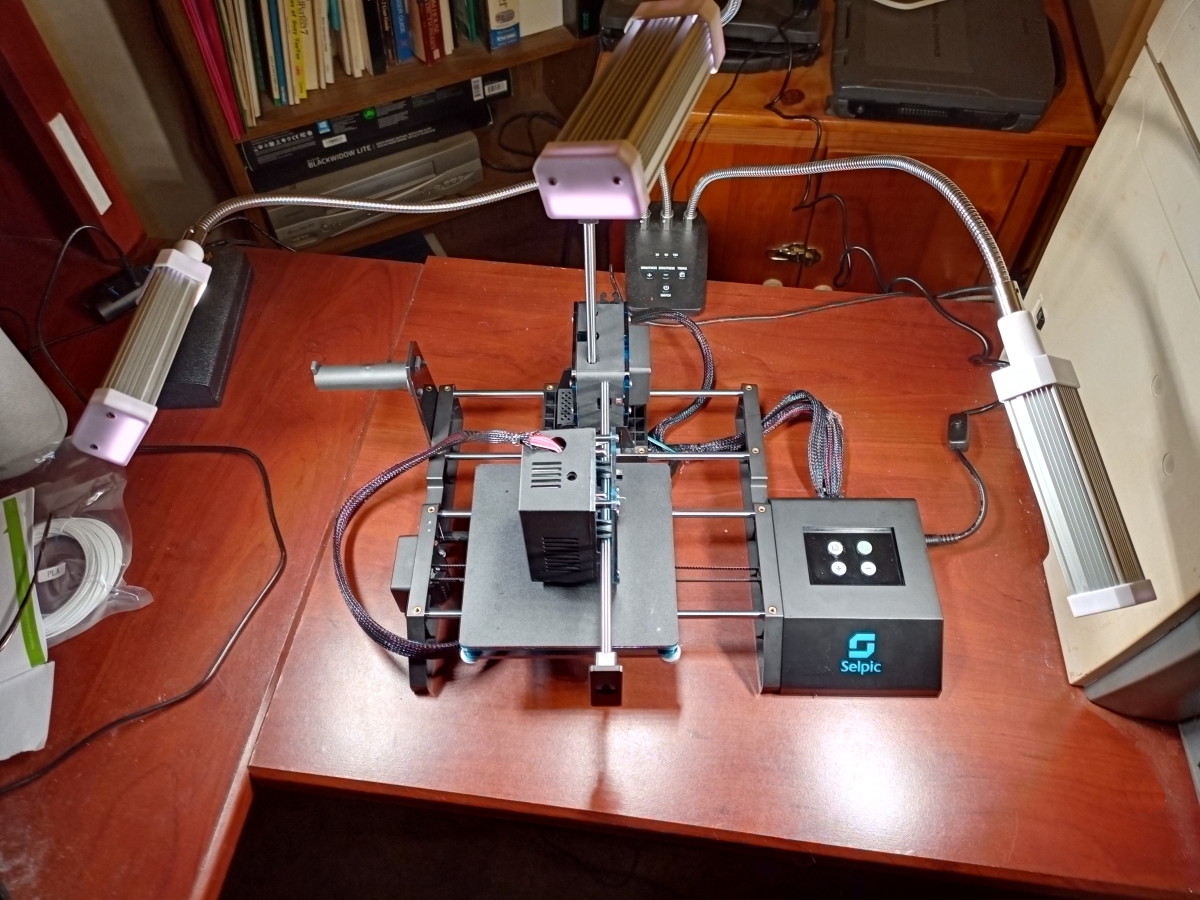
The Selpic Star A arrived well protected in a cardboard box. The printer weighs in at 4.4 pounds with dimensions of 14.6 x 9.4 x 10.8 inches. This device uses direct extrusion technology. The filament is fed through an extruder, which is mounted to three sets of rails. A motor connected to rubber timing belts, pulleys, and gears moves the extruder up and down, forward and backward, and left and right. Special software directs the extruder’s movement as it melts the filament and applies it to the flat base beneath. After each thin layer of melted filament is applied, the extruder rises slightly and adds another coat. Once the 3D replica’s final layer is applied, the extruder will return to its home position. A four-button control panel is utilized to send the extruder to its home position, add/remove the filament, and to start the printing process. This control panel is fitted with a USB printer port, power input, and a micro SDHC slot. The Star A comes with a filament mount, micro SDHC card with an adapter, screwdriver, two mounting bolts, cleaning pin, and several small tie-straps.
Specifications
Manufacturer: Selpic Model: Star A Mini 3D Printer Weight: 2 kilograms (4.4 pounds) Dimensions: 37 x 24 x 27.4 centimeters (14.6 x 9.4 x 10.8 inches) Printing technology: Direct extrusion Nozzle diameter: 0.4mm Print material: PLA Extruder temperature: 180-250 °C Melt-down temperature: 180 °C Recommended print speed: 30-40mm/sec Max print speed: 60mm/sec Noise level: ˂60db Layer thickness: .005-0.03mm Printing volume: 120 x 120 x 120mm Compatible systems: Windows and Mac File format: G-Code Slicer support: CURA Connection type: TF card, USB Power input: 110-240V Working temperature: 5-35°C (40-95°F) Maximum Voltage: 12V
The Manufacturer
This printer was designed by Selpic, which is a brand trademarked by Bostek Inc. of Delaware, USA.
Assembly
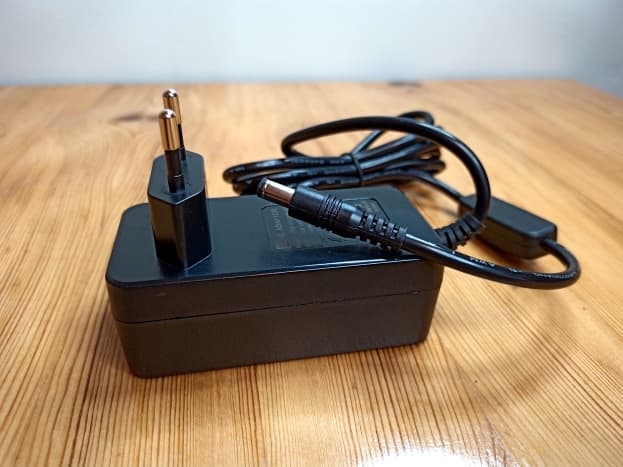
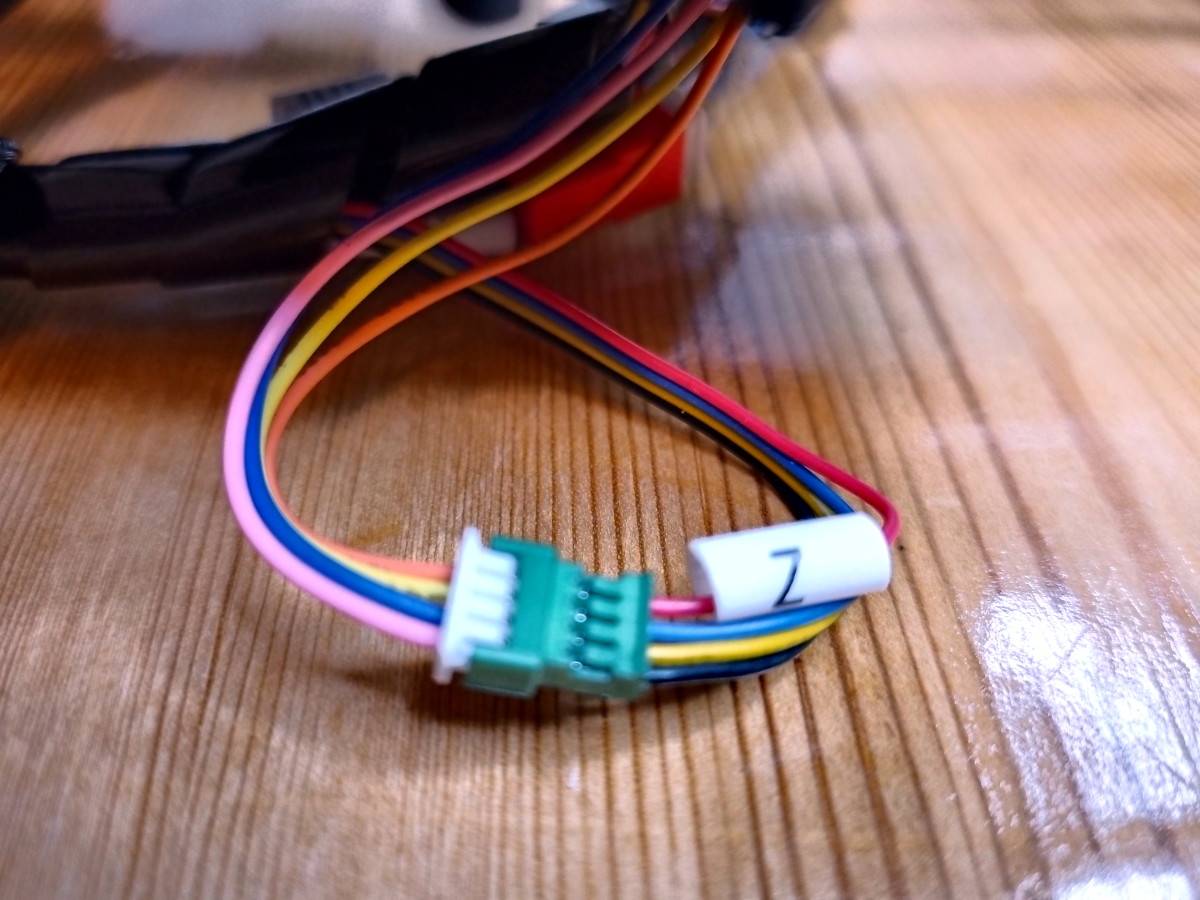
It is a simple matter to fasten the two main assemblies together and ensure the z-axis motor wire is routed correctly and connected. A pair of bolts are provided to hold the assemblies in place. The two-piece filament holder attaches to the back right-hand side of the printer. Note that its capacity is limited to 250 grams. The last step is to connect the control panel to the printer and plug the AC adapter cable into its power input.
Initial Setup
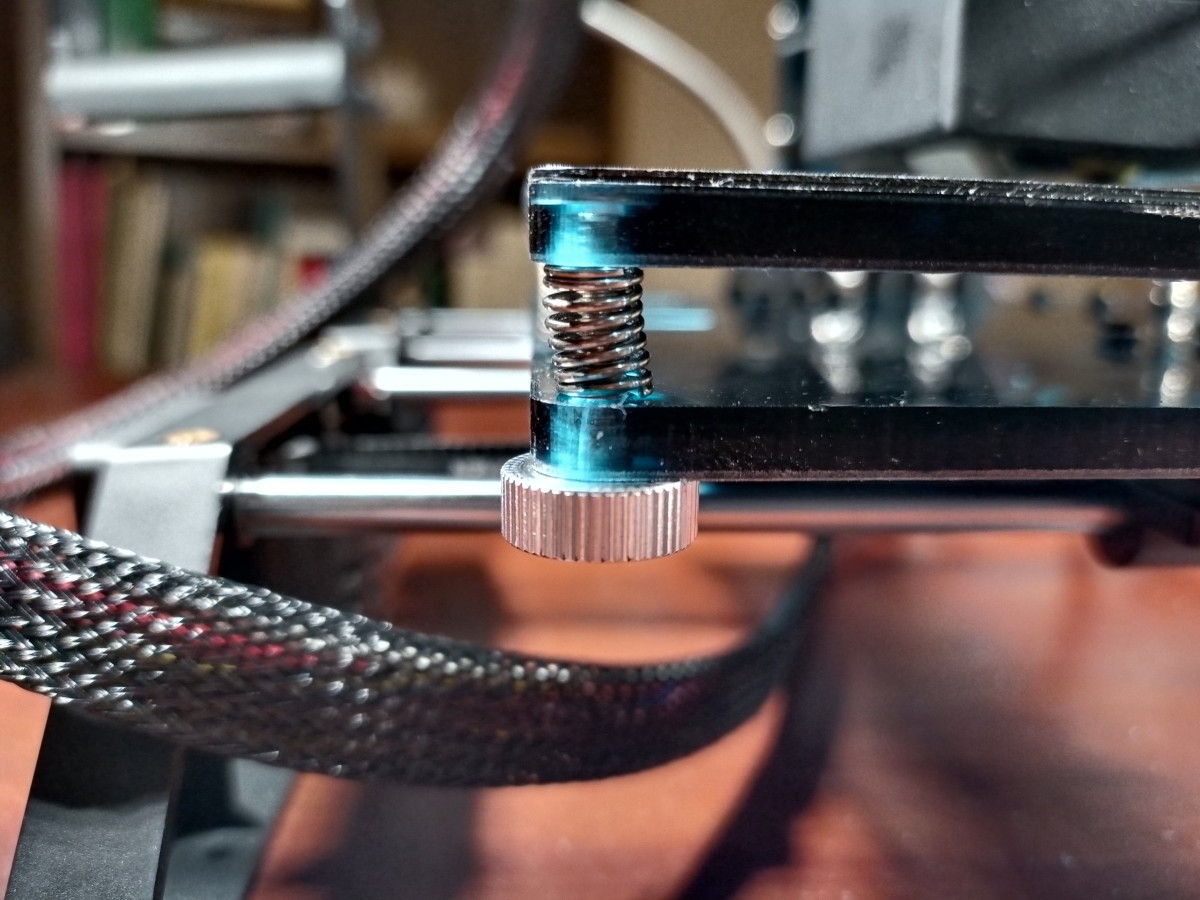
The working platform must be leveled. This involves using the home button to move the extruder to various points above the platform. At each position, a piece of paper is dragged beneath the extruder’s nozzle to ensure the nozzle is providing resistance to the paper while not touching the platform. Springs located at all four corners of the platform can be adjusted to conform to this requirement. I ran through this procedure three times before I was satisfied with the results. The next step is to load and feed the filament. Press the start button for three seconds to raise the extruder. Then press the plus sign button. It will flash rapidly as the extruder heats. Once the flashing stops, feed one end of the filament through a hole at the extruder’s top. It will be grabbed and fed down to the nozzle and begin to drip onto the platform. At that point, press the plus sign button again.
Cura Software
Selpic recommends the use of CURA 4.8, which Ultimaker kindly allows to be download and used at no cost. This program loads a file intended for producing a 3D object and outputs a second file sliced in a manner that allows your specific printer to build a replica. This is called a G-file. To ensure the CURA software performs properly, you must add the Star A to its database and insert a few details describing how the printer functions. Selpic has provided a guide that allows you to add this information without difficulty.
Test Project
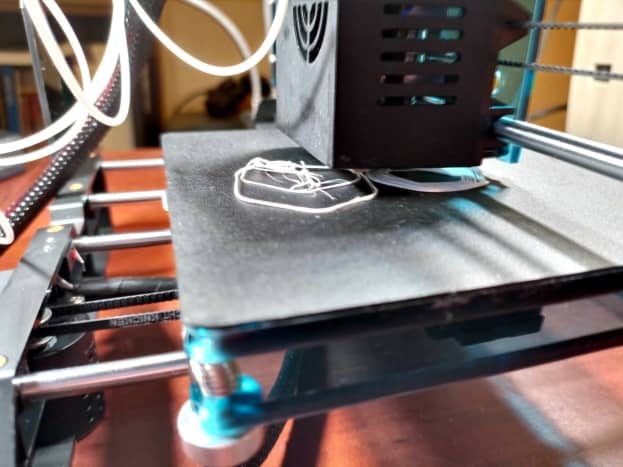
I wanted to build a chess set. After checking around the internet and viewing dozens of different project files, I selected a set designed by Matt Kerekanich. For my sample piece, I chose a knight. The first step was to download the file pertaining to the knight. Then I opened CURA and started a new project using my freshly acquired file. CURA outputted a G-file, which I copied to my Micro HDHC card. At this point, I turned on the printer and loaded my filament. Then I inserted the Micro HDHC card into the slot located on the control panel’s right-hand side. After the file was fully loaded, I pressed the start button. Quietly, the extruder moved to the center of the platform, lowered into position, and began to circle, laying its first layer of melted PLA filament. Once this was complete, the extruder rose slightly and started on the second layer. At one point, the melted filament exuded from the extruder’s nozzle began to drip onto the front edge of the project piece, creating a web-like effect. For a while, I’d thought something had gone wrong. However, because the project’s horsehead jutted far forward of the chess piece’s main body, the printer was forming a base onto which it could continue building. This worked well but I needed to sand the base away after the project was completed. 3D printing is a lengthy process. It required 3.5 hours to print the chess piece, which measured 25 x 33 x 53 centimeters. It weighed a surprisingly light 5 grams (0.18 ounces) and had consumed only 1.6 meters (5 feet) of PLA filament. The next step was to press the control panel’s minus sign button and pull the filament from the extruder. Then I tugged at the skirt formed at the bottom of my project. I’d expected it would be difficult to remove the chess piece from the platform, but it popped right off. My final step was to sand away the beard that had formed beneath the chess piece’s horsehead and remove the thin skirt at the bottom.
Overall Impression
This printer is relatively inexpensive, easy to assemble, and can be operated by someone without experience in 3D printing. If you are looking for a printer that will get you started without a lot of hassle, the Selpic Star A would be a great fit. This content is accurate and true to the best of the author’s knowledge and is not meant to substitute for formal and individualized advice from a qualified professional. © 2020 Walter Shillington