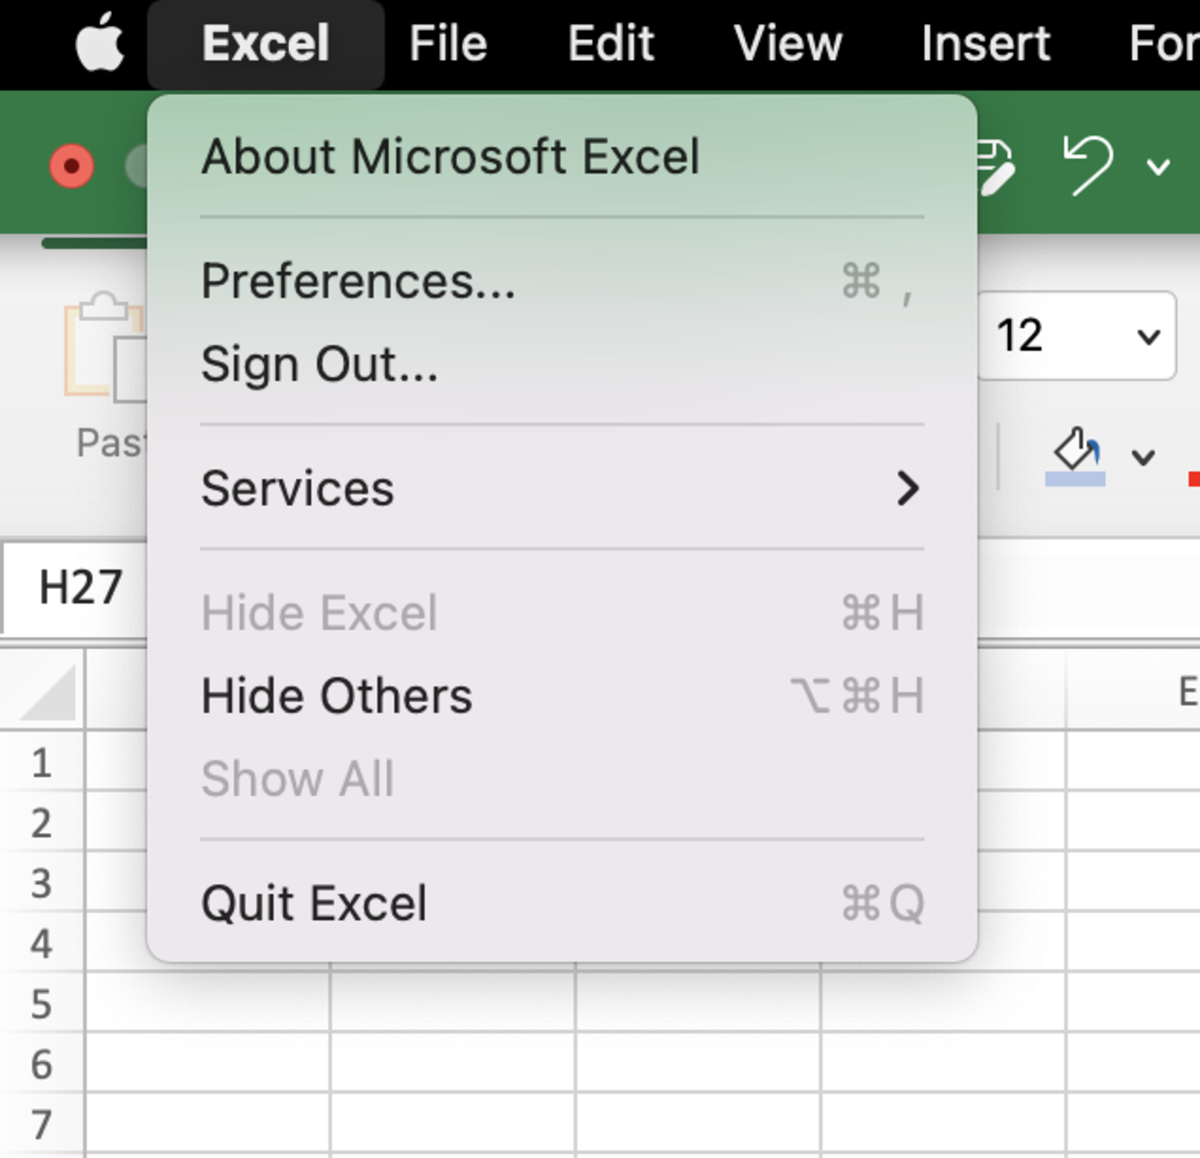
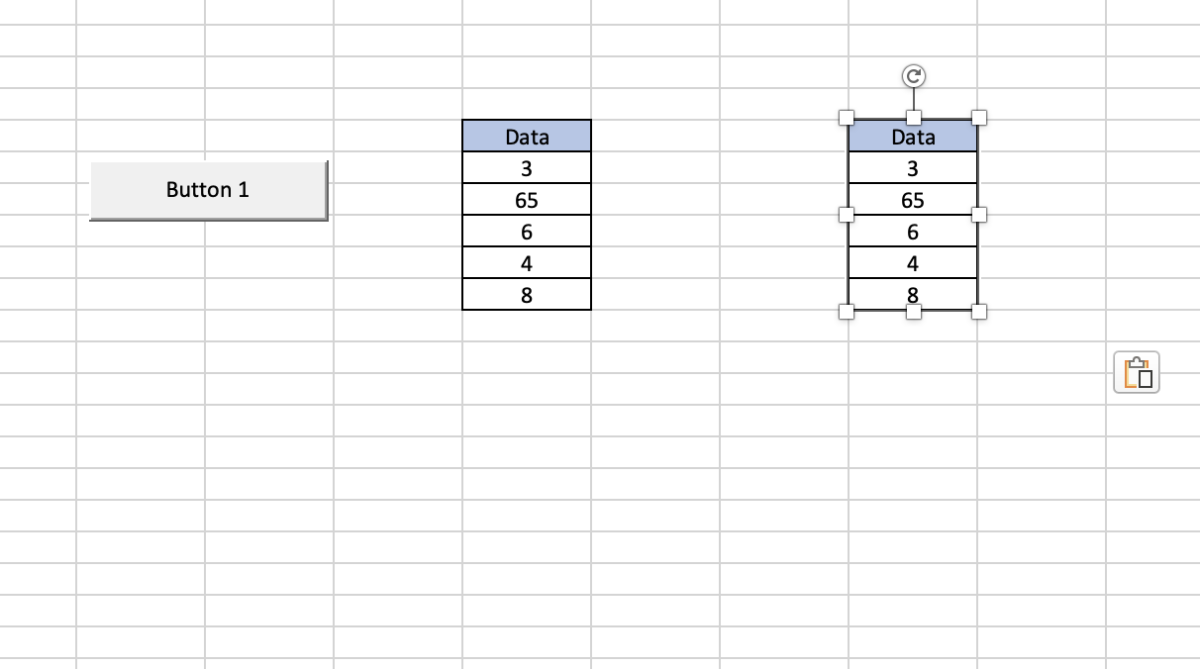
Let’s use the above photo as an example. I would like to copy a photo snip of that range of data to the clipboard. To start, I need the developer tab to be available. To make the developer tab available you must first go to the Excel options tab and click preferences.
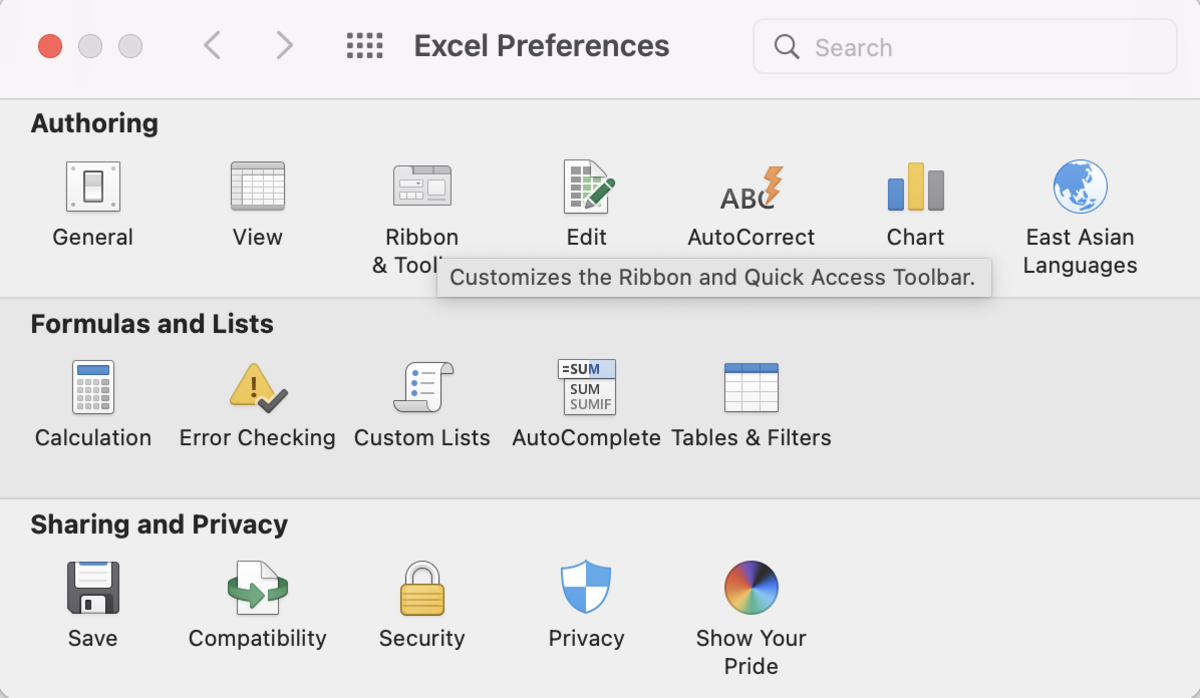
Next, choose the ribbon and toolbar option.
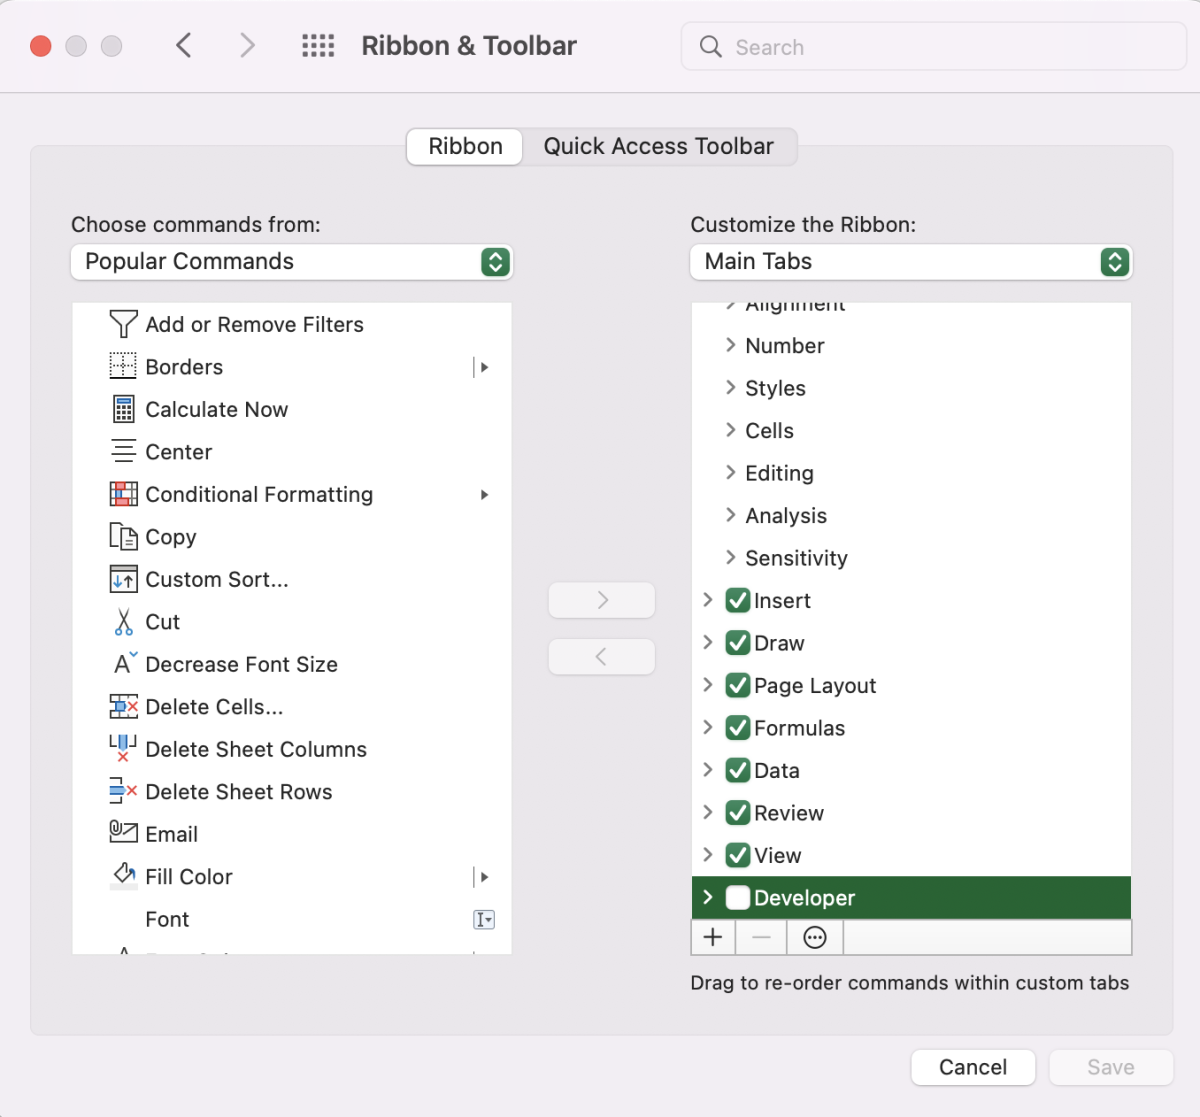
Click on one of the options in the main tabs area and tap the down arrow until you find the developer tab option. Check the box and click save.
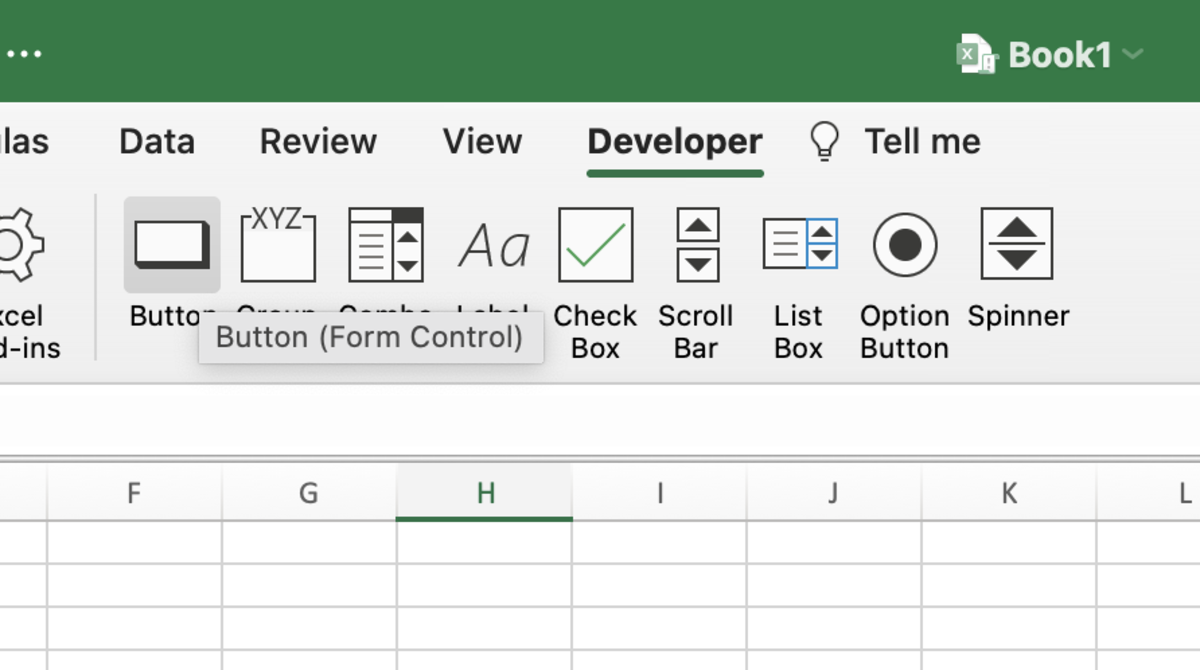
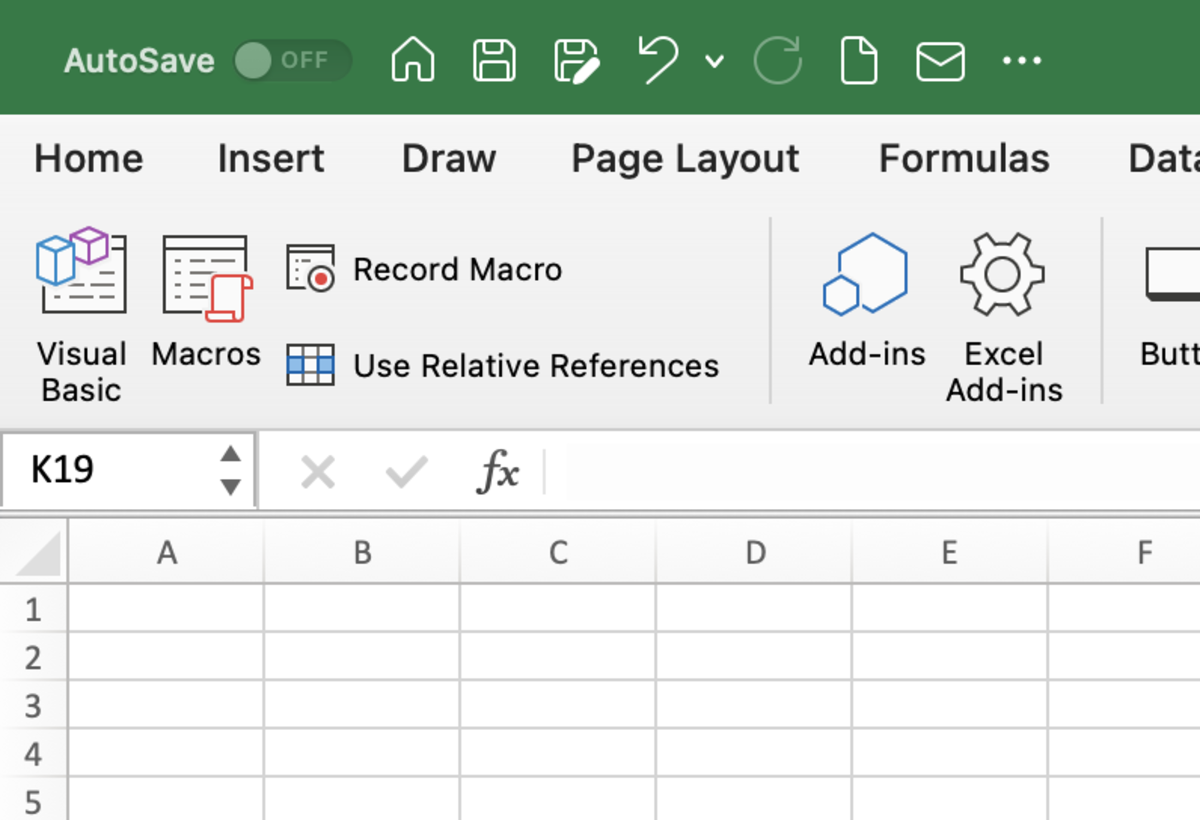
Choose the developer tab and click on the form control button labeled as button under its button-shaped icon.
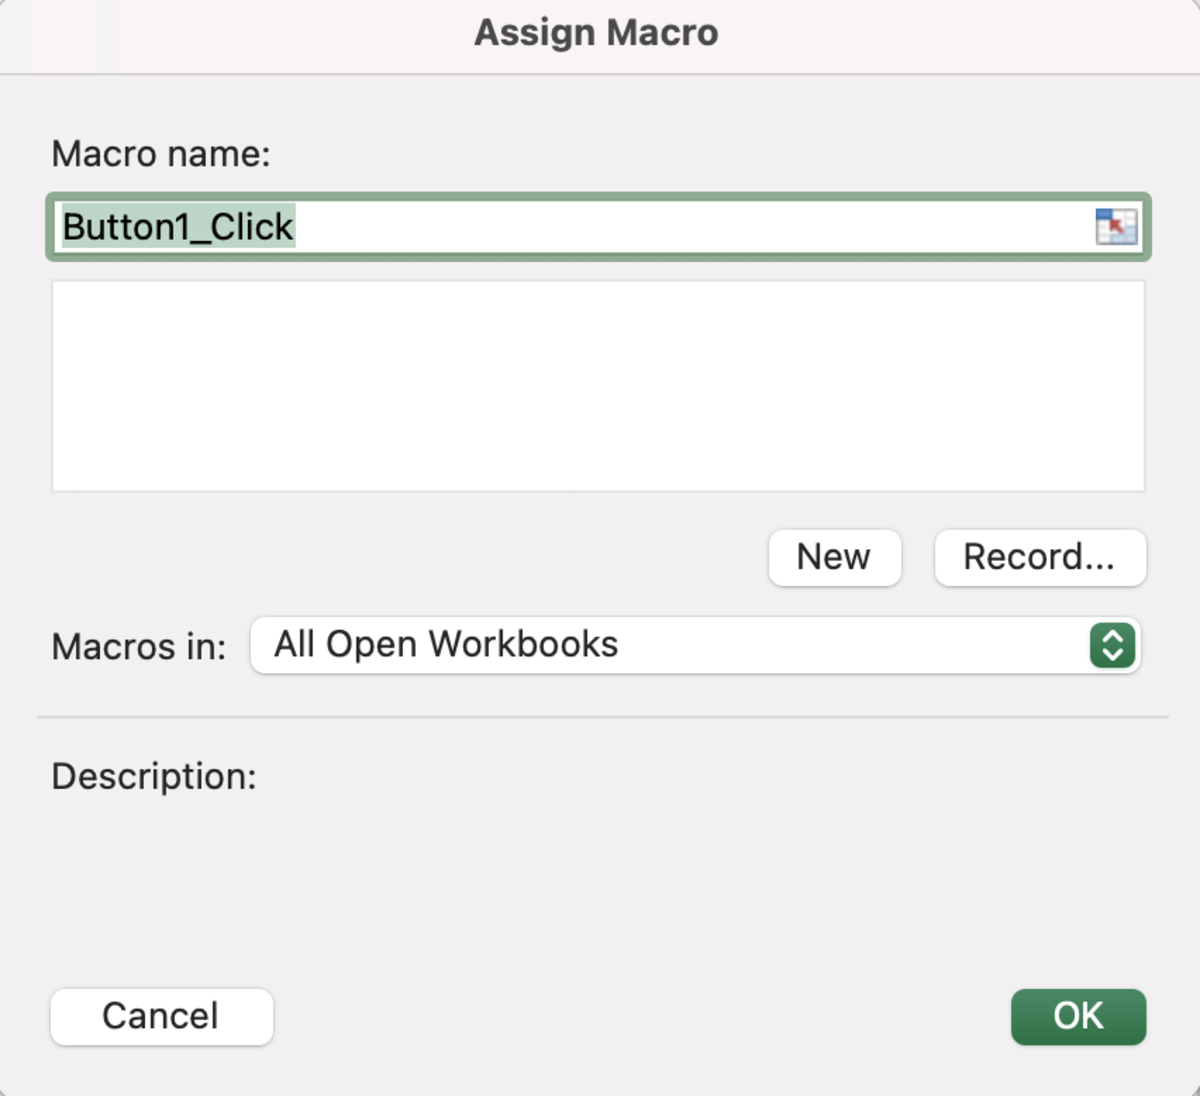
Click in the area of the worksheet where you would like the button to appear and the assign macro window will appear. Give the macro a name with no spaces (or keep the default) and click record.
This automation will execute when a button is pressed but you may also assign a keyboard shortcut to the macro as well here. Press OK to begin recording the process.
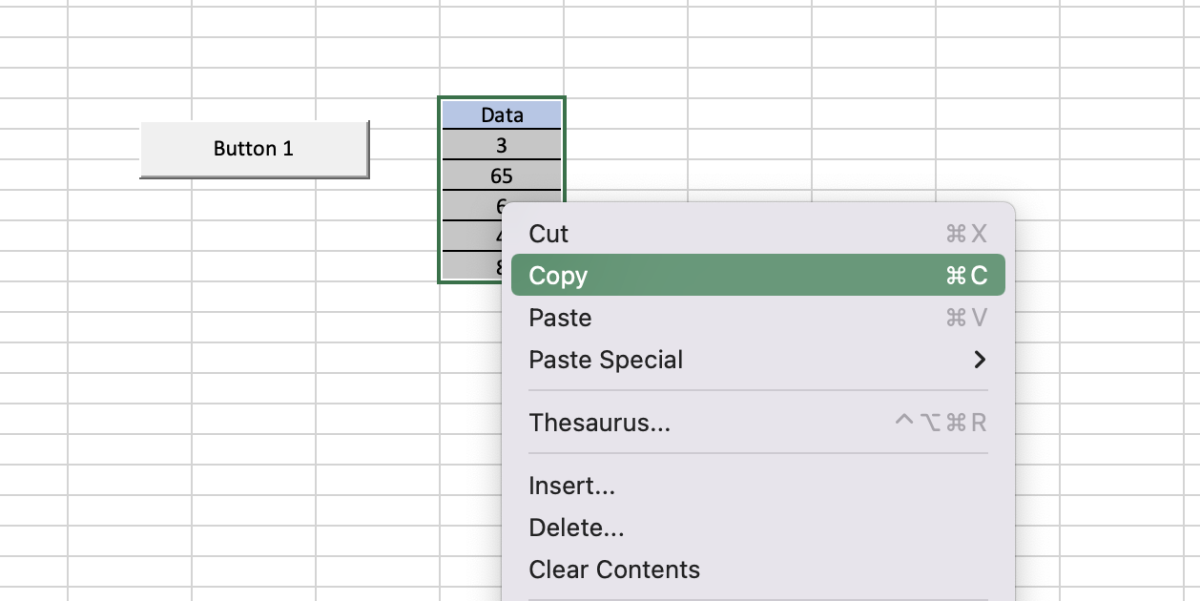
Select the range and copy it.
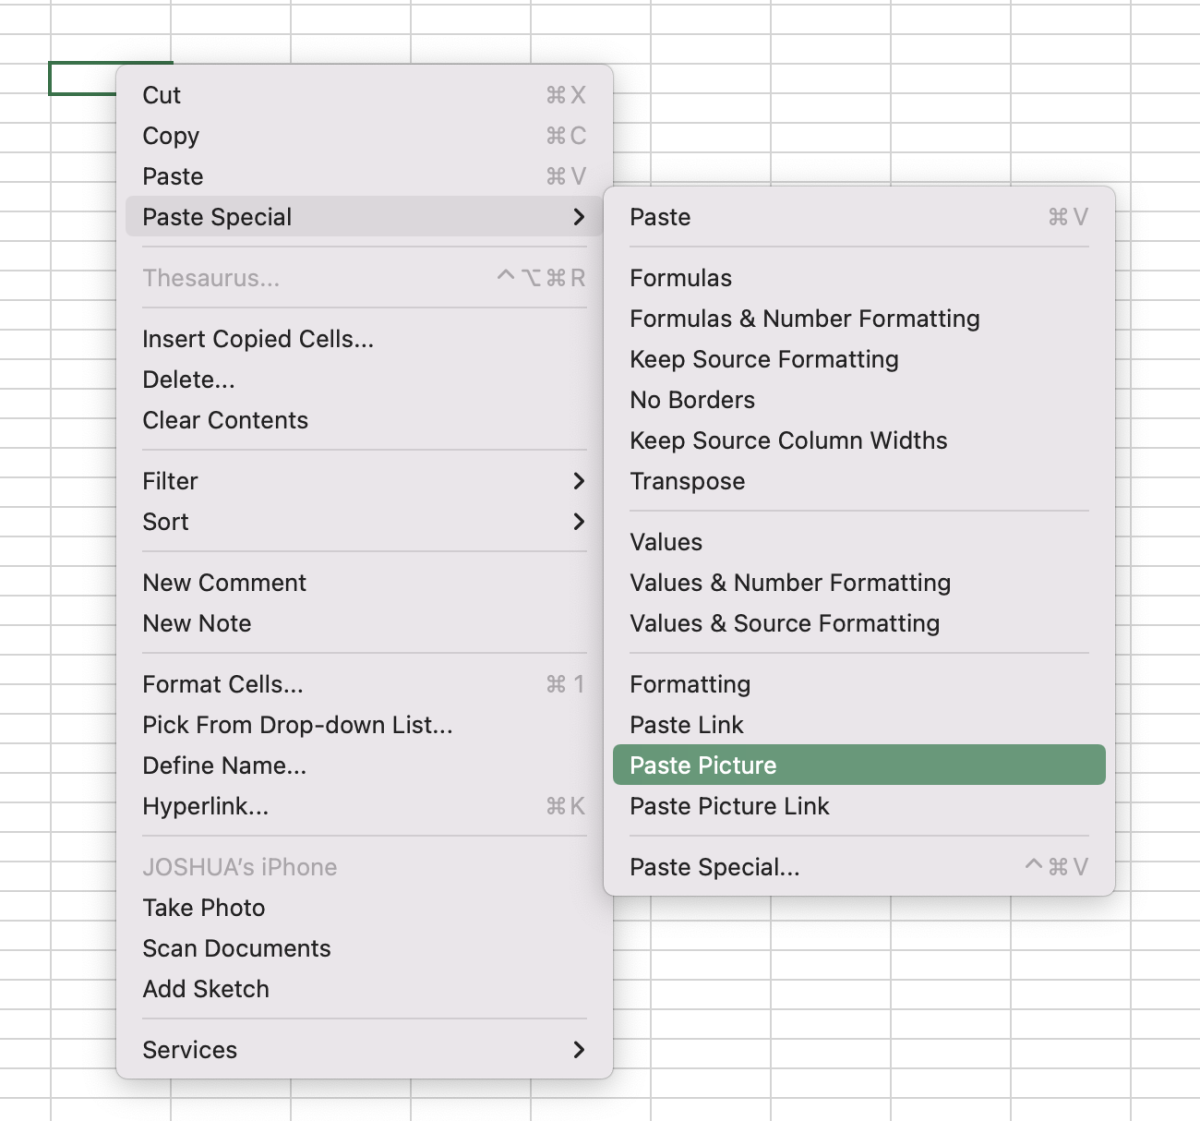
Select a cell anywhere in the spreadsheet to temporarily post a picture of the range by selecting paste special followed by paste picture.
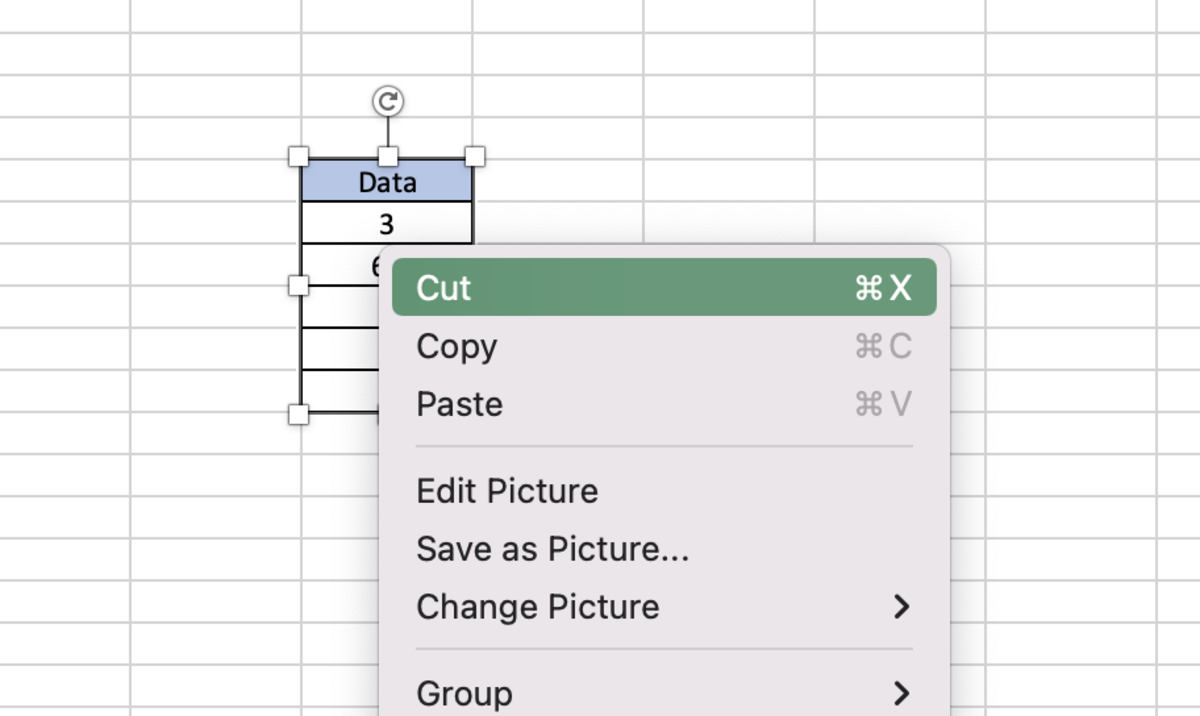
Next, cut the picture from the spreadsheet.
Stop recording the macro by clicking on the stop button in the lower left-hand corner of the spreadsheet.
Now you can test the button by changing the data in the cell and clicking on the button. Paste the picture into a cell.
You make modify the code to select another range by going to the macro icon on the developer tab or the view tab.
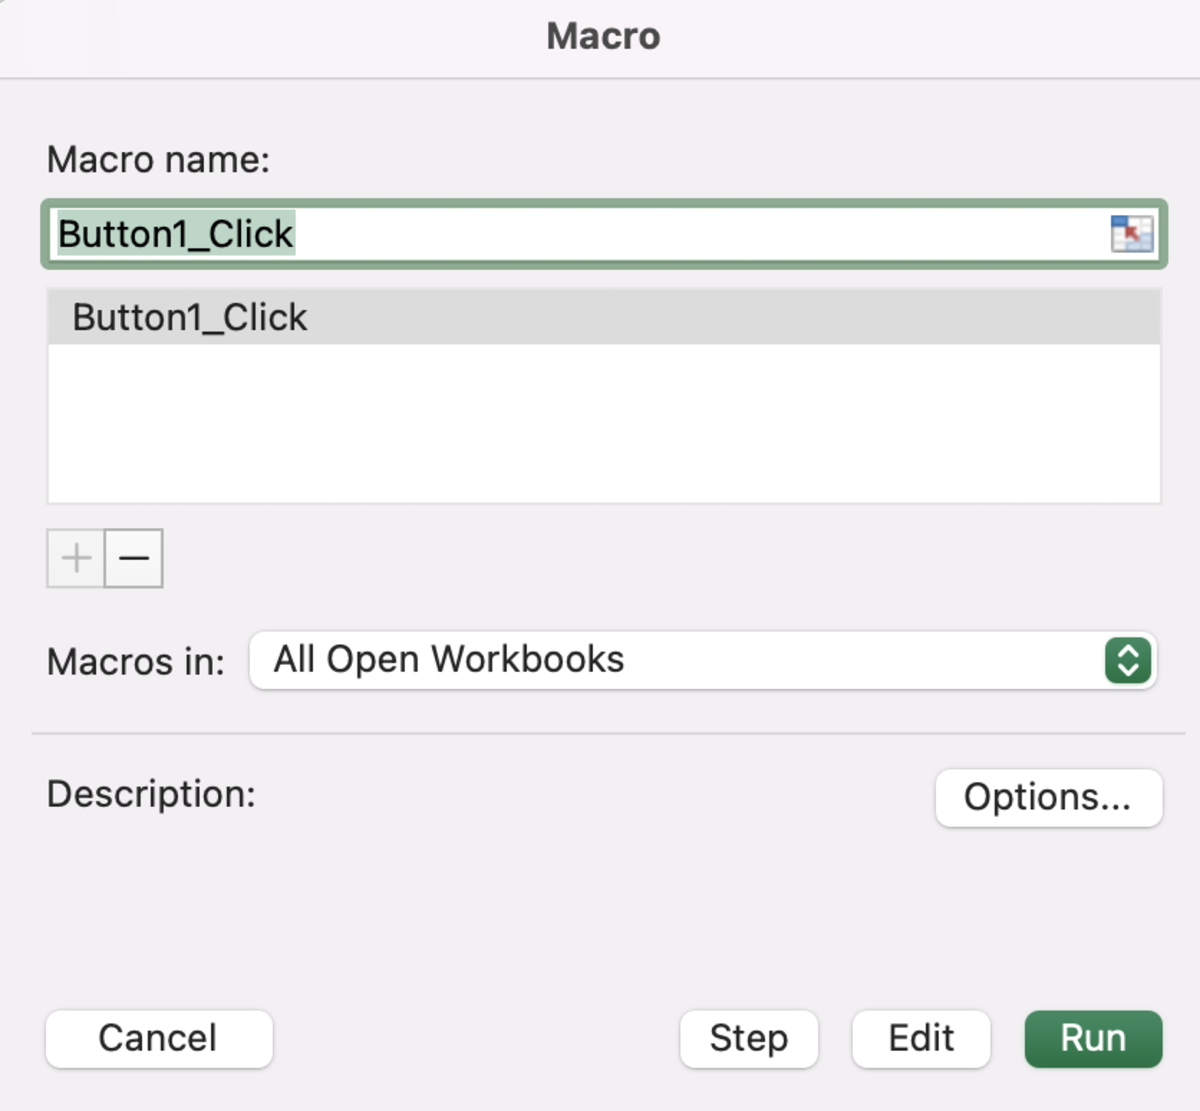
Select the macro followed by the edit button.
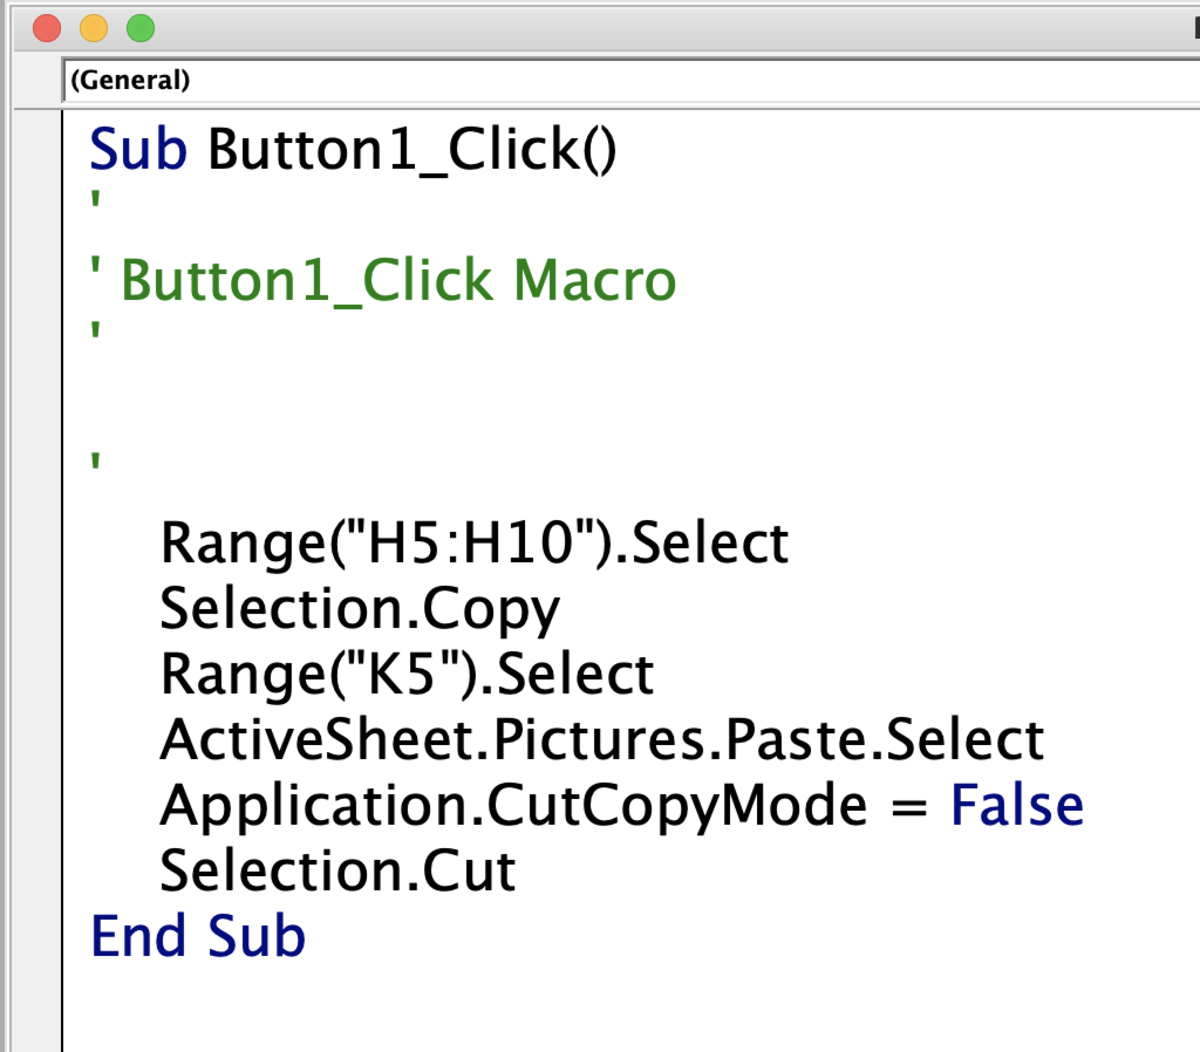
Here the range that is copied can be modified to whatever range needs to be copied in the worksheet.
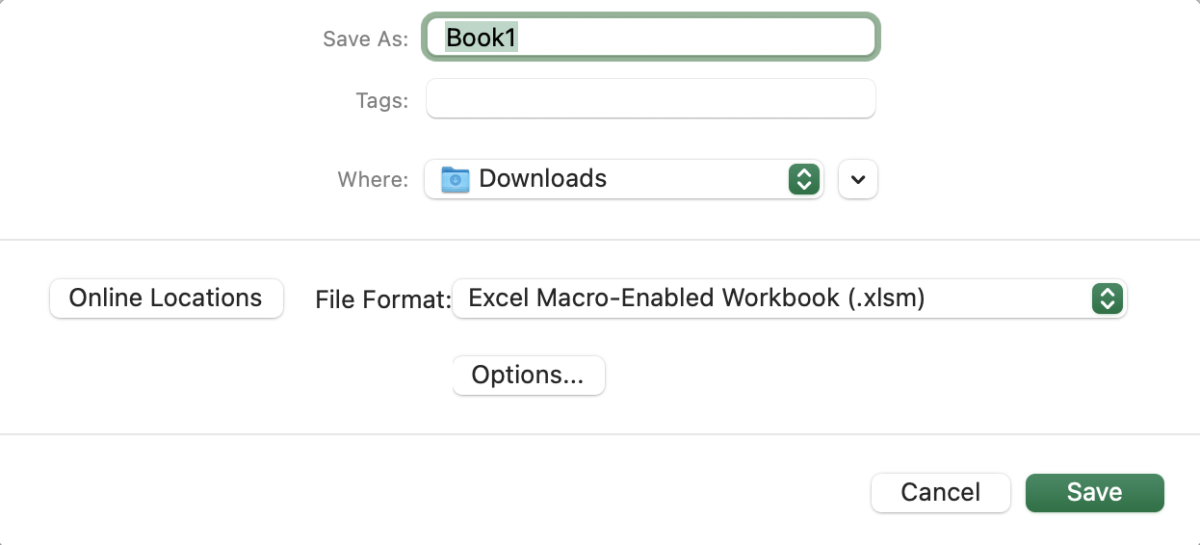
Be sure to save the workbook as a macro-enabled workbook by going to file and saving the document with a .xlsm extension as shown in the image below.
Use a Macro Button to Save a Picture of a Range to Clipboard in Excel for Mac
This content is accurate and true to the best of the author’s knowledge and is not meant to substitute for formal and individualized advice from a qualified professional. © 2022 Joshua Crowder